Codeigniter is the powerful PHP framework for rapid development of full featured applications. It is an opensource PHP framework built for developers by the developers. Codeigniter 4 is the latest version available for the application development.
This tutorial will help you to install CodeIgniter 4 framework on our Ubuntu system.
Prerequisites
Codeigniter 4 framework required a web server, MySQL database server and PHP on your system. Use below tutorial to install LAMP stack on your Ubuntu 20.04 system.
After installation of LAMP stack on your system, follow below tutorial to create Codeigniter application and configure on your system.
Step 1 – Installing Composer
This tutorial uses PHP composer to create Codeigniter 4 application.PHP Composer is available in as binary file to directly download and use. Run the following commands to install composer on your Ubuntu system.
curl -sS https://getcomposer.org/installer | php
mv composer.phar /usr/local/bin/composer
chmod +x /usr/local/bin/composer
Step 2 – Create CodeIgniter Application
Codeigniter provides application starter composer module to create new applications. The Codeigniter application starter repository contains the skeleton application, including the composer dependency on the latest released version of the framework.
Run the following command to create Codeigniter 4 application on your system:
composer create-project codeigniter4/appstarter CodeApp
You will see the results like below:
Creating a "codeigniter4/appstarter" project at "./CodeApp"
Installing codeigniter4/appstarter (v4.0.3)
  - Installing codeigniter4/appstarter (v4.0.3): Downloading (100%)
Created project in /home/rahul/CodeApp
Loading composer repositories with package information
Updating dependencies (including require-dev)
Package operations: 35 installs, 0 updates, 0 removals
  - Installing laminas/laminas-zendframework-bridge (1.0.4): Downloading (100%)
  - Installing laminas/laminas-escaper (2.6.1): Downloading (100%)

  [hiding long output]

sebastian/global-state suggests installing ext-uopz (*)
phpunit/php-code-coverage suggests installing ext-xdebug (^2.7.2)
phpunit/phpunit suggests installing phpunit/php-invoker (^2.0.0)
phpunit/phpunit suggests installing ext-soap (*)
phpunit/phpunit suggests installing ext-xdebug (*)
Writing lock file
Generating autoload files
3 packages you are using are looking for funding.
Use the `composer fund` command to find out more!
Generating autoload files
Generated autoload files
Your Codeigniter applications is created under the CodeApp directory.
Step 3 – Configure Database
Now, create a database for your Codeigniter application in MySQL. I have MySQL 5.7 running on my machine. Connected to MySQL with root user then create database and user with the below queries.
mysql -u root -p
Execute below queries to create database and user for your application.
1 2 3 4 5 | CREATE DATABASE codeigniter4; CREATE USER 'dbuser'@'localhost' IDENTIFIED BY '_password_'; GRANT ALL ON codeigniter4.* to 'dbuser'@'localhost'; FLUSH PRIVILEGES; quit |
Next, you need to edit database configuration file in text editor and update the database settings create above. Run below command to edit file from application directory:
nano app/Config/Database.php
Update the following values.
public $default = [
	'DSN'      => '',
	'hostname' => 'localhost',
	'username' => 'dbuser',
	'password' => '_password_',
	'database' => 'codeigniter4',
	'DBDriver' => 'MySQLi',
	'DBPrefix' => '',
	'pConnect' => false,
	'DBDebug'  => (ENVIRONMENT !== 'production'),
	'cacheOn'  => false,
	'cacheDir' => '',
	'charset'  => 'utf8',
	'DBCollat' => 'utf8_general_ci',
	'swapPre'  => '',
	'encrypt'  => false,
	'compress' => false,
	'strictOn' => false,
	'failover' => [],
	'port'     => 3306,
];
Step 4 – Configure Codeigniter Application
Now you need to configure the base URL for your application. For this tutorial, I am using the www.tecadmin.local domain for our application. You can also choose localhost or any other domain name of your choice.
Run the following command to edit App.php file in a text editor:
vi app/Config/App.php
In App.php, update baseURL to the domain name you use for your application:
public $baseURL = 'http://www.tecadmin.local/';
You may also need to change timezone for you application by setting appTimezone variable.
public $appTimezone = 'UTC';
Save file and close.
Step 5 – Configure Apache for Codeigniter
For this tutorial, I’m using Apache web server on my Ubuntu system. So create a new Virtual Host configuration file for our Codeigniter application.
Let’s create new file and edit:
vi /etc/apache2/sites-available/codeigniter4.conf
Add following content with proper server name and alias:
1 2 3 4 5 6 7 8 | <VirtualHost *:80> ServerName tecadmin.local ServerAlias www.tecadmin.local DocumentRoot /var/www/CodeApp/public <Directory /var/www/CodeApp> Allowoverride All </Directory> </VirtualHost> |
Save the Apache Virtual Host configuration file.
Then, use the a2enmod command to enable newly created Codeigniter Virtual Host. Also, restart the Apache service to apply changes.
sudo a2ensite codeigniter4
sudo systemctl restart apache2
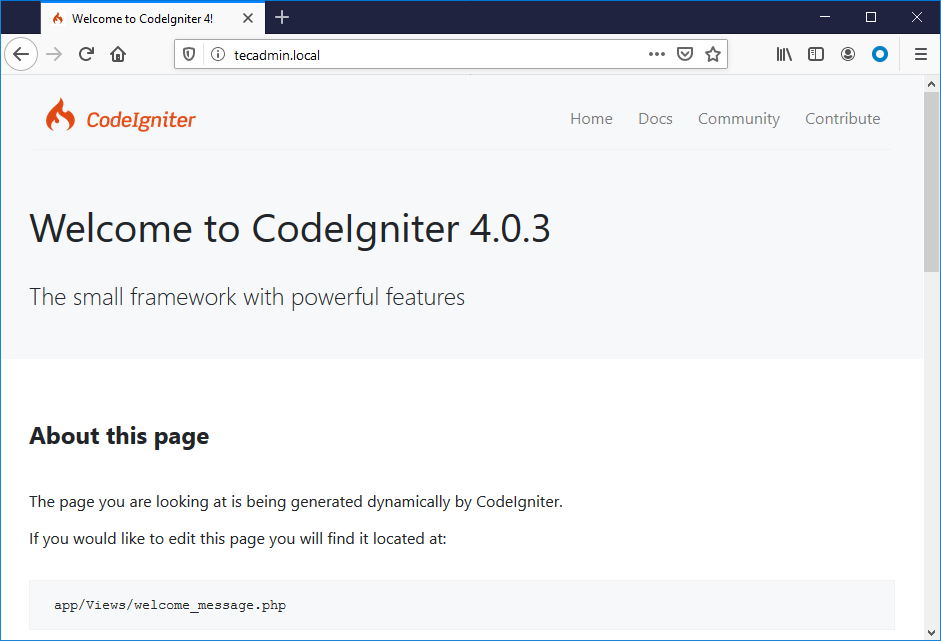
Step 6 – Test Application
The CodeIgnator 4 application is ready to use on your Ubuntu system. You can access application in the web browser with the configured domain name.
http://www.tecadmin.local/
By default, you will the screen below.
Conclusion
In this tutorial, you have learned to create Codeigniter application and deploy with Apache web server. Let’s start developing with the Codeigniter.


9 Comments
Mar 29 17:40:29 server-codeigniter apachectl[28084]: AH00112: Warning: DocumentRoot [/var/www/CodeApp/public] does not exist
where is thats file?
Followed the above steps.
But my site give this error.May b some issue in virtual host file
—-
This site can’t be reached
Check if there is a typo
DNS_PROBE_FINISHED_NXDOMAIN
This didnt worked for me
`This site can’t be reached`
GRANT USER ‘dbuser’@’localhost’ IDENTIFIED BY ‘_password_’;
should be corrected as CREATE USER ……
Thanks, I have updated tutorial with correct command.
when i hit enter this command “nano app/Config/Database.php”
error showing
“[ Directory ‘app/Config’ does not exist ]”
Hi,
how can I replicate the settings with NGINX instead of Apache server
Followed the entire thing but my website return a black page with “index.php” written into it.
Any idea what’s happening?
Hi Paul,Please check if libapache2-mod-php package installed on your system.