
WHM/cPanel is the most popular web hosting control panel for Linux operating systems. Using WHM/cPanel we can easily manage our web hosting environment without having more technical skills. If you have basic knowledge of hosting with networking you can manage any web hosting server using WHM/cPanel.
WHM/cPanel is basically divided into two parts WHM and cPanel. WHM section is used for managing your system, hosting accounts and maintenance of system where cPanel is known as single hosting account. This article will help you to install cPanel and WHM on CentOS/RHEL and CloudLinux operating systems.
1. Minimum System Requirements
Before installing cPanel and WHM on your system make sure to fulfill following requirements
- Minimum of 1GB RAM
- 20 GB Harddisk
- Perl must be installed
- CentOS 7/6/5 or RHEL 6/5 or CloudLinux 6/5
For more details visit WHM/cPanel system requirements url.
2. Setup Proper Hostname
Before installing WHM/cPanel on your system, make sure to set a proper fully qualified hostname for your system.
# hostname webhost.example.com
Now edit /etc/sysconfig/network to set hostname permanently and update hostname entry like below
HOSTNAME=webhost.example.com
Now edit /etc/hosts to point hostname to local system ip. For example local system ip is 192.168.1.100, Do the following entry in /etc/hosts file.
192.168.1.100 webhost.example.com
3. Disable SELinux
Now make sure to disable selinux on your system before starting cPanel and WHM installation. To disable selinux execute following command.
# setenforce 0
Now edit /etc/sysconfig/selinux and update following entry for disabling SELinux permanently.
SELINUX=disabled
4. Install WHM/cPanel
Your installation preparation has been completed for WHM/cPanel. Now execute one by one following commands to install WHM/cPanel on your system.
# cd /home
# curl -o latest -L http://httpupdate.cpanel.net/latest
# sh latest
Installation processes will take more time (Approx 1 hour or more) as per your network speed and operating system speed. After completing installation your will get output like below.
2015-05-28 12:23:48  183 ( INFO): cPanel install finished in 66 minutes and 9 seconds!
2015-05-28 12:23:48  684 ( INFO): Congratulations! Your installation of cPanel & WHM 11.48 is now complete. The next step is to configure your server.
2015-05-28 12:23:48  684 ( INFO):
2015-05-28 12:23:48  684 ( INFO): Before you configure your server, ensure that your firewall allows access on port 2087.
2015-05-28 12:23:48  684 ( INFO): On RHEL, CentOS, and CloudLinux systems, execute /scripts/configure_firewall_for_cpanel to accomplish this.
2015-05-28 12:23:48  684 ( INFO):
2015-05-28 12:23:48  684 ( INFO): After ensuring that your firewall allows access on port 2087, you can configure your server.
2015-05-28 12:23:48  684 ( INFO):
2015-05-28 12:23:48  684 ( INFO): 1. Open your preferred browser
2015-05-28 12:23:48  684 ( INFO):
2015-05-28 12:23:48  684 ( INFO): 2. Type https://192.168.1.100:2087 in the address bar
2015-05-28 12:23:48  684 ( INFO):
2015-05-28 12:23:48  684 ( INFO): 3. Enter the word root in the Username text box
2015-05-28 12:23:48  684 ( INFO):
2015-05-28 12:23:48  684 ( INFO): 4. Enter your root password in the Password text box
2015-05-28 12:23:48  684 ( INFO):
2015-05-28 12:23:48  684 ( INFO): 5. Click the Login button
2015-05-28 12:23:48  684 ( INFO):
2015-05-28 12:23:48  684 ( INFO): Visit http://go.cpanel.net/whminit for more information about first-time configuration of your server.
2015-05-28 12:23:48  684 ( INFO):
2015-05-28 12:23:48  684 ( INFO): Visit http://support.cpanel.net or http://go.cpanel.net/whmfaq for additional support
2015-05-28 12:23:48  684 ( INFO):
2015-05-28 12:23:48  684 ( INFO): Thank you for installing cPanel & WHM 11.48!
5. Post Installation of cPanel & WHM
After completing WHM/cPanel installation on your system successfully you can access WHM on 2086 & 2087(with ssl) and cPanel accounts on 2082 & 2083(with ssl) ports. Now login to your WHM account and completed post installation instructions ans per your required configuration. You can access WHM using root account and their password at following urls.
https://webhost.exmaple.com:2087/
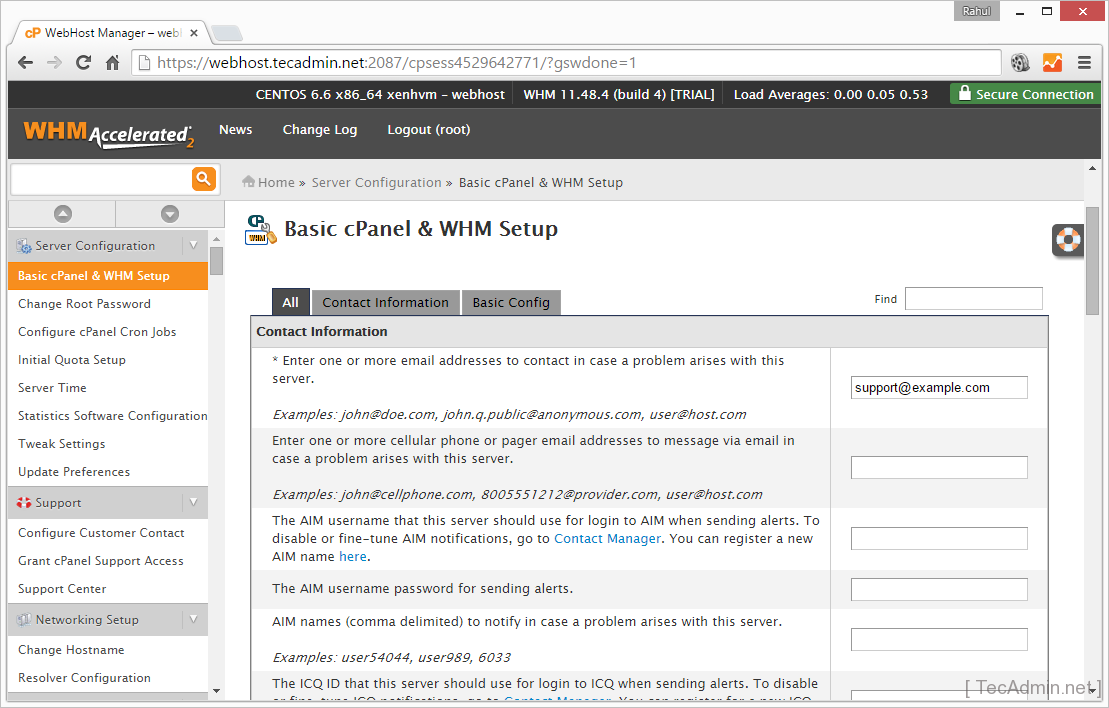
Login with your root account credentials and complete following six steps.
- Accept Linux Agreement
- Setup networking
- Set Up IP Addresses
- Select nameserver (default is bind)
- Setup additional services like FTP, Mail
- Enable or Disable disk quota
6. Activate cPanel & WHM License
As the WHM/cPanel is available with commercial license, So you need to purchase a license (based on ip) from cPanel or its third-party sites.
When you purchased a commercial license for your cPanel server activate is using following command.
# /usr/local/cpanel/cpkeyclt
To verify your license visit cPanel license verification url and enter public ip your server.


2 Comments
I have looked up this issue on Goog, but there are a bunch of fixes for mac computers and non-cPanel related posts,
I am trying to install cPanel WHM on AWS, Red Hat Enterprise Linux,
curl -o latest -L http://httpupdate.cpanel.net/latest
curl: (23) Failed writing body (0 != 16384)
—–
Linux version –
Red Hat Enterprise Linux Server 7.6 ga server
kernel 3.10.0-957.5.1.el7.x86_64
disable selinux completed,
Thanks Brother. Cpanel and WHM installation in CentOS is very easy. The installation process you have shown for CentOS.
How to install in RHEL -7 ??