Dropbox is a file hosting service widely used as a cloud storage. You can signup for free with Dropbox and get free cloud storage for the limited size. The Dropbox client is also available for most of the operating systems and Mobile devices. You can use client software to access dropbox space from your system easily. This tutorial helps you to Install Dropbox on Ubuntu 18.04, 17.10, 16.04 and 14.04 LTS systems.
Step 1 – Prerequsites
You must have an account with the Dropbox. If you don’t have an account sign up here.
Now login to your system and continue to next step.
Step 2 – Download Dropbox Debian Package
You can download Dropbox Debian package (.deb) file from the official website. Make sure to download package with correct architecture as per your system running.
You can also use the below command to download Dropbox packages.
wget https://linux.dropbox.com/packages/ubuntu/dropbox_2015.10.28_amd64.deb
Step 3 – Install Dropbox on Ubuntu
Now run the following commands to install downloaded file. The second command is used to install all required depencies for Dropbox package.
sudo dpkg -i dropbox_2015.10.28_amd64.deb
sudo apt install -f
Step 4 – Configure Dropbox
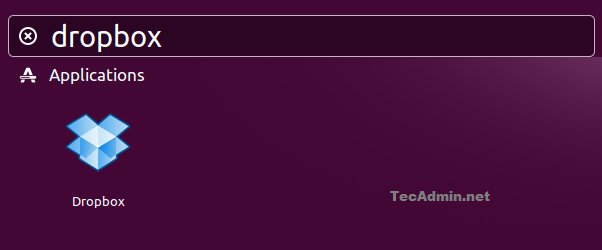
Launch the Dropbox on your system using Desktop.
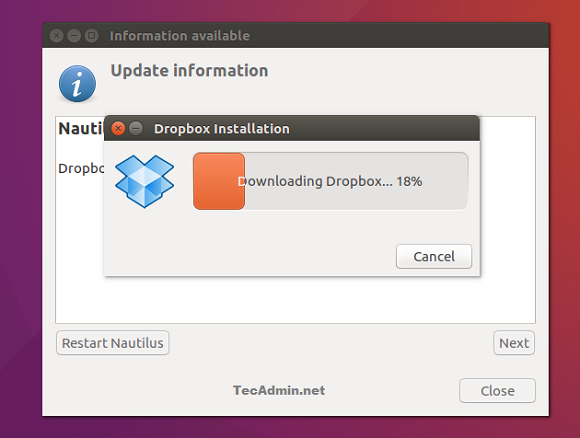
During the first launch, an installation window will appear. Just wait for the install complete.
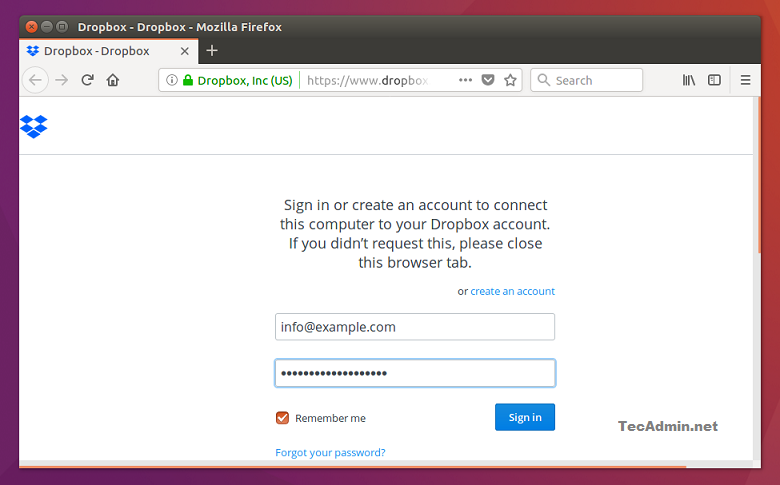
After the installation, A login window will open in your default web browser. Login to the Dropbox account. This will attach your Dropbox account to your system.
Your system is successfully connected to your Dropbox account. You will see a Dropbox icon on top bar as shown below. Click on this icon to find more options to manage this.
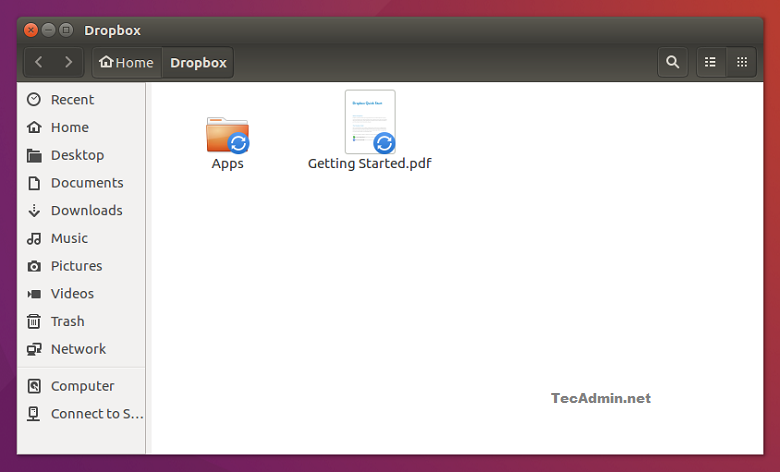
Finally, You can access your Dropbox directory under home directory.


