
Eclipse is a powerful IDE for various programming languages. In this how-to guide, we used Eclipse for Java EE developers. You can download Eclipse version required for your and the remaining steps are similar for all. Let’s follow the tutorial to install Eclipse Oxygen 4.8 on Fedora 28,27,26,25 and CentOS 7,6.
Step 1 – Prerequisites
Eclipse required Java to be installed on your system. Make sure you have proper Java installed. If you don’t have Java installed, Use below link for the JDK/JRE installation on your system.
Step 2 – Download Eclipse
Eclipse IDE is available for Java EE developers, JAVA developers, PHP developer, C and C++ developers, JavaScript developers, and many other programmers. You can download required IDE from its official website.
For this tutorial, I have download Eclipse IDE for Java EE developers. You have other options available on download page.
Step 3 – Configure Eclipse IDE
I assume you have downloaded Eclipse source code (eclipse-jee-photon-R-linux-gtk-x86_64.tar.gz). Extract the Eclipse archive file under /usr/local directory. It’s not a recommended location, you can change this location as you want. After extract, a directory named eclipse will be created.
tar -zxvf eclipse-jee-photon-R-linux-gtk-x86_64.tar.gz -C /usr/local/
It’s ready to use Eclipse application. Simply create an eclipse binary symbolic link to make it accessible system-wide.
ln -s /usr/local/eclipse/eclipse /usr/bin/eclipse
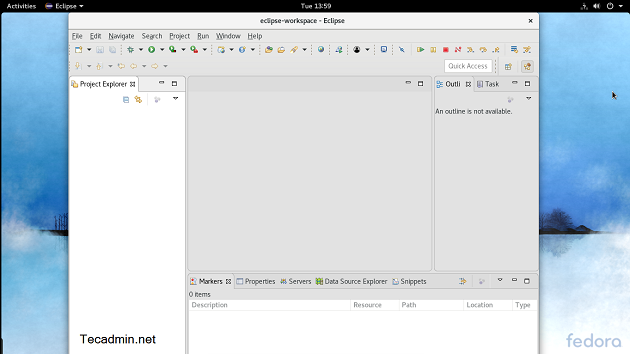
Type eclipse on command prompt to launch the Eclipse IDE. Follow the next step to create an Eclipse desktop launcher.
Step 4 – Configure Eclipse Launcher
The Eclipse IDE is accessible from the command line. In this step create a desktop launcher for the Eclipse. In this step simply create an eclipse.desktop file on your system at below location.
vim /usr/share/applications/eclipse.desktop
Add the entry to file and save it.
[Desktop Entry]
Name=Eclipse
Comment=Eclipse IDE
Type=Application
Encoding=UTF-8
Exec=/usr/bin/eclipse
Icon=/usr/local/eclipse/icon.xpm
Categories=GNOME;Application;Development;
Terminal=false
StartupNotify=true
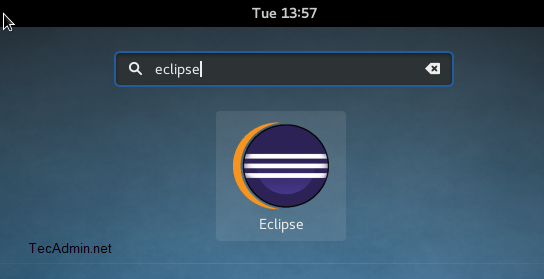
Now search the Eclipse in GNOME search, You will find the icon as below screenshot. Click this launcher to launch Eclipse IDE.
Step 5 – Enable Java 9 Support to Eclipse
The users with Java 9 needs to enable the support of Java 9 in your Eclipse. Visit below link to enable Java 9 support in your Eclipse IDE.
https://marketplace.eclipse.org/content/java-9-support-beta-oxygen

