eJabberd is a robust, scalable and extensible XMPP Server. eJabberd is written in Erlang programming language. All the eJabberd features are easily accessible from any mobile app or web applications. The use of web-sockets in eJabberd provides the ability to seamlessly send and receive messages while a browser tab is opened.
Install eJabberd
eJabberd packages are available under default system repositories. You just need to use run below commands to install eJabberd packages. This will also installed Erlang programming language packages.
$ sudo apt-get install ejabberd
Configure eJabberd
For this installation we are using domain im.example.com in configuration. You may only use localhost for you local system, but for remote server use a domain or sub-domain. So at first I make a host file entry to map im.example.com with eJabberd server ip address.
$ sudo echo "192.168.10.120 im.example.com" >> /etc/hosts
Now you need to create admin accounts for your domain. Below commands will create admin accounts for both virtual hosts localhost and im.exmaple.com.
$ ejabberdctl register admin localhost password
$ ejabberdctl register admin im.example.com password
Now edit ejabberd configuration file
acl:
  admin:
     user:
         - "admin": "localhost"
         - "admin": "im.example.com"
Now add im.example.com under hosts section.
hosts:
  - "localhost"
  - "im.example.com"
Access eJabberd Web Panel
After making all above configuration, let’s restart eJabberd service using following command.
$ sudo service ejabberd restart
eJabberd admin web panel start on default port 5280. Access access your domain on port 5280 followed by /admin
http://im.example.com:5280/admin
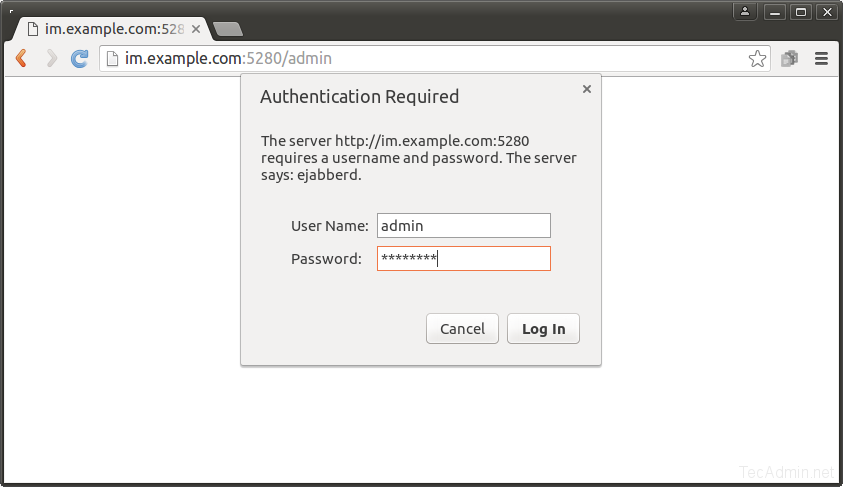
Input admin username and password of host im.example.com as shown above. If you have access ejabberd through localhost, then input login details of localhost admin account as created in above step.
Verify Setup
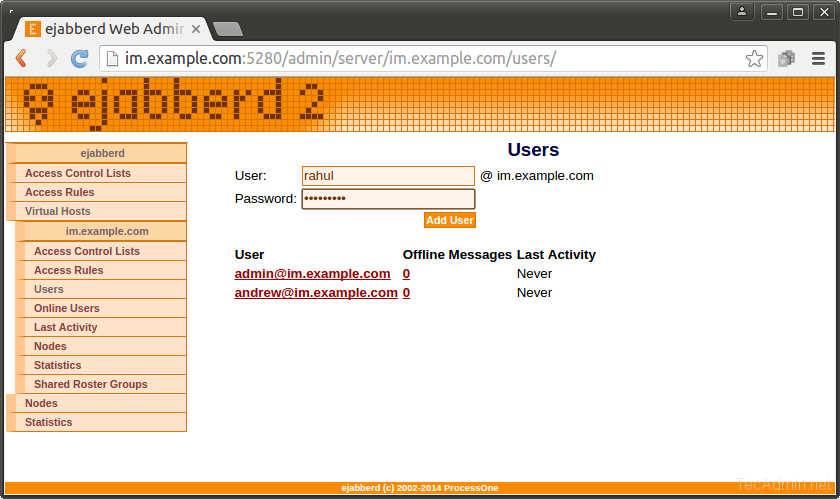
To verify setup we will use XMPP client and login with two different users and then try messaging between them. So first of all create two user accounts in our virtual host as per showing in below image.
  rahul@im.example.com
  andrew@im.example.com
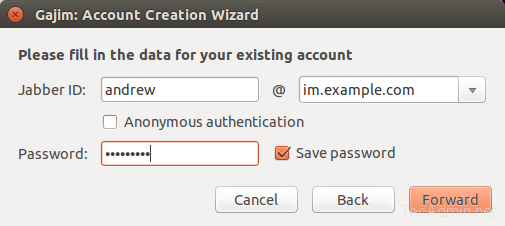
Now install a XMPP client on your system. For this example we will use Gajim xmpp client, You may also use other alternatives like Pidgin etc. Use following command to install Gajim two systems.
$ sudo apt-get install gajim
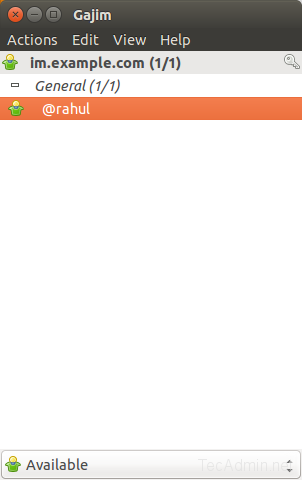
Now start Gajim (from non root account) and login to Gajim on both systems with different-2 user accounts.
Now, add other account from Actions >> Add Contact menu options. It will sent the request to remote user. When remote user approve or reject your request, eJabberd notify you the status of your request. On approved request, remote contact will display in your chat list.
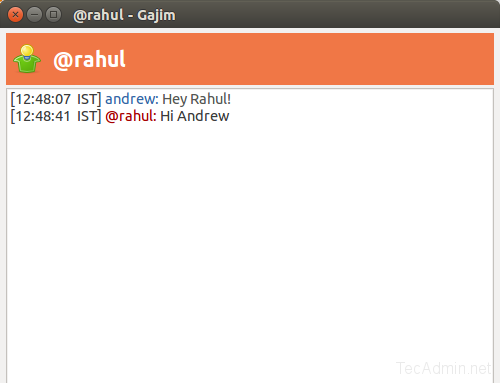
Finally, You can start messaging between both accounts.
6 Comments
Hi, thanks for this blog. It saved my day.
sergey@mail:~$ sudo ejabberdctl register admin im.example.com password
Can’t register user admin@im.example.com at node ejabberd@mail: not_allowed
help!)))
Hello,
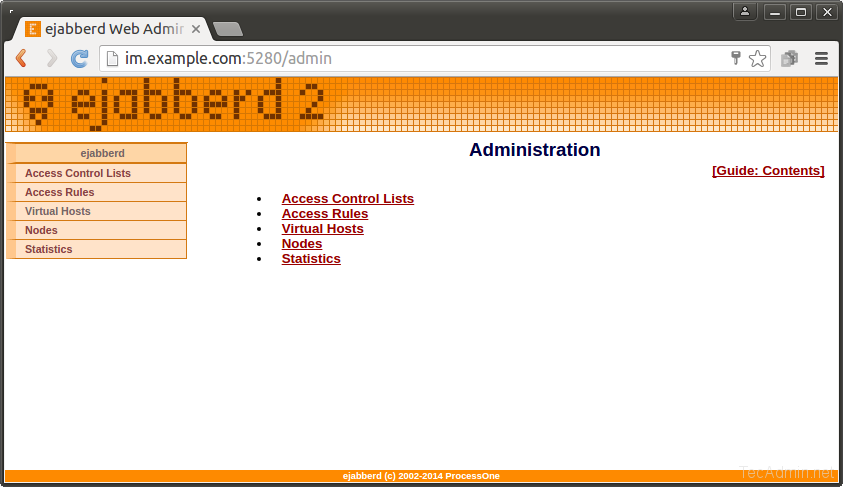
What to do to see all options in admin panel?
After I logged in I can see only this:
Thanks for the article!
One thing:
Before adding the admin account for ‘im.example.com’, you have to
add it to the hosts section of ejabberd.yml, then restart the server
and finally you can add the admin account for the new virtual host.
Hello,
I’m currently trying to install ejabberd on my Ubuntu 14.04 server. However, after following the article, I cannot find an ejabberd.yml file in /etc/ejabberd folder. Instead there is only a cfg file.
I reinstalled and made sure that ejabberd is the latest version. Any ideas whether I can convert my cfg to yml?
Thanks alot!
LF
In Ubuntu 14.04 there isnt a ejabberd.yml file, you have open the ejabberd.cfg, e.g.
sudo nano /etc/ejabberd/ejabberd.cfg