
Elgg is an opensource PHP based application. This is very useful creating social networking site in few minutes. Click here to read more about Elgg.
This article will help you to install Elgg on LAMP environment on CentOS, RHEL & Fedora systems. For this tutorial we assume that you already have LAMP setup on your system. If you do not have LAMP setup use this article to setup.
Step 1: Download Elgg Archive and Extract
Firstly we need to downlaod Elgg archive file and extract it in appropriate directory.
# cd /var/www
# wget  wget http://elgg.org/download/elgg-1.8.17.zip
Extract archive in document root of you domain and update permissions on files.
# tar xzf elgg-1.8.17.zip
# mv elgg-1.8.17 elgg
# chown -R apache.apache elgg
# chmod -R 755 elgg
Create Elgg data directory, where elgg saved its files.
# mkdir /var/www/elggdata
Step 2: Create MySQL Database and User
After extracting code we need to create a MySQL database and user account for configuring Elgg. Use following set of command to do it
# mysql -u root -p
Enter password:

mysql> CREATE DATABASE elgg;
mysql> GRANT ALL ON elgg.* to 'elgg'@'localhost' IDENTIFIED BY '_secret_password_';
mysql> FLUSH PRIVILEGES;
mysql> quit
Step 3: Configure Apache VirtualHost
Edit apache configuration file and add a new virtual host for WordPress setup like below.
# vim /etc/httpd/conf/httpd.conf
Add following setting at end of file
<VirtualHost *:80>
    ServerAdmin webmaster@example.com
    DocumentRoot /var/www/elgg
    ServerName elgg.tecadmin.net
    <Directory /var/www/elgg>
        Allowoverride all
    </Directory>
</VirtualHost>
If you already have another virtualhost created in config file, make sure to enable NameVirtulHost for using multiple VirtualHosts.
Reload Apache service to read configuration file again.
# service httpd reload
Step 4: Finish Installation using Web Installer
Elgg provides an web installer for easy to setup without editing files manually. After completing above steps just point your browser to your domain.
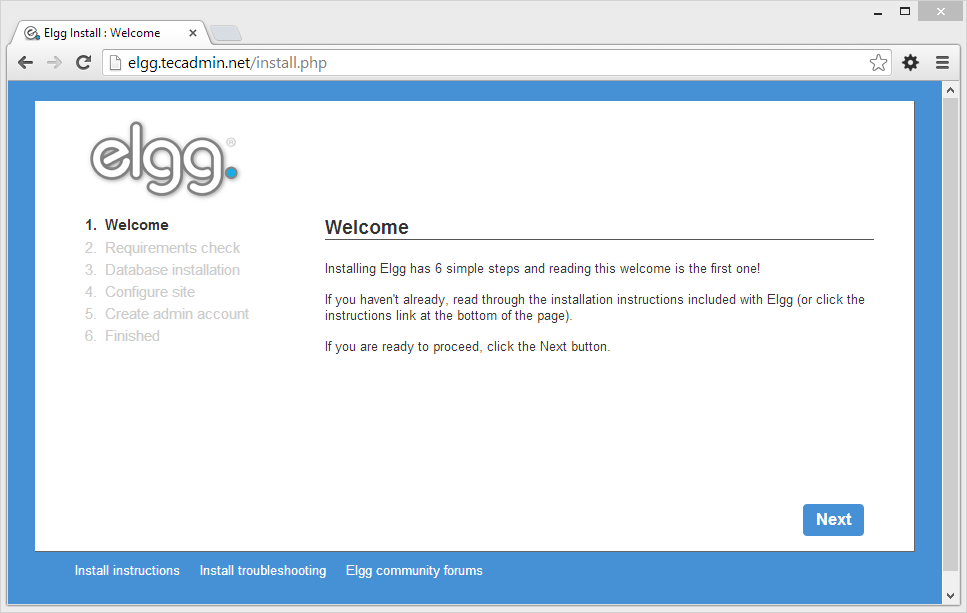
4.1 Open following URL in Browser and Click on Next
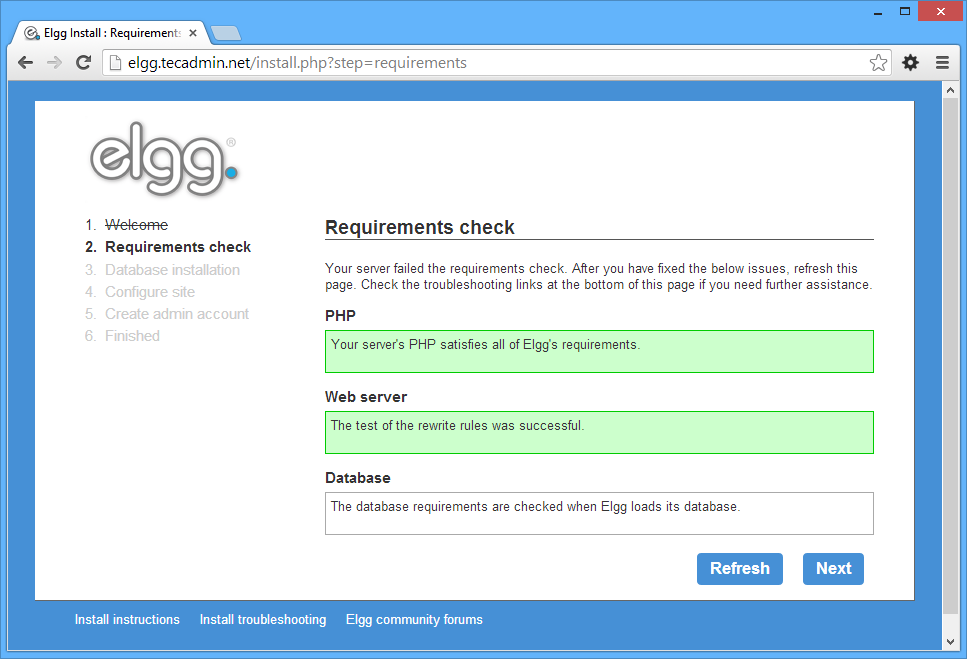
4.2 Make sure all requirement fulfill and click Next
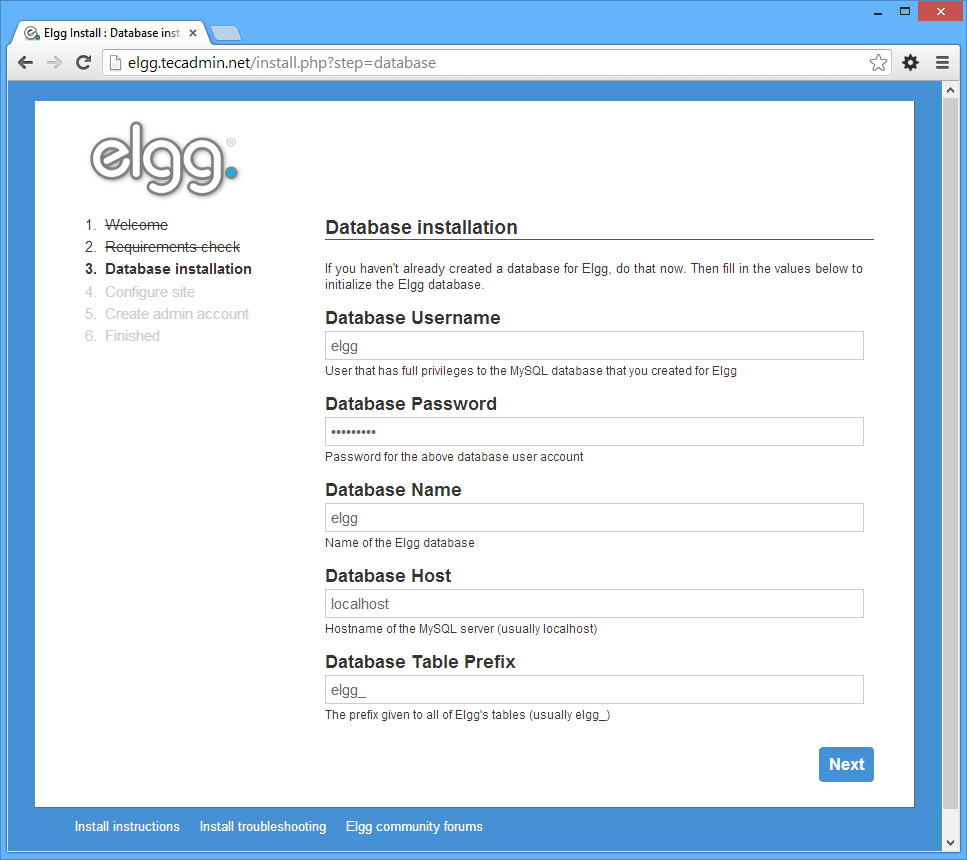
4.3 Enter the database details and click Next
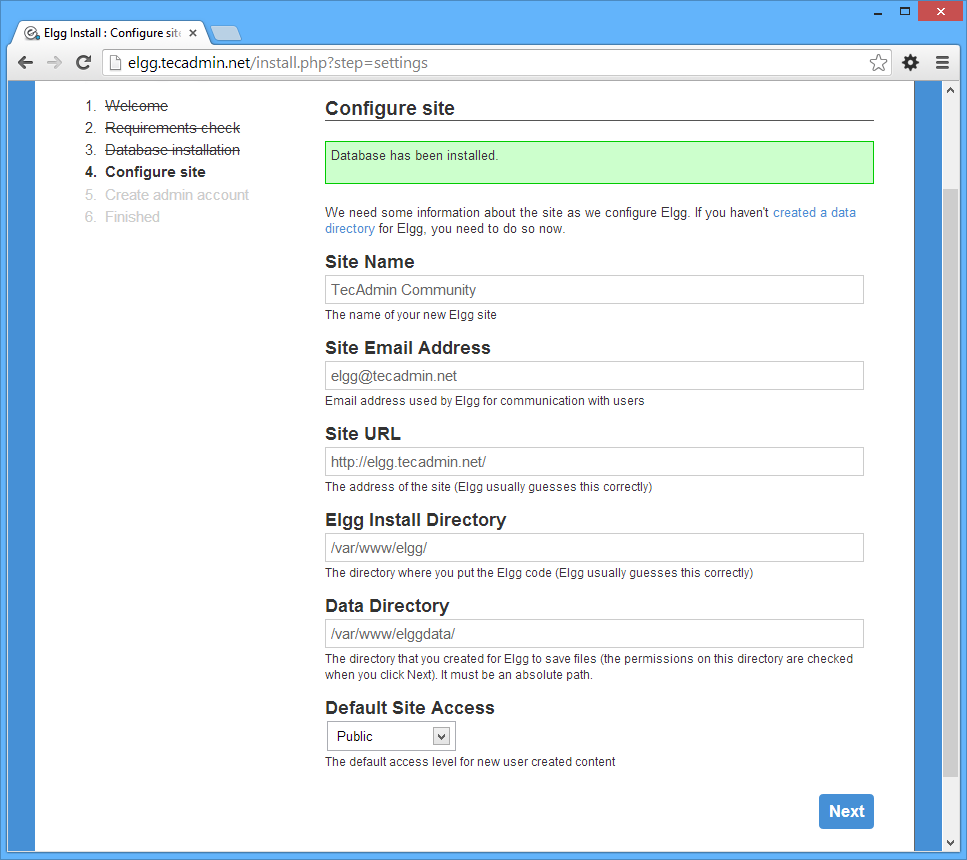
4.4 Enter the site details and click Next
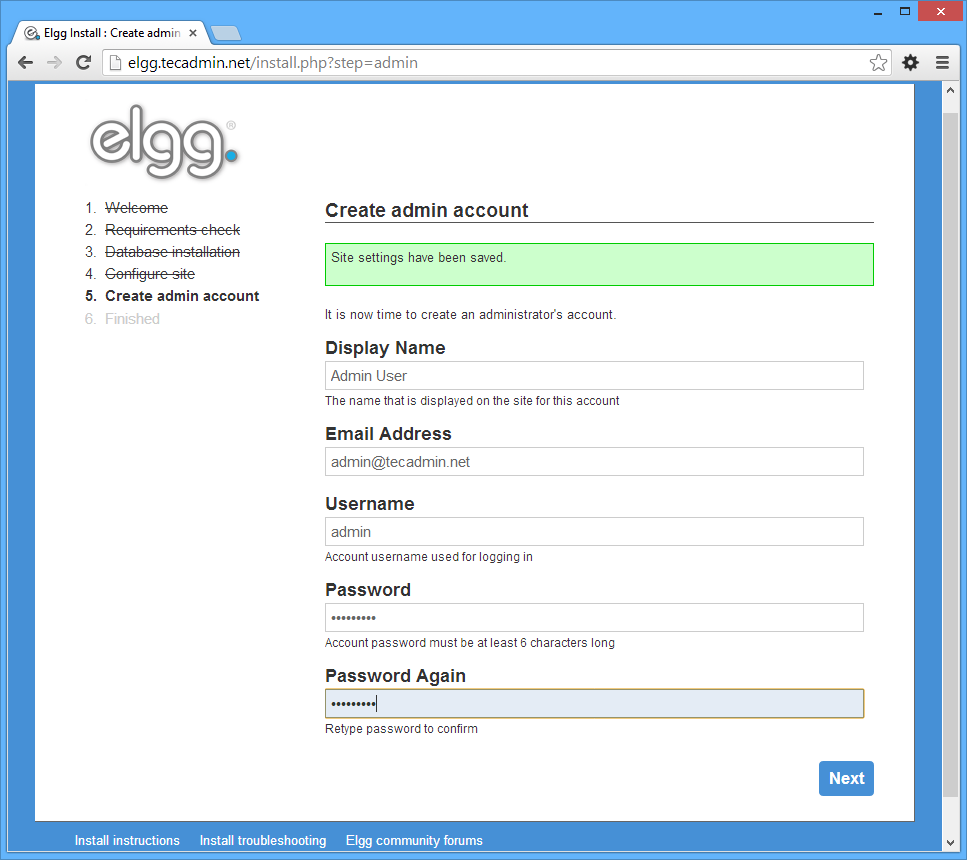
4.5 Insert admin user details and click Next
4.6 Finally installation completed and click Go to site
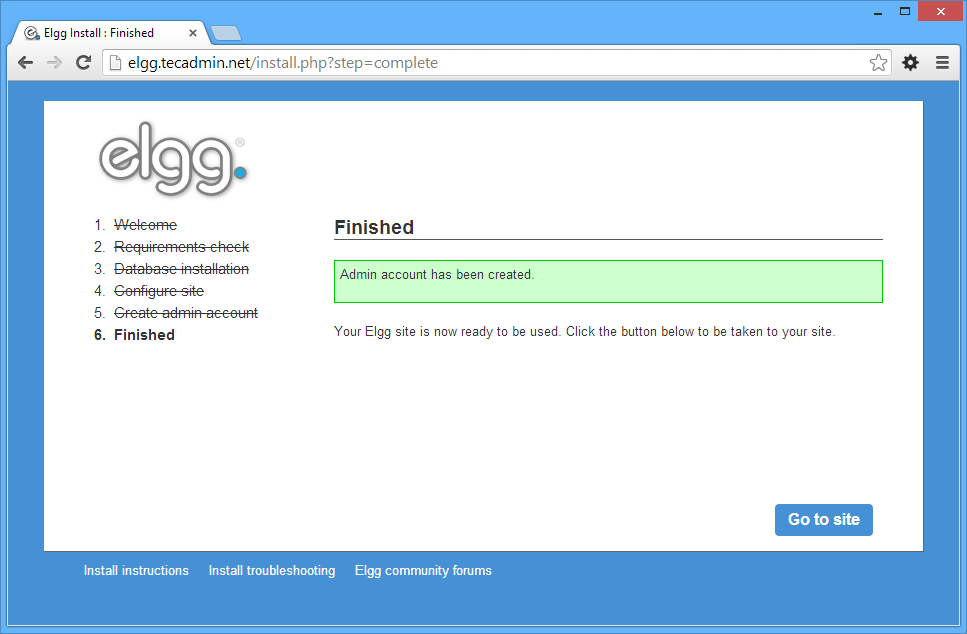
Now you have successfully created your own social networking site using Elgg.
1 Comment
I create a date base on mariadb but even that, when on DataBase Installation it shows me that the database does not exist, that i have to create one but i’ve already created, i drop it and i create it once again but the same error. Please some help 🙁