
Gitlab is the best alternative to Github git repository management system. It provides an option to users of the self-hosted version as well. You can simply install Gitlab server and take full advantages of its outstanding features. This tutorial will help you Install Gitlab Server (Community Edition) on your own Ubuntu 18.04 & 16.04 LTS systems.
You can also visit Online Git Tutorial section to learn about Git command line tutorials and examples.
Step 1 – Prerequisites
Use the following commands to install required dependencies to begin Gitlab installation.
sudo apt-get update
sudo apt-get upgrade
Now install some other required packages to complete the installation process.
sudo apt-get install -y vim curl openssh-server ca-certificates
Step 2 – Install Gitlab on Ubuntu
Now, enable the Gitlab Debian package repository on your system. Execute below command on your system, this will add a file /etc/apt/sources.list.d/gitlab_gitlab-ce.list in your system.
curl -sS https://packages.gitlab.com/install/repositories/gitlab/gitlab-ce/script.deb.sh | sudo bash
After enabling apt repository, run following command to install Gitlab community edition.
sudo apt-get install gitlab-ce
The above command will install all the required applications including Nginx web server to run Gitlab on your system.
Step 3 – Enable Let’s Encrypt SSL
Gitlab provides option to confiugre Let’s encrypt SSL certificate to run over secure HTTP protocol. You must have point a domain to the server’s IP. For example, I have done the following entries to our dns server.
Then edit the configuration file
vim /etc/gitlab/gitlab.rb
Step 4 – Configure Gitlab Server
Next, configure Gitlab server using the following command. This will make all the installations and required changes in order to run Gitlab community edition on Ubuntu system.
sudo gitlab-ctl reconfigure
The configuration process will take time to complete setup.
Step 5 – Adjust Firewall
You need to open ports in firewall to access on network. The below commands will allow http and https service in firewalld and make them permanent
sudo firewall-cmd --permanent --zone=public --add-service=http
sudo firewall-cmd --permanent --zone=public --add-service=ftp
Next, run the following command to implement the changes:
sudo firewall-cmd --reload
Step 6 – Gitlab Dashboard Access
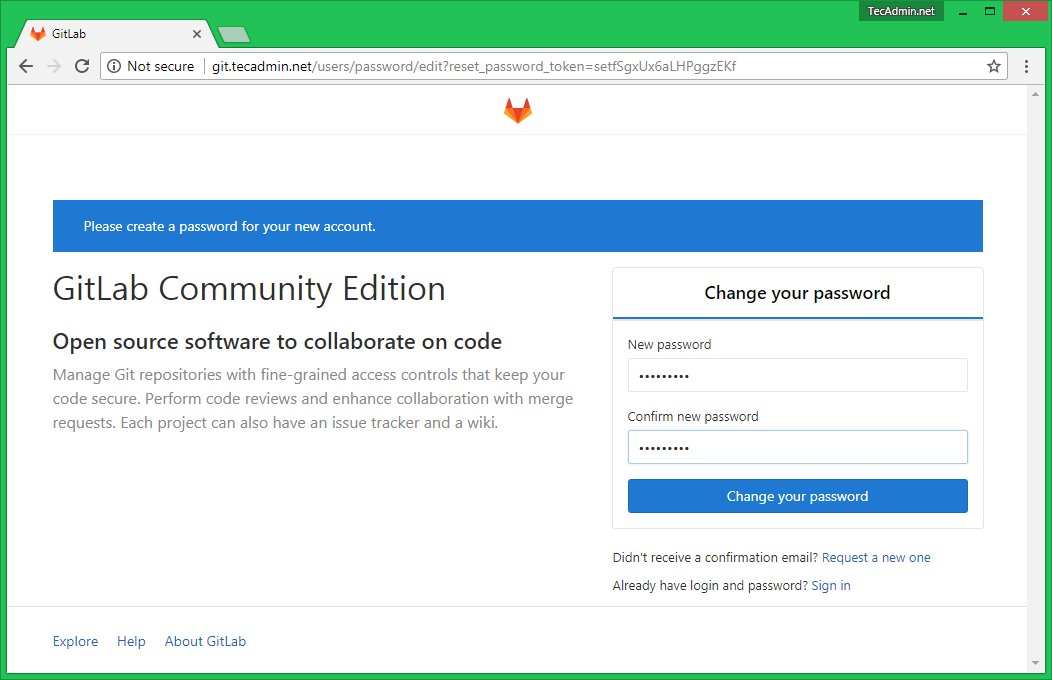
Access your server using the domain name or IP address on standard HTTP port 80. You will get the password change screen for root user for the first time as below. Update the new secure password for the root user.
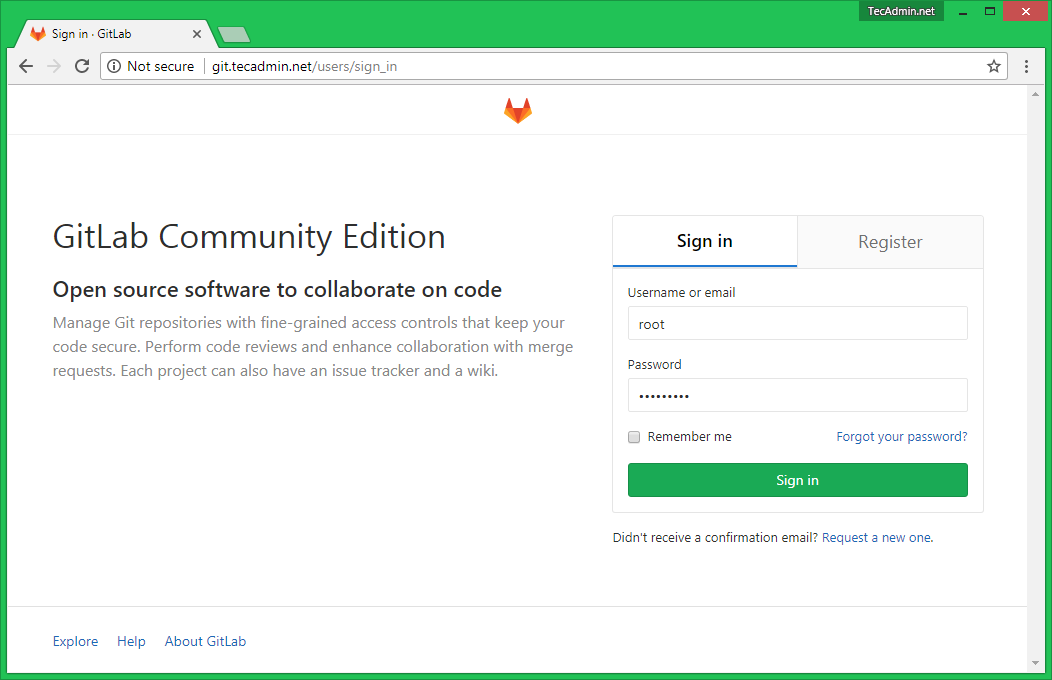
After successfully changed the password navigate to the login screen and log in with user “root” and the specified password.
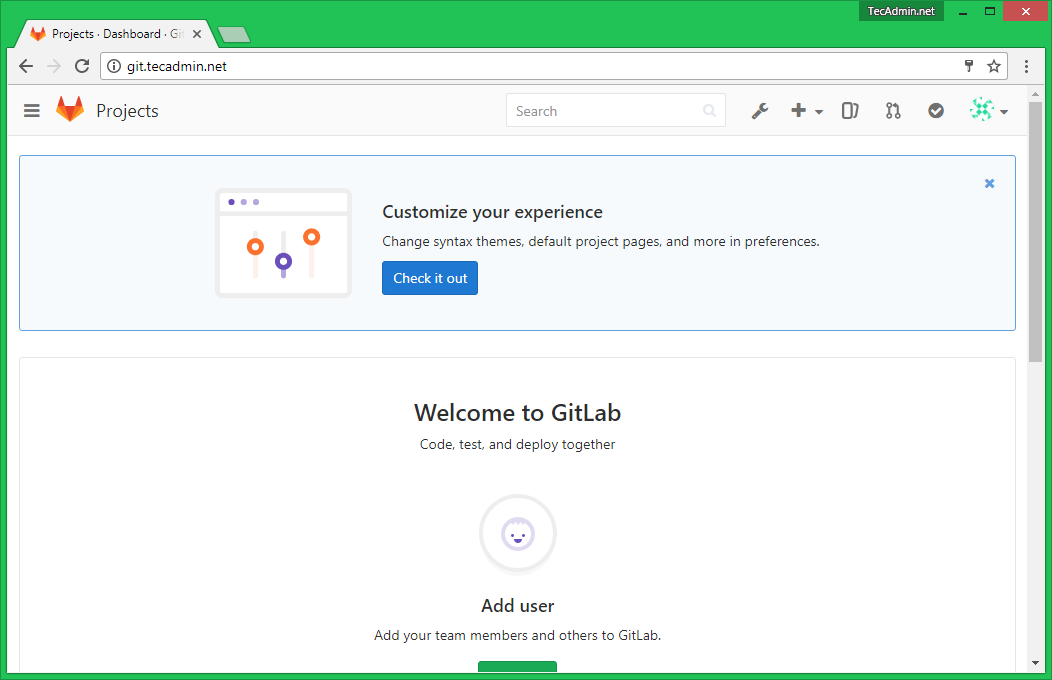
After login, you will get the dashboard access to your Gitlab server. Here you can start with the creation of users and new git repositories.
Now visit our Git Tutorial to learn more about uses of Git repositories with command line helps and examples.
Step 7 – Schedule Gitlab Data Backup
Use the following command to create the complete backup of Gitlab data. The default backup location will be /var/opt/gitlab/backups. You can change this setting in /etc/gitlab/gitlab.rb file.
sudo gitlab-rake gitlab:backup:create
You can also add the same command scheduler to backup data nightly. Add the below cron to the system crontab.
0 22 * * * sudo gitlab-rake gitlab:backup:create
Conclusion
You have successfully installed and configured Gitlab community edition on your Ubuntu system.
1 Comment
i installed gitlab ce now i want to configue it with LDAP HELP NEEDED