ImageMagick is a software suite to create, edit, compose, or convert bitmap images. It can read and write images in a variety of formats like GIF, JPEG, PNG, Postscript, and TIFF. We can also use ImageMagick to resize, flip, mirror, rotate, distort, shear and transform images, adjust image colors, apply various special effects, or draw text, lines, polygons, ellipses and Bézier curves.
This article will help you to install ImageMagick on 19.04, 18.04 & 16.04 LTS operating systems.
Step 1 – Prerequsities
First of all, You need to install the required packages in order to install ImageMagick and Imagick PHP extension. You can also visit our tutorial to install different versions of PHP on Ubuntu.
sudo apt install php php-common gcc
Step 2 – Install ImageMagick
After installing required packages, let’s install ImageMagick using the following command. ImageMagick package is available under default apt repositories.
sudo apt install imagemagick
Step 3 – Install imagick PHP Extension
At this point, you have successfully installed ImageMagick package on your system. Now, you need to install Imagick PHP extension, So that we can use it through PHP code.
sudo apt install php-imagick
For different PHP version’s you need to install the specific version of imagick like php7.1-imagick or php7.3-imagick etc.
Step 4 – Restart Apache and Verify
After completing above steps you need to reload apache service to enable php exension using following command
sudo systemctl restart apache2
Now verify that module is enabled properly.
php -m | grep imagick

imagick
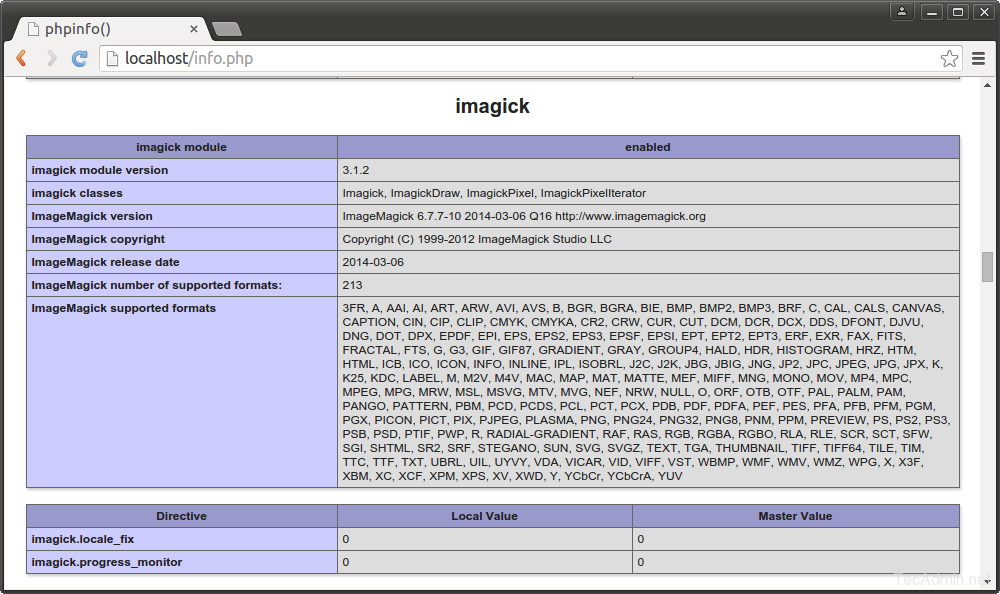
You can also create phpinfo() file to view ImageMagick on the web browser.
Click here to read more details about ImageMagick setup and there uses.


20 Comments
Useful info. I did mine with HEIC support.
https://medium.com/@eplt/5-minutes-to-install-imagemagick-with-heic-support-on-ubuntu-18-04-digitalocean-fe2d09dcef1
how to use it on xampp?
i’ve try all the steps but imagick still not show in phpinfo
Thanks a lot for your post, and it helped me to install imagick on my unbutu.
While I confused a little bit in step 3. It should be imagick PHP Extension but not ImageMagick PHP Extension.
short and very good, thank you
Thank you!
What if I don’t use apache but nginx instead? how would I install ImageMagick on a nginx webserver?
THANKS!
I was trying to get jpeg / jpg file uploads working with mediawiki 1.23.6 on CentOS 7 with Apache/2.4.6 and php 5.4.16. I ran the command:
yum install php-pear ImageMagick ImageMagick-devel ImageMagick-perl
restarted httpd, and now everything works. Thanks!
Sino
sudo apt-get install libmagickwand-dev
I found I had to install the above package to get the rmagick gem to install.
So great !
Reloading apache isn’t enough. Restarting should do the trick
Thank you…………..
# echo “extension=imagick.so” > /etc/php.d/imagick.ini
-bash: /etc/php.d/imagick.ini: No such file or directory
How to solve this?
It looks /etc/php.d directory doesn’t exists on your system. Add “extension=imagick.so” in your php.ini file.
Thanks, very useful quick reference! Cheers 🙂
php-pecl-imagick will install the php extension for you on CentOS / RHEL
Спасибо (thank you)!
This was just what I was looking for, Thank you for helping me install ImageMagick on my CentOS 7.0 VM!
Thanks for the instructions.
If you run into problems you may be that the /var/tmp directory is on a different drive to / and that you can’t build the files (our Rackspace servers running RHEL / CentOS are setup like this) – to get around this you can temporarily give /var/tmp executable permission e.g.
mount -o remount,exec /var/tmp/
(do stuff)
then change the permissions back…
mount -o remount,noexec /var/tmp/
Thanks
Thanks….