
Installing Ionic Framework on Ubuntu 20.04 is a straightforward process that enables developers to start building high-quality mobile and desktop applications using web technologies like HTML, CSS, and JavaScript. Ionic is an open-source UI toolkit for building performant, high-quality mobile and desktop apps using web technologies.
This guide will walk you through the steps of installing the Ionic Framework on Ubuntu 20.04, including the installation of Node.js, npm (Node Package Manager), and the Ionic CLI (Command Line Interface).
Prerequisites
Before you start, ensure that you have a working Ubuntu 20.04 system and access to a terminal. You will also need to have curl installed to fetch some of the necessary tools. If curl is not already installed, you can install it by running:
sudo apt update && sudo apt upgrade
Step 1: Install Node.js and NPM
Ionic Framework requires Node.js and npm to run. npm is distributed with Node.js, which means that when you download Node.js, you automatically get npm installed on your computer. The version of Node.js should be compatible with Ionic. As of writing, Ionic recommends using the Node.js LTS (Long-Term Support) version.
- First, download and install Node.js from the NodeSource repository. This ensures you get the latest version compatible with Ionic:
curl -sL https://deb.nodesource.com/setup_18.x | sudo -E bash -sudo apt-get install -y nodejs - Verify the installation by checking the versions of Node.js and npm:
node -vnpm -vThese commands should display the versions of Node.js and npm installed on your system, respectively.
Step 2: Install the Ionic CLI
With Node.js and npm installed, you can now install the Ionic CLI globally on your system. The CLI is a command-line tool that you use to create, build, and run Ionic apps.
- Install the Ionic CLI using npm:
sudo npm install -g @ionic/cli - Verify the installation by checking the Ionic version:
ionic -v
Step 3: Start a New Ionic Project
Now that you have Ionic installed, you can start a new project to begin development.
- Create a new Ionic project using the Ionic CLI. This command creates a new directory with all the necessary files for your project:
ionic start myApp tabsYou can replace myApp with your preferred project name and tabs with the starter template you want to use (e.g., blank, sidemenu, tabs). The CLI will ask a few questions about the project, such as whether to integrate with Angular, React, or Vue, and whether to use Capacitor or Cordova for native project integration.
- Navigate to your project directory:
cd myApp - Serve your app to view it in a browser:
ionic serve
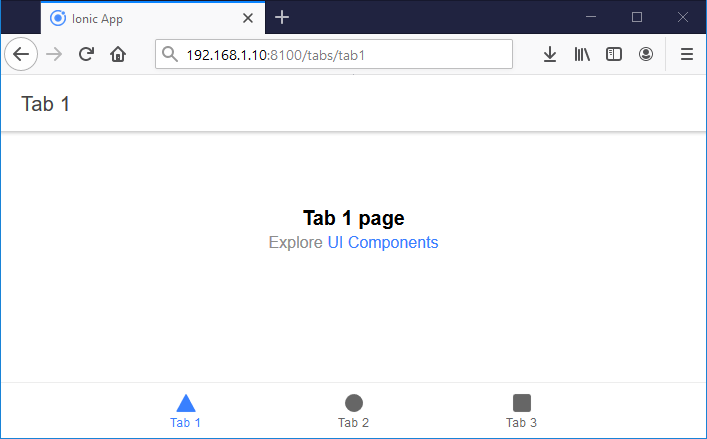
This command will compile your app and start a development server. You can view your app by opening http://localhost:8100 in your web browser.
For more details visit https://ionicframework.com/docs/intro/cli
Conclusion
You have successfully installed the Ionic Framework on Ubuntu 20.04 and started a new project. From here, you can continue developing your app, adding new features, and testing it on different platforms. The Ionic documentation is an excellent resource for learning more about what you can do with Ionic and how to deploy your apps to various platforms.
1 Comment
Worked perfectly. Thank you.