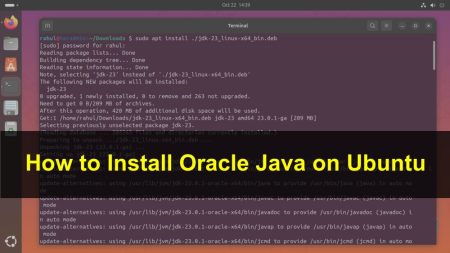
How do I install Java 9 on Debian 9/8. Oracle Java 9 is the latest stable release available to install. The first Oracle Java 9 stable version was released on Sep 21, 2017. This tutorial will help you with the installation of Java 9 on Debian Linux. Follow the instructions below to install Java 9 (JDK and JRE) on Debian system.
The users still want Java 8 on their system can use below tutorial to install Java 8 on Debian machine.
Step 1 – Add JAVA 9 PPA
In this tutorial, we need to add webupd8team apt repository on our system. Run the below commands to add Java 9 PPA on your system and go for the Java installation on Debian.
Create a new PPA file and edit in your favorite text editor:
sudo vim /etc/apt/sources.list.d/oracle-java9.list
and add the below content to file and save it
deb http://ppa.launchpad.net/webupd8team/java/ubuntu xenial main
deb-src http://ppa.launchpad.net/webupd8team/java/ubuntu xenial main
Now import GPG key on your system for validating packages before installing them.
sudo apt-key adv --keyserver keyserver.ubuntu.com --recv-keys EEA14886
Step 2 – Install Java 9 on Debian
Run the following commands to install Java 9 on a Debian system. The java PPA contains a package oracle-java9-installer, Which doesn’t actually contains Java files. This package contains a script which will download Java archive from its official website and configure on your system.
sudo apt-get updatesudo apt-get install oracle-java9-installer
Step 3 – Verify Java Installation
You have successfully installed Java 9 on your Debian system. Let’s verify installed version of Java on your system using the following command.
java -version

java version "9.0.4"
Java(TM) SE Runtime Environment (build 9.0.4+11)
Java HotSpot(TM) 64-Bit Server VM (build 9.0.4+11, mixed mode)
Step 4 – Configure Java Environment
In Webupd8 PPA repository also providing a package to set environment variables, Install this package using the following command. This will set the user environment variables for JAVA in your system.
sudo apt-get install oracle-java9-set-default
References:
https://launchpad.net/~webupd8team/+archive/java


1 Comment
unicamente una observacion:
deb http://ppa.launchpad.net/webupd8team/java/ubuntu xenial main
deb-src http://ppa.launchpad.net/webupd8team/java/ubuntu xenial main