Mostly every programmer following a software development life cycle that helps them to keep track of the application. A development life cycle have there own challenges and one of them is to build, test and deploy application. Jenkins is an automation server for the continuous integration tool. It provides a number of plugins for building and deploying your application in an easier way.
You can use Jenkins as a simple CI (Continuous Integration) server or configure this for the CD (Continuous Delivery) hub for any number of the projects. With the help of Jenkins, you can easily distribute work across multiple machines, helping drive builds, tests and deployments across multiple platforms faster.
This tutorial will help you to install and configure Jenkins on Ubuntu 24.04 LTS Linux system. The same instruction can be use for other Ubuntu versions as well. Let’s go through the tutorial to install Jenkins on an Ubuntu system.
Prerequisites for Jenkins Installation
- Ubuntu server with 22.04 version
- SSH access to server with non-root sudo user
- Java 17 or higher for latest Jenkins (See compatibility chart)
- A web server running Apache or Nginx
Step 1: Installing Java Development Kit
Jenkins latest version required Java 17 or above versions. The Ubuntu default repositories contains all required JDK packages. Update the Debian packages cache to get latest version definitions.
sudo apt update
Then install the OpenJDK 17 or higher version on your machine. You can find available versions using “apt search jdk” command.
sudo apt install openjdk-17-jdk
Once JDK installation finished, check the currently active java version.
java -version
You should she the installed Java version as output.

Step 2: Configure Jenkins PPA
Jenkins officially provides the repositories for package management for the popular operating system. Use the following command to add Jenkins key to your system:
sudo wget -O /usr/share/keyrings/jenkins-keyring.asc \
    https://pkg.jenkins.io/debian-stable/jenkins.io-2023.key
The enable the Jenkins PPA on your Ubuntu system. This repository contains required packages to install Jenkins on Ubuntu Linux.
echo "deb [signed-by=/usr/share/keyrings/jenkins-keyring.asc]" \
    https://pkg.jenkins.io/debian-stable binary/ | sudo tee \
    /etc/apt/sources.list.d/jenkins.list > /dev/null
Step 3: Installing Jenkins on Ubuntu
Update the Debian package cache before installing Jenkins on Ubuntu. After that, you can install Jenkins on an Ubuntu system by running below commands.
sudo apt updatesudo apt install jenkins
By default Jenkins listens on port 8080, which is very common by multiple applications. If this port is already occupied, you can change this in /etc/default/jenkins configuration file by updating value of HTTP_PORT. Make sure to restart jenkins after changes.
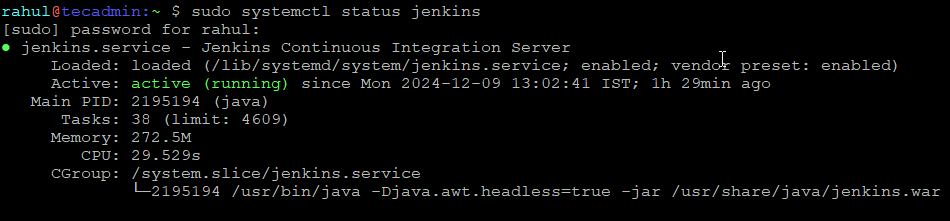
Now verify the Jenkins service status:
sudo systemctl status jenkins
Step 4: Initial Jenkins Configuration
Access your server on port 8080 (Or updated port) in your favorite web browser. You will find an wizard to complete initial setup.
- On the first screen, jenkins will prompt for the initial admin password, You can find that password in
/var/lib/jenkins/secrets/initialAdminPasswordfile as shown in below image.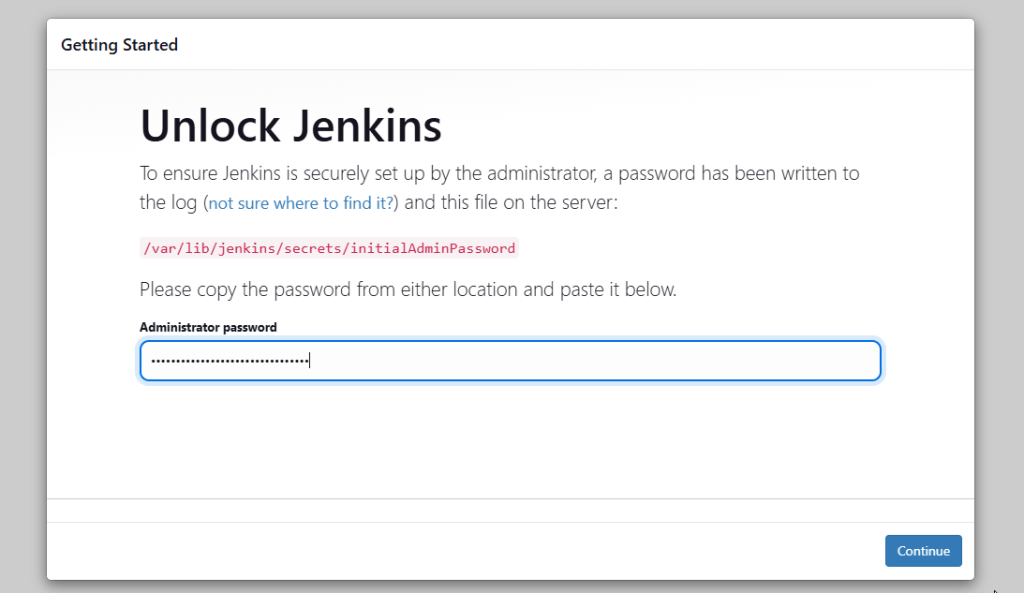
- Now select appropriate option to install the plugin. You can choose to install suggested plugins or select the required plugins options.
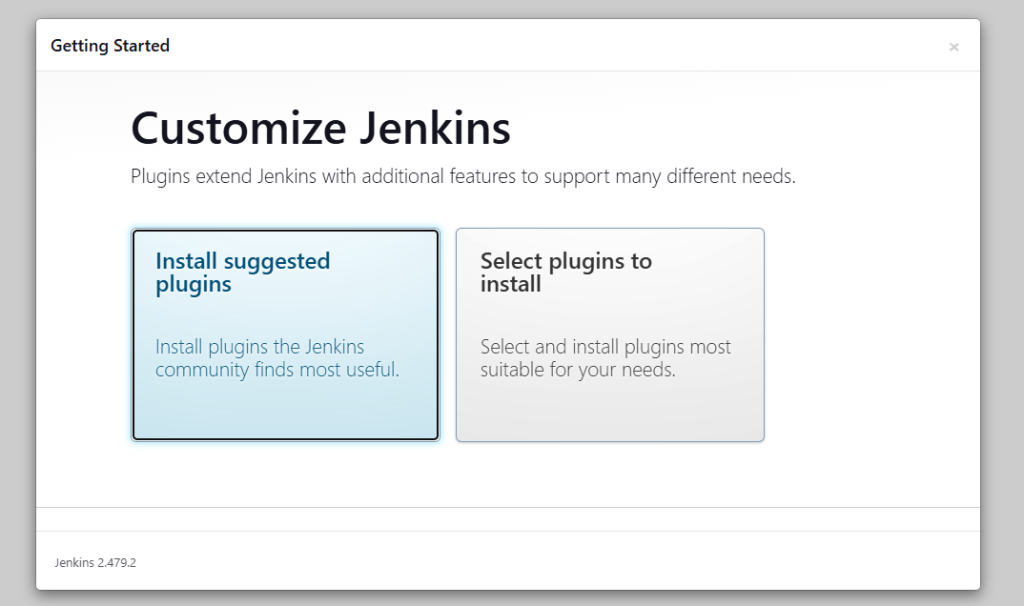
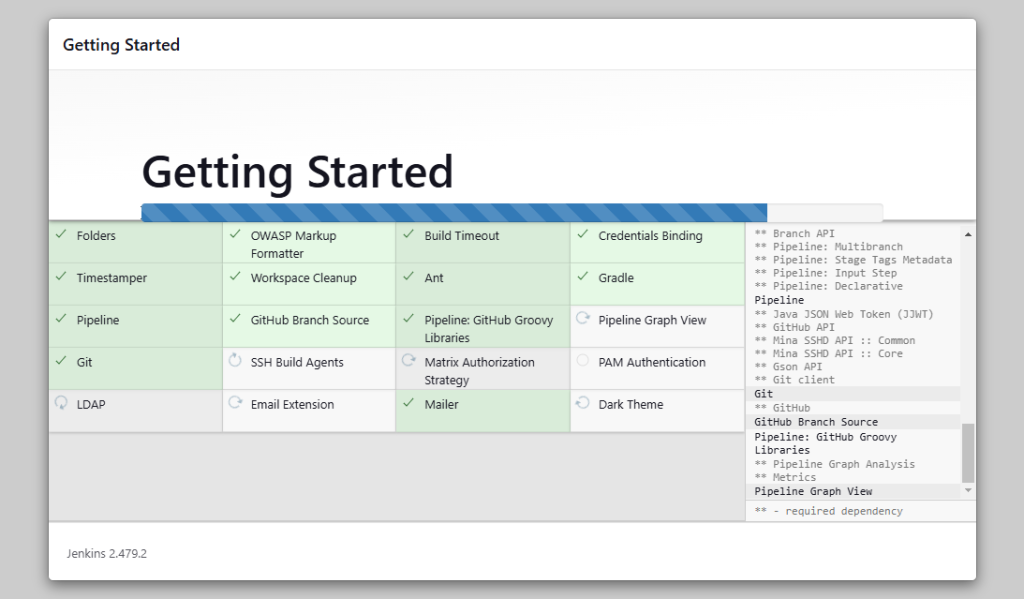
- I have selected the “install suggested plugins” options. Jenkins will show you the plugins that are installing.
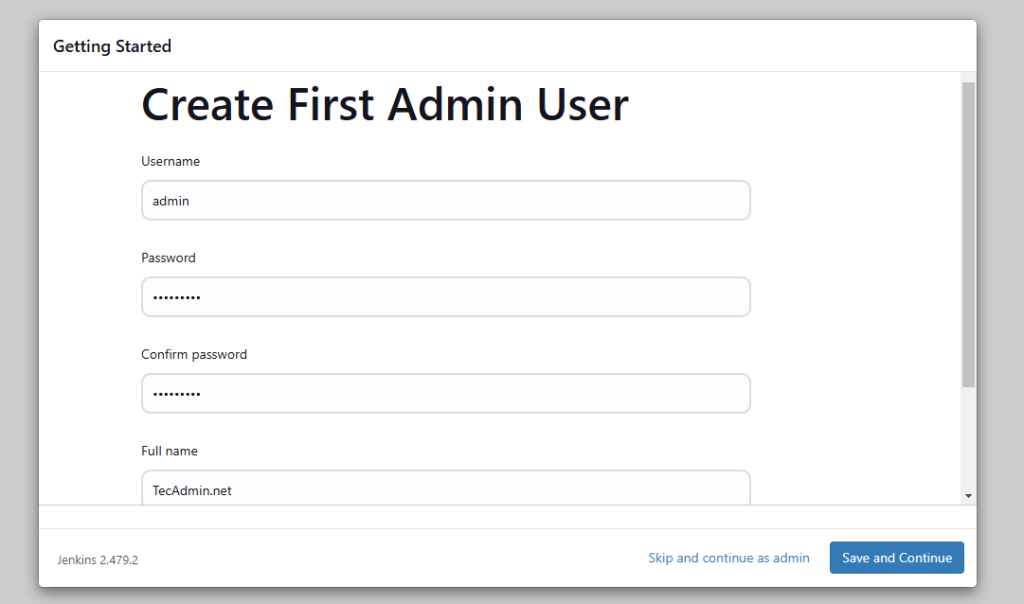
- Now create an admin account for your Jenkins setup. This will be required to log in to Jenkins.
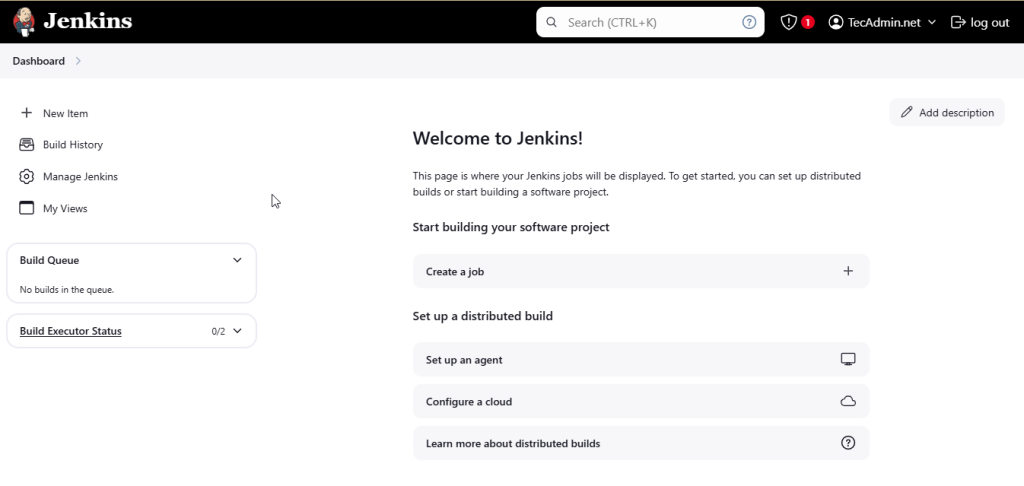
- Once you logged in, you will find the dashboard. Where you can create pipeline to build, test and deploy your code.
Conclusion
This tutorial helped you to install and initial configuration of Jenkins server on your Ubuntu system. Now you can start build, test and deploy application with CI/CD implementation.


6 Comments
Job for jenkins.service failed because the control process exited with error code. See “systemctl status jenkins.service” and “journalctl -xe” for details.
invoke-rc.d: initscript jenkins, action “start” failed.
dpkg: error processing package jenkins (–configure):
subprocess installed post-installation script returned error exit status 1
Processing triggers for systemd (229-4ubuntu21.21) …
Processing triggers for ureadahead (0.100.0-19) …
Errors were encountered while processing:
jenkins
E: Sub-process /usr/bin/dpkg returned an error code (1)
can you just help me im getting error like this.. what should i do to resolve this
Thank you Rahul. The tutorial was helpful and easy to follow.
Wow. That is so elegant and logical and clearly explained. Keep it up! I follow up your blog for future post.
Reading package lists… Done
N: Ignoring file ‘jenkins.list’’ in directory ‘/etc/apt/sources.list.d/’ as it has an invalid filename extension
Typo in the command that created jenkins.list. My error. Feel free to delete this, if you can.
Here is a one click deployment solution for running Jenkins on Digital Ocean. https://digitaldock.io/app/11