
Jenkins is an automation server and continuous integration tool. It provides a number of plugins for building deployments and automation for your applications. You can use Jenkins as a simple CI (Continuous Integration) server or configure this for the CD (Continuous Delivery) hub for any number of the projects. With the help of Jenkins, you can easily distribute work across multiple machines, helping drive builds, tests and deployments across multiple platforms faster.
This tutorial will guide you to install Jenkins on Ubuntu 18.04 LTS & 16.04 LTS. This also helps you with the basic help about creating a user and install plugins in Jenkins. Let’s go through the tutorial to install Jenkins on an Ubuntu system.
Step 1 – Add Jenkins PPA
Jenkins team provides official repositories for package management for the popular operating system for installing Jenkins on a Linux VPS. Use below commands to enable Jenkins PPA on your Ubuntu system. This repository contains required packages to install Jenkins on Ubuntu Linux.
wget -q -O - https://pkg.jenkins.io/debian/jenkins.io.key | sudo apt-key add -
sudo sh -c 'echo deb http://pkg.jenkins.io/debian-stable binary/ > /etc/apt/sources.list.d/jenkins.list'
Step 2 – Install Jenkins on Ubuntu
Update the apt-get cache before installing Jenkins on Ubuntu. After that, you can install Jenkins on an Ubuntu system by running below commands.
sudo apt-get update
sudo apt-get install jenkins
After installation of Jenkins on Linux server. The default Jenkins run on port 8080. If your server already has other services share the same port as Tomcat. You can edit /etc/default/jenkins configuration file and update HTTP_PORT value to 8081 or something else..
HTTP_PORT=8080
and restarted Jenkins service after making changes
sudo service jenkins restart
Step 3 – Access Jenkins Web Interface
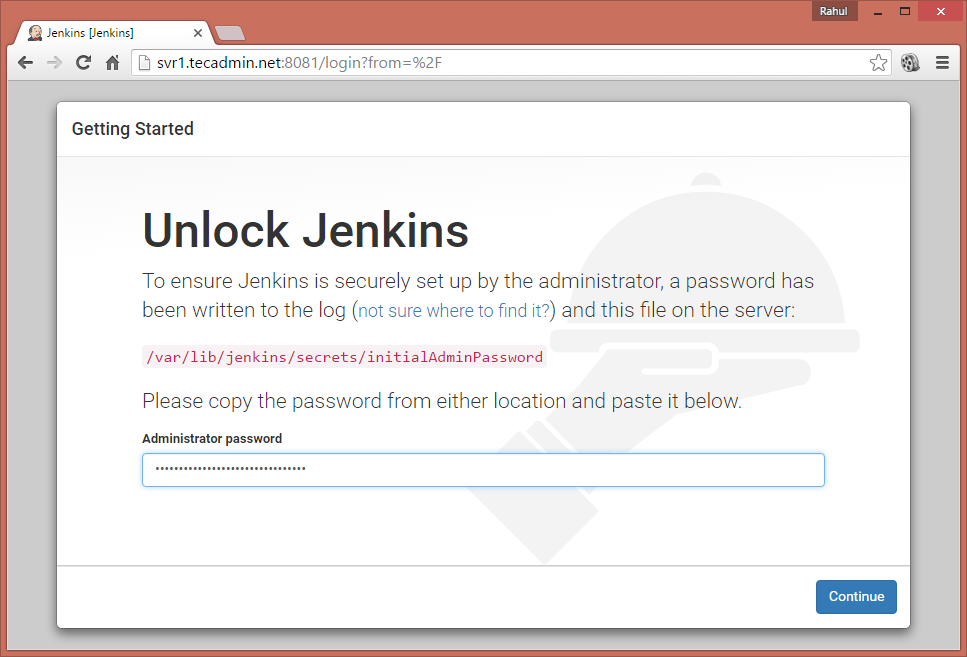
Access your server on port 8080 (Or updated port) in your favorite web browser. The default installation password can be found at /var/lib/jenkins/secrets/initialAdminPassword as showing in below image.
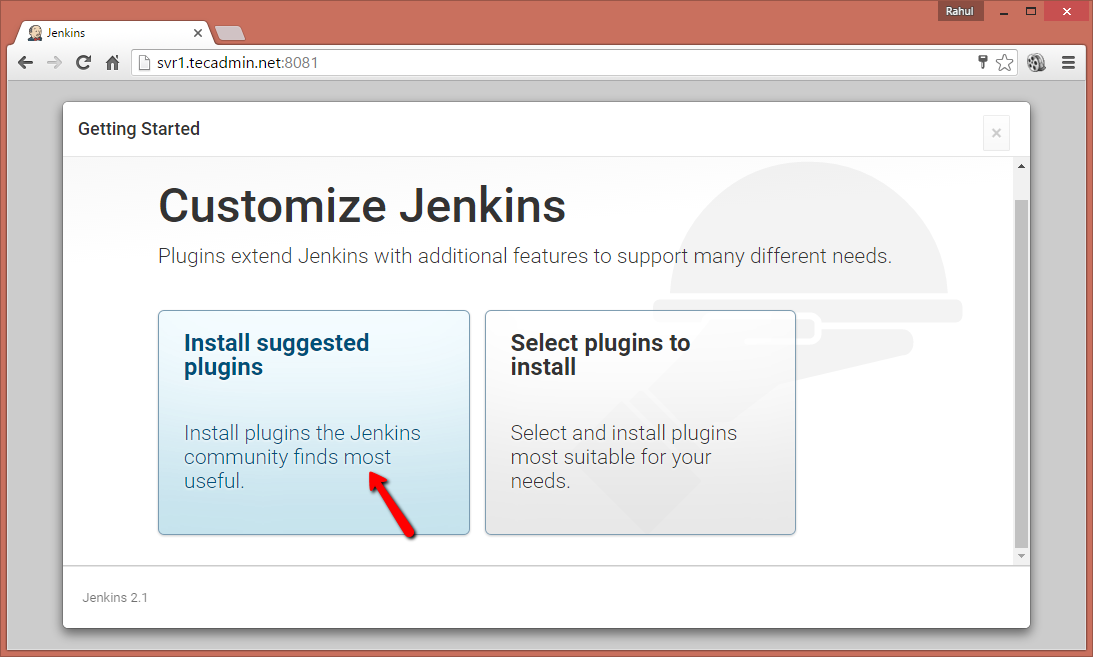
Now select appropriate option to install the plugin. You can choose to install suggested plugins or select the required plugins options.
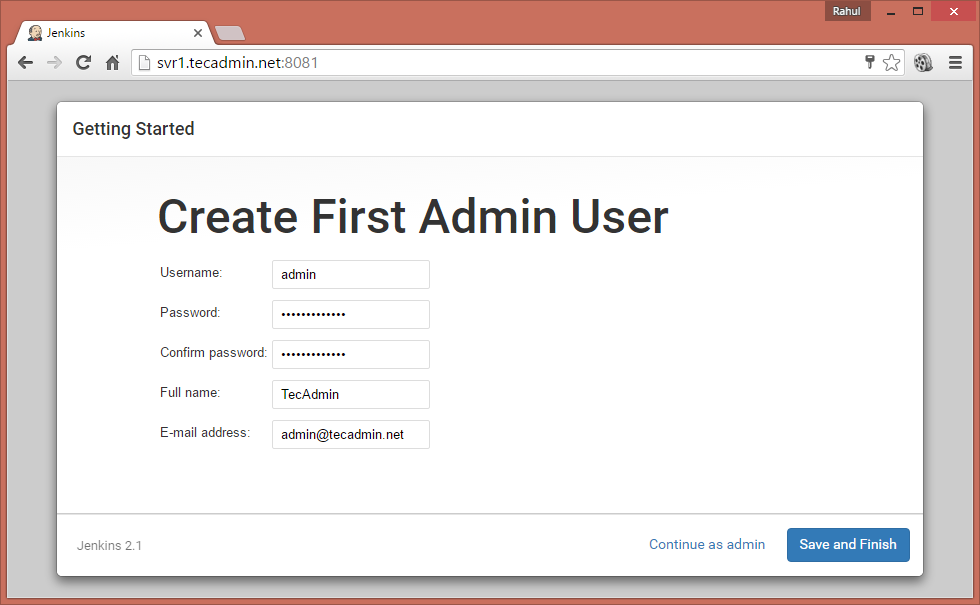
Now create an admin account for your Jenkins setup. This will be required to log in to Jenkins.
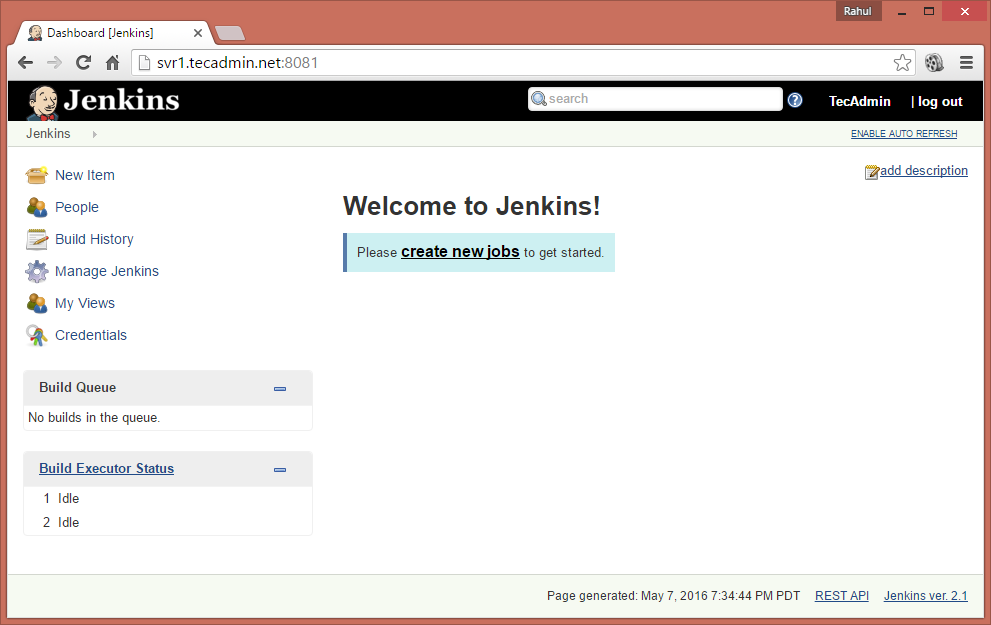
After successful completion of Jenkins setup wizard, You will be redirected to Jenkins dashboard.
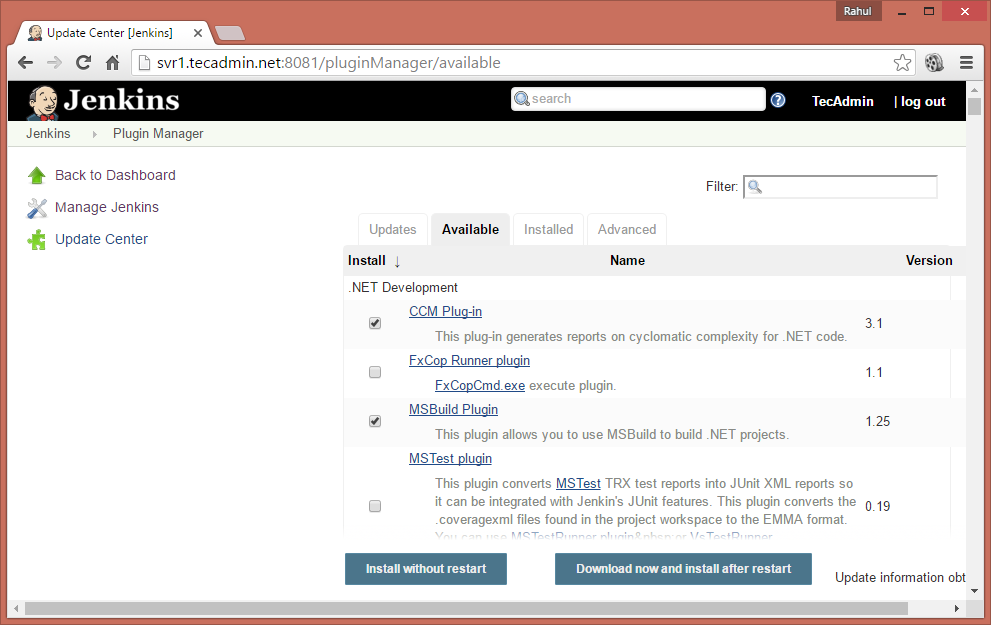
Step 4 – Install Plugins in Jenkins
Login to Jenkins dashboard and navigate to Manage Jenkins >> Manage Plugins >> Available Tab and select the plugins to install.
To update existing installed plugins in Jenkins Manage Jenkins >> Manage Plugins >> Update Tab
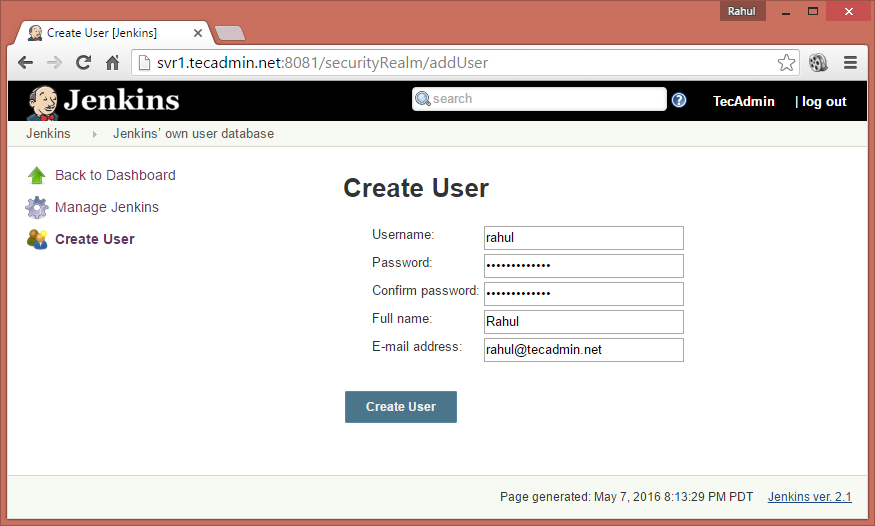
Step 5 – Create Users in Jenkins
To create users in Jenkins login to Jenkins admin panel and navigate to Manage Jenkins >> Manage Users >> Create User . Enter the required details and click Create User.
6 Comments
Job for jenkins.service failed because the control process exited with error code. See “systemctl status jenkins.service” and “journalctl -xe” for details.
invoke-rc.d: initscript jenkins, action “start” failed.
dpkg: error processing package jenkins (–configure):
subprocess installed post-installation script returned error exit status 1
Processing triggers for systemd (229-4ubuntu21.21) …
Processing triggers for ureadahead (0.100.0-19) …
Errors were encountered while processing:
jenkins
E: Sub-process /usr/bin/dpkg returned an error code (1)
can you just help me im getting error like this.. what should i do to resolve this
Thank you Rahul. The tutorial was helpful and easy to follow.
Wow. That is so elegant and logical and clearly explained. Keep it up! I follow up your blog for future post.
Reading package lists… Done
N: Ignoring file ‘jenkins.list’’ in directory ‘/etc/apt/sources.list.d/’ as it has an invalid filename extension
Typo in the command that created jenkins.list. My error. Feel free to delete this, if you can.
Here is a one click deployment solution for running Jenkins on Digital Ocean. https://digitaldock.io/app/11