
This tutorial will help you to install and configure Joomla CMS on your Debian based systems.
Step 1 – Setup LAMP Server
First of all, configure the LAMP server on your system. Execute the following commands from the system terminal for the installation of a LAMP server. First, add the required PPA repository in your system.
sudo apt-get install -y python-software-properties
sudo apt add-repository ppa:ondrej/php -y
Now install the packages for Apache, PHP, and MySQL using the below commands.
sudo apt-get install apache2 apache2-data apache2-utils
sudo apt-get install php php-mcrypt php-curl php-mysql php-gd php-cli php-json php-xml php-zip libapache2-mod-php
sudo apt-get install mysql-server mysql-client
Step 2 – Download Joomla CMS
Download the latest version of Joomla CMS archive from the official GitHub repository. At the time of writing this tutorial Joomla 3.8.2 is the latest available version, Use the following command to download Joomla archive.
cd /tmp
wget https://github.com/joomla/joomla-cms/releases/download/3.9.12/Joomla_3.9.12-Stable-Full_Package.tar.gz
Now extract Joomla under the document root of the Joomla Apache Virtualhost.
mkdir -p /var/www/html/joomla
cd /var/www/html/joomla
tar xzf Joomla_3.9.12-Stable-Full_Package.tar.gz
chown -R www-data:www-data .
chmod -R 755 .
Step 3 – Setup Apache VirtualHost
You can access your Joomla directory using the subdirectory URL like http://localhost/joomla. But if you need Joomla on the main domain, Let’s configure your Apache virtual host like below.
<VirtualHost *:80>
   ServerName joomla.example.com
   ServerAdmin webmaster@example.com
   DocumentRoot /var/www/html/joomla
   <Directory /var/www/html/joomla>
	    Allowoverride all
   </Directory>
</VirtualHost>
Step 4 – Create MySQL Database
Now login to the MySQL server using administrative privileges and create the database for Joomla. Also, create a separate MySQL user for the newly created database.
1 2 3 | mysql> CREATE DATABASE joomla; mysql> GRANT ALL on joomla.* to joomla@localhost IDENTIFIED by "secret"; mysql> FLUSH PRIVILEGES; |
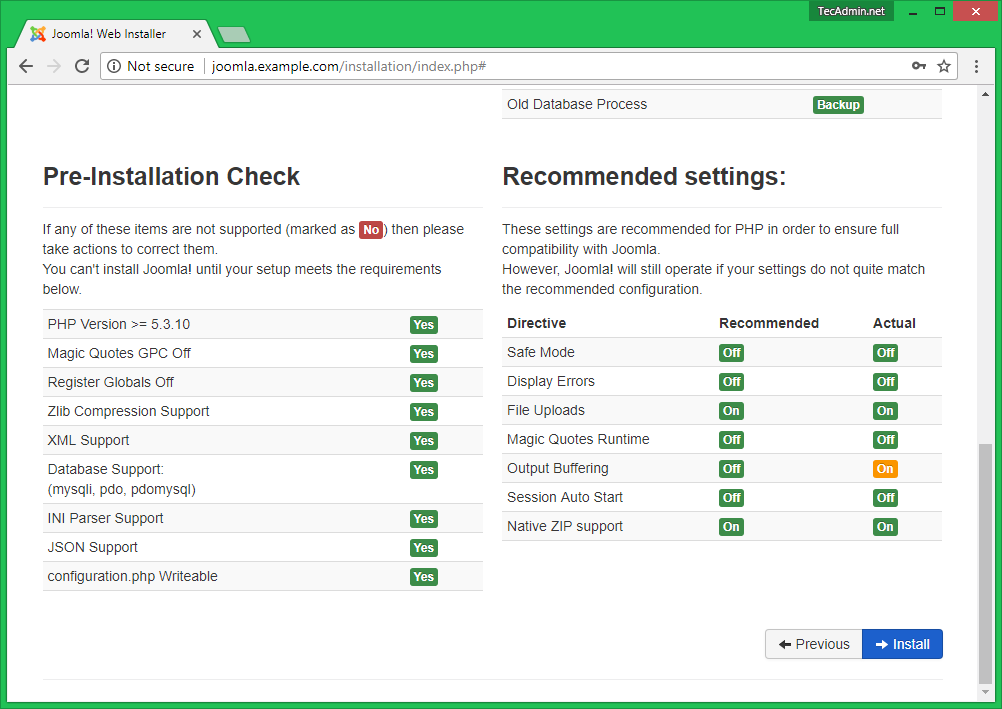
Step 5 – Running Joomla Web Installer
Joomla provides a web installer to complete the installation. Begin the installation by access Joomla URL as configured in Apache virtual host.
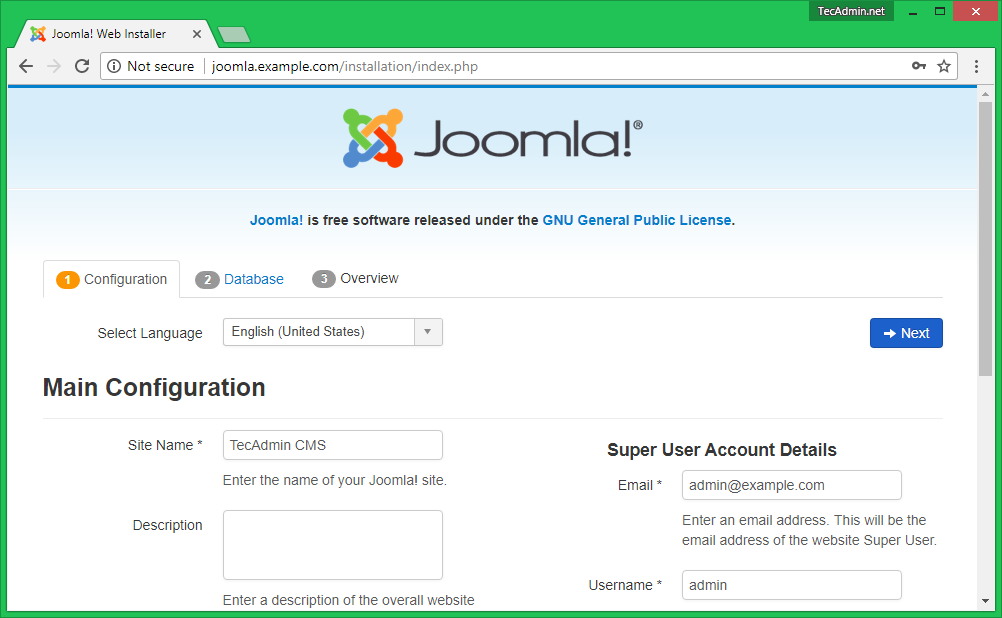
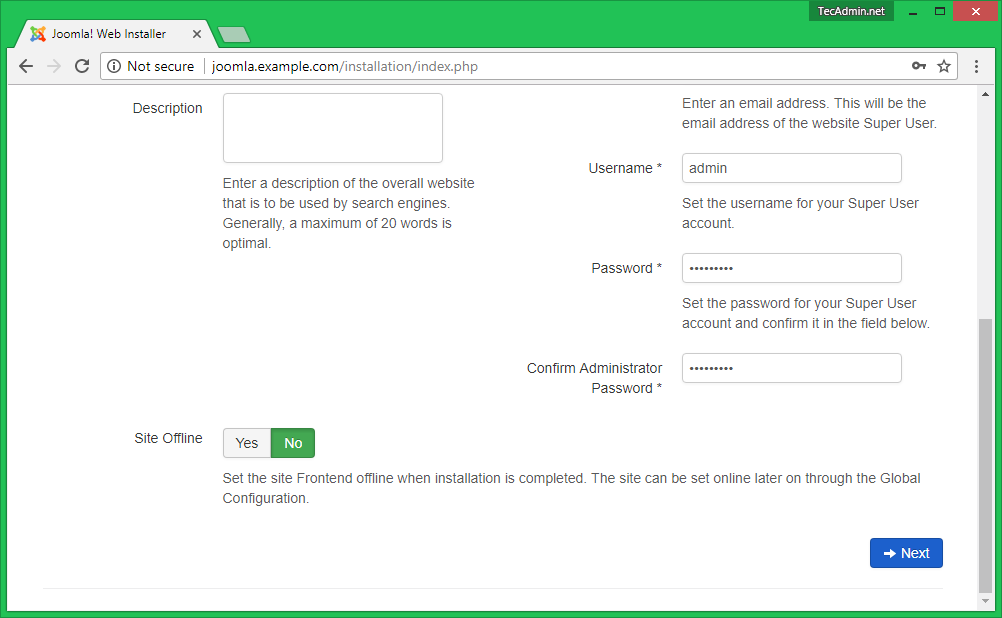
On the first page, enter the site name and administrative user details to access the Joomla admin panel after the installation.
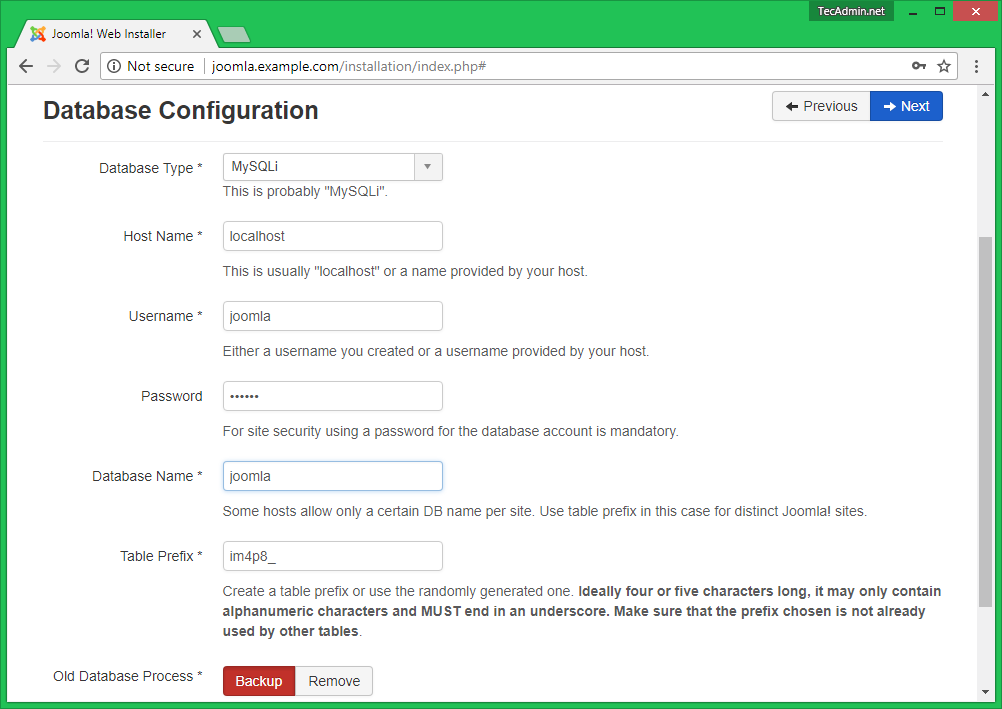
Input the database details on this page created in step 4.
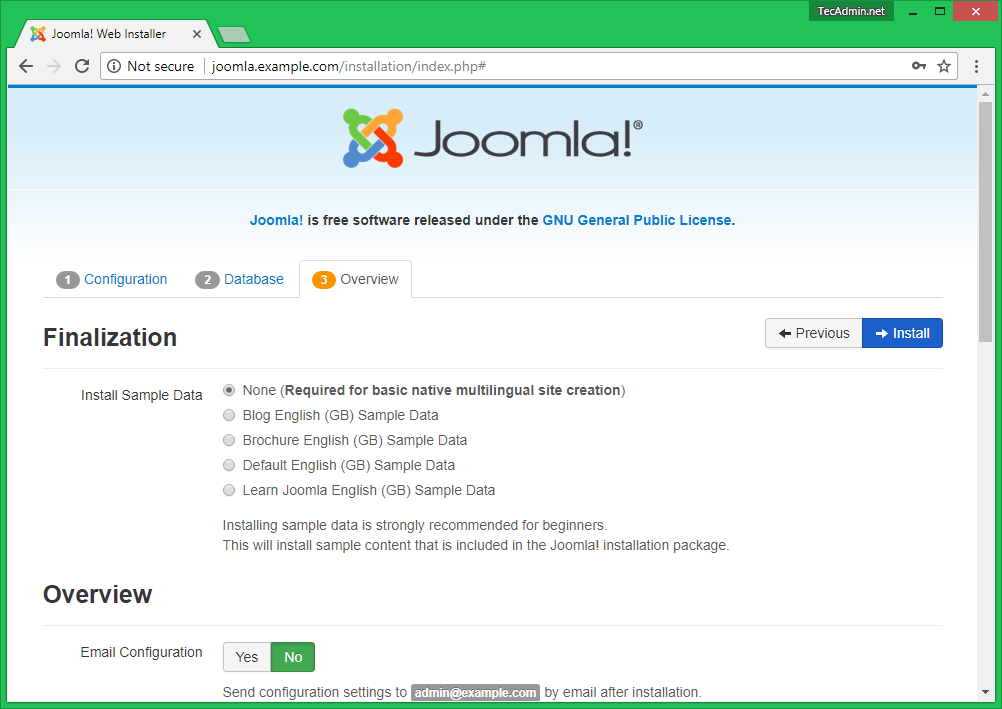
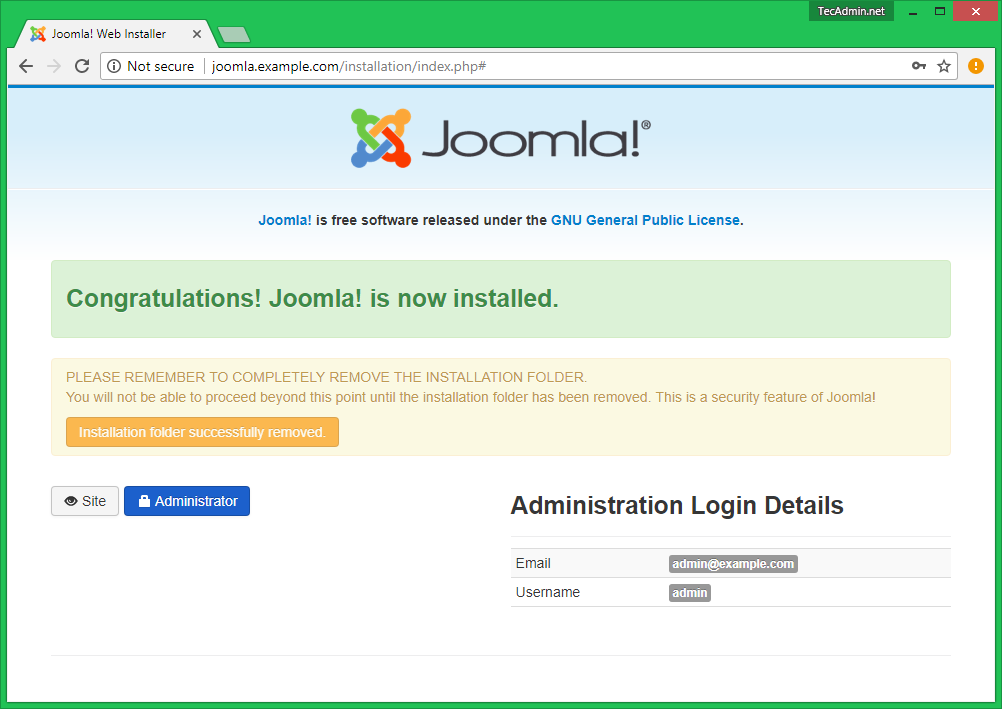
You Joomla installation has been finished. You just need to remove the installation directory by clicking on the “Remove Installation Folder” button.

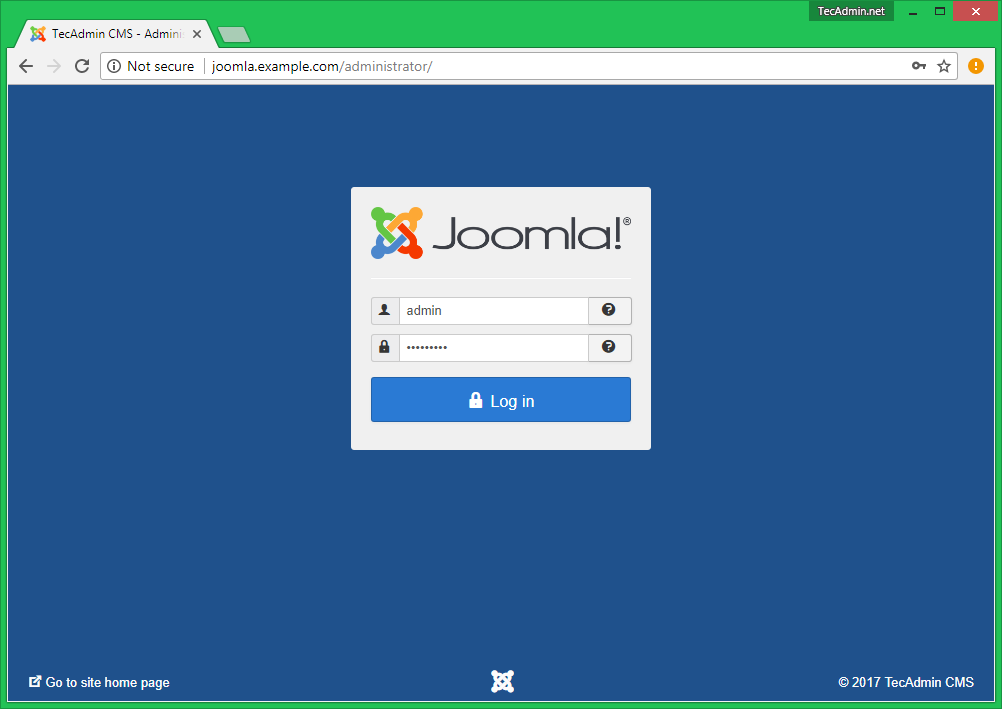
Click on Administrator button, Login to your Joomla admin panel using the specified credentials in Step 1.
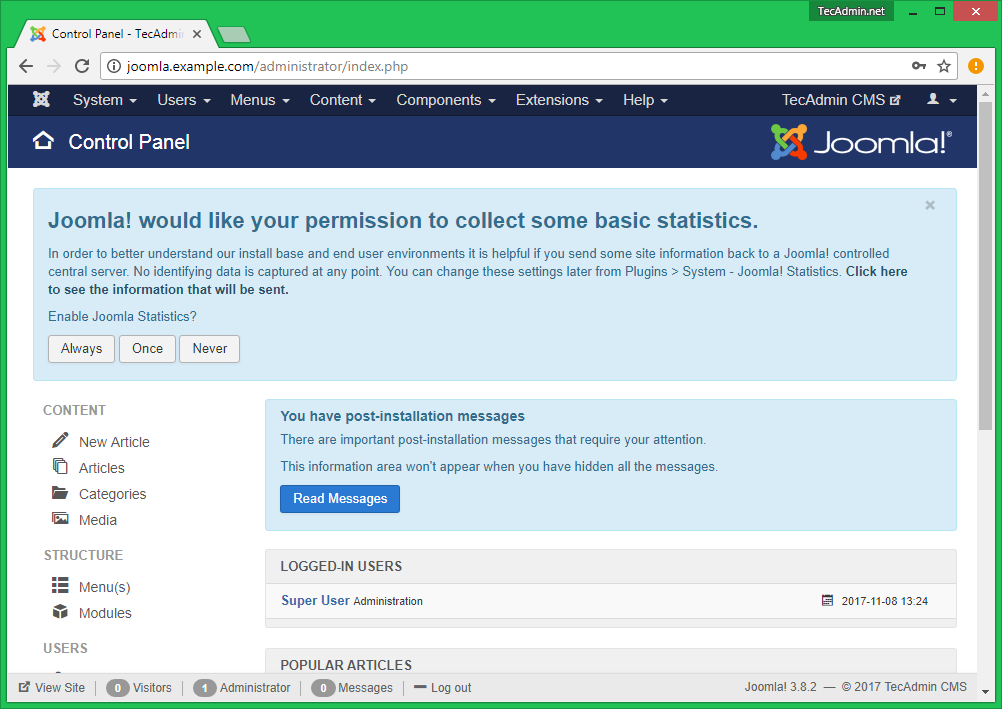
Administrator dashboard for your Joomla setup.


3 Comments
Nice article, very straightforward! Although it seems you’ve changed the command as per the other comments, while as of Ubuntu 18.04.3 LTS it’s “add-apt-repository”.
Step 1 Line 2 should be “sudo apt add-repository ppa:ondrej/php -y”.
Line 2 of step one “”sudo add-apt-repository ppa:ondrej/php -y”
Comes back with command not found.
Tried it without the sudo, without the add-. All the same