
The LAMP stack is a combination of Linux, Apache, MySQL & PHP. Here Apache is the popular web server, MySQL is the relation database management system and PHP is programming language generally used for developing web applications.
Most of the websites are built with PHP and MySQL, which is hosted with LAMP environment. For example, the popular blogging web platforms WordPress, Drupal are developed with PHP and MySQL. Both are widely hosted over the LAMP environment.
This how-to guide helps you to install and configure LAMP Stack on a Debian 10 Linux system.
Prerequisites
You must have sudo privileges account access to the Debian 10 Linux system.
Login to the Debian 10 system and upgrade the current packages to the latest available versions.
sudo apt update && sudo apt upgrade
Also, install the below packages on your system required for commands next in this tutorial.
sudo apt install ca-certificates apt-transport-https
Step 1 – Installing Apache
Apache 2.4 packages are available under the default repositories of Debian 10 system. You can simply install latest Apache2 packages by running the following command:
sudo apt install apache2
The above command also add some dependent packages in your system. The installer will automatically start Apache2 service, You can verify this using the following command:
sudo systemctl status apache2
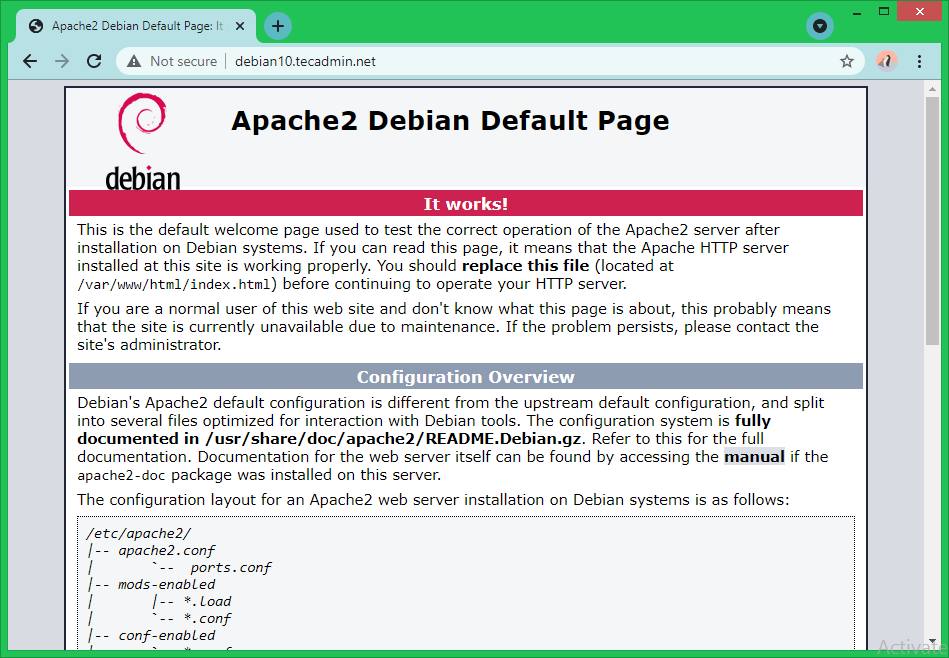
You should find the Apache in running status. Now access your server IP address or a domain name pointed to the server’s IP address in the web browser. You will find the default landing page as showing below:
In my case, I have pointed a subdomain debian10.tecadmin.net to the Debian 10 system. Then accessing it in a web browser, like:
Step 2 – Installing MySQL
The default Debian 10 repository contains MariaDB (Replacement of MySQL) as default database server. If you are okay to go with MariaDB execute commands to install else follow MySQL server installation tutorial.
sudo apt install mariadb-server
Once the MySQL packages installed, execute the following to configure the MySQL server for the first time.
sudo mysql_secure_installation
The above command will start a configuration Wizard. Follow on-screen instructions. We have included steps that required user input as below:
- On a newly installed server, Just press enter:
Enter current password for root (enter for none):
OK, successfully used password, moving on...
- Press ‘y’ and then enter a secure password to set for root account of MySQL.
Set root password? [Y/n] y
New password:
Re-enter new password:
- Press ‘y’ and hit enter to remove anonymous users:
Remove anonymous users? [Y/n] y
- Press ‘y’ and hit enter to restrict remote access for root account:
Disallow root login remotely? [Y/n] y
- Press ‘y’ and hit enter to delete test database created by default during installation:
Remove test database and access to it? [Y/n] y
- Finally, press ‘y’ and hit enter to reload privileges.
Reload privilege tables now? [Y/n] y
The database wizard is completed now. Your server is ready to access.
Type below command to get access to the MySQL server shell.
mysql -u root -p
Output:
Enter password:
Welcome to the MariaDB monitor.  Commands end with ; or \g.
Your MariaDB connection id is 51
Server version: 10.3.27-MariaDB-0+deb10u1 Debian 10

Copyright (c) 2000, 2018, Oracle, MariaDB Corporation Ab and others.

Type 'help;' or '\h' for help. Type '\c' to clear the current input statement.

MariaDB [(none)]>
Step 3 – Installing PHP
Default Debian 10 system repositories contain an older PHP version. To install the latest PHP version add a third-party PPA to your system. Run the below command to add PPA to your system.
wget -q https://packages.sury.org/php/apt.gpg -O- | sudo apt-key add -sudo echo "deb https://packages.sury.org/php/ buster main" | tee /etc/apt/sources.list.d/php.list
Next, update the Apt cache on your system:
sudo apt update
The install the PHP along with the required modules. To install the latest PHP version, execute the following command else go to the next command to install a specific PHP version.
sudo apt install php php-mysql libapache2-mod-php
sudo apt install php7.1 php7.1-mysql libapache2-mod-php7.1
Press ‘y’ for the confirmation to complete the installation process.
Step 4 – Verify PHP Version
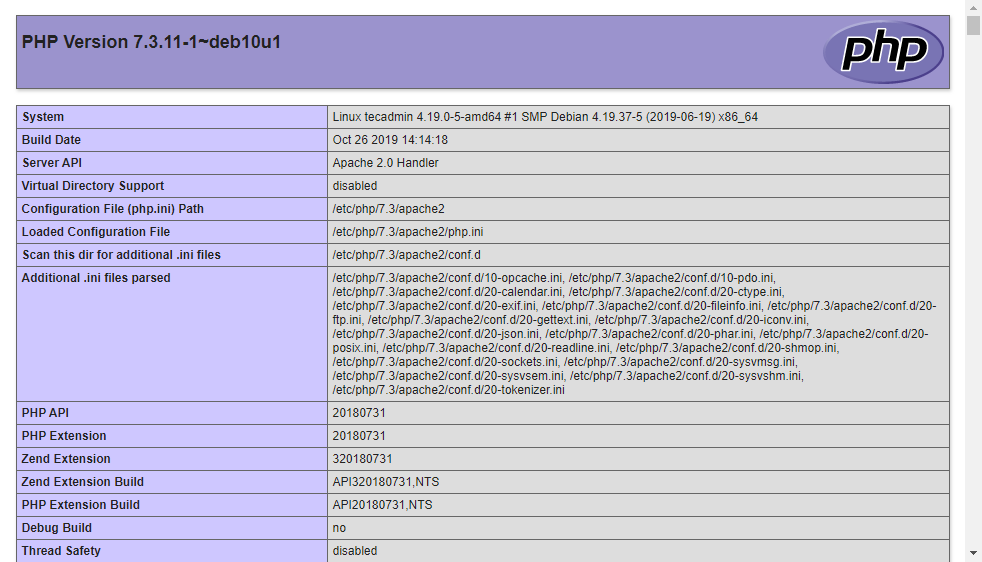
To verify the LAMP setup on your system, Create a PHP script with phpinfo() function under Apache document root. To do this, edit /var/www/html/info.php file in your favorite text editor and add below content to the file and save it.
1 2 3 | <?php phpinfo(); ?> |
Now access the info.php file in a web browser using your system IP address or a domain name pointed to that IP address.
That’s it. You have successfully installed Apache, MySQL, and PHP on your Debian 10 Linux system.
Step 5 – Secure Apache with Let’s Encrypt
The SSL certificate can be issued for a domain or subdomain only. As we have already pointed a subdomain to our Debian 10 system IP address. Now create a Virtualhost configuration file in Apache for the domain.
The domain name will be changed in your case. So update debian10.tecadmin.net with your domain name for the below commands and configuration.
sudo nano /etc/apache2/sites-available/debian10.tecadmin.net.conf
Add the following content to the file. Make sure to change your Server Name and document root to the correct location
1 2 3 4 5 6 7 8 | <VirtualHost *:80> ServerAdmin webmaster@example.com ServerName debian10.tecadmin.net DocumentRoot /var/www/html <Directory /var/www/html> AllowOverride all </Directory> </VirtualHost> |
Save and close the configuration file.
Next, enable the Apache configuration file. This will make a link of the configuration file from the sites-available directory to the sites-enabled directory.
sudo a2ensite debian10.tecadmin.net
Reload the Apache configuration to reload settings:
sudo systemctl reload apache2
You have an active site configured in the Apache server.
Now, install the Certbot Let’s Encrypt client along with the Apache plugin on your Debian system. Execute the below commands to install the Certbot.
sudo apt install python3-certbot python3-certbot-apache
Once the installation finished. Run the following command to request an SSL certificate. This command will scan all the sites configured in Apache.
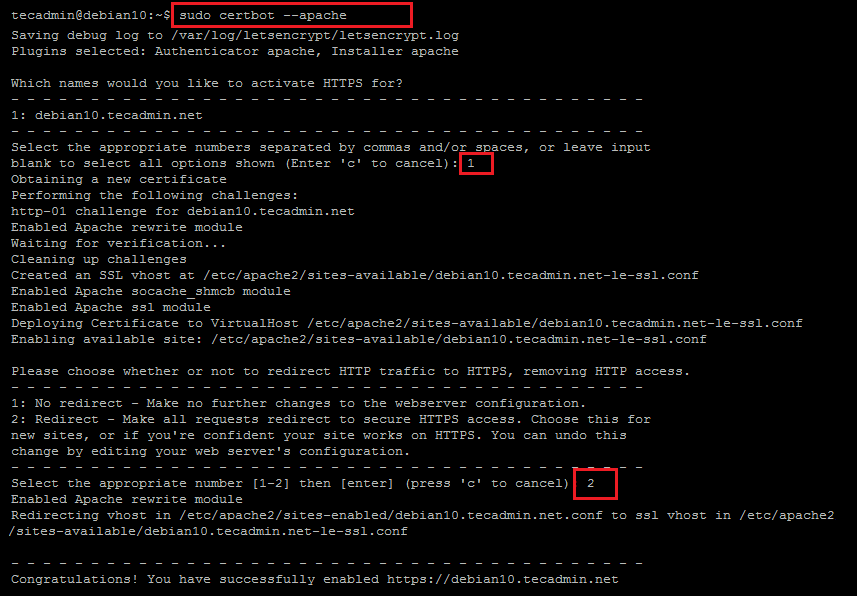
sudo certbot --apache
During the first run, the command will ask you to provide an email address and take consent to sent SSL alerts like renewing, etc.
Then it will list all the sites configured in Apache and prompt to input the site id to issue the certificate for that. In my case, the site id is 1. You can select multiple sites with command separate ids.
Once the authorization completed, the command will prompt to configure auto redirection. Select any number of our choice and requirements.
All done, This will create an additional Apache configuration file with a newly issued certificate to listen on TLS/SSL on port 443.
Now access your domain again in the browser and verify the SSL certificate.

Conclusion
This tutorial helped you to set up the LAMP environment on a Debian 10 Buster Linux system. Additionally provides you instructions to secure Apache with a Let’s Encrypt SSL certificate.