
A LAMP server is a web server combination of Apache, MySQL, and PHP on Linux server. It is widely used for hosting PHP and MySQL based websites on the world wide web. This tutorial is created to help administrators to setup LAMP stack on Debian 9. In this tutorial, we are installing Apache and MySQL from Debian 9 base repositories. We will help you to add a third-party repository for PHP installation.
Step 1 – Prerequisites
Login to your Debian 9 server using sudo privileges or root user on the command line.
ssh root@debian9
After login to your Debian system upgrade the current packages to the latest available version.
sudo apt-get update
sudo apt-get upgrade
Also, install the below packages on your system required for commands next in this tutorial.
sudo apt install ca-certificates apt-transport-https
Step 2 – Install Apache2
The Debian 9 base repositories contain Apache 2.4 packages. You can simply install Apache2 packages by running the following commands on your Debian 9 system.
sudo apt-get install apache2
Step 3 – Install MySQL
Debian 9 base repository contains MariaDB (Replacement of MySQL) as default database server. If you are okay to go with MariaDB execute commands to install else follow MySQL server installation tutorial.
sudo apt-get install mysql-server
Step 4 – Install PHP
Default Debian 9 system repositories contain an older PHP version. To install the latest PHP version add a third-party PPA to your system. Run the below command to add PPA to your system.
wget -q https://packages.sury.org/php/apt.gpg -O- | sudo apt-key add -
sudo echo "deb https://packages.sury.org/php/ stretch main" | tee /etc/apt/sources.list.d/php.list
Then install the latest PHP version on Debian 9.
sudo apt update
sudo apt install php php-mysql libapache2-mod-php
Step 5 – Verify Setup
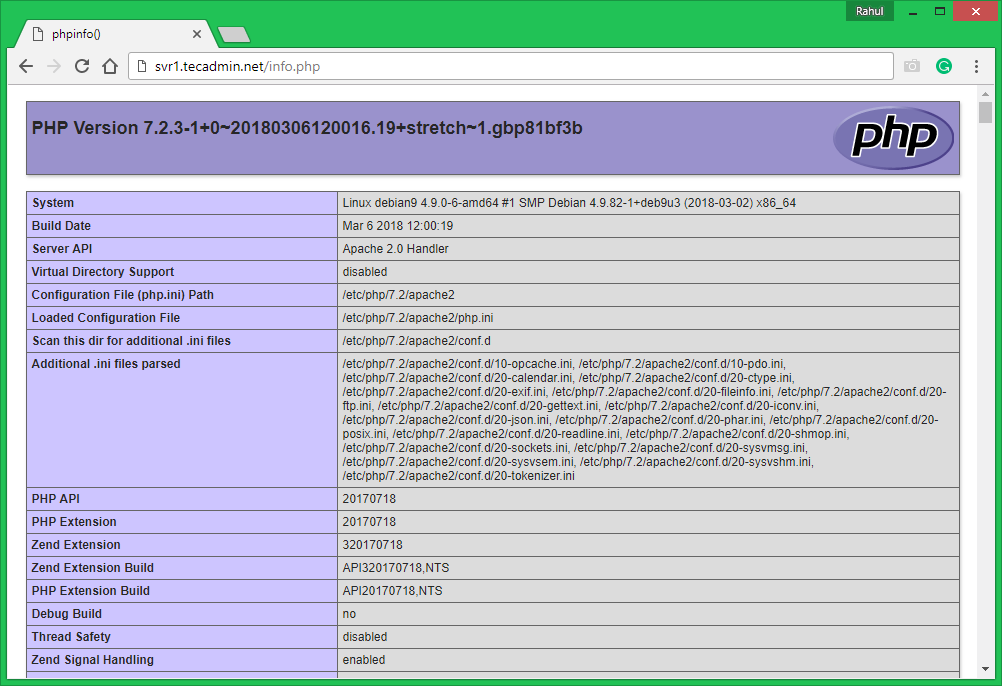
To verify the LAMP setup on Debian 9, Create a PHP script with phpinfo() function under Apache document root. To do this, edit /var/www/html/info.php file in your favorite text editor and add below content to the file and save it.
1 2 3 | <?php phpinfo(); ?> |
Now access the info.php file in the web browser using your system IP address.
2 Comments
Great article, precise and simple
Simple and good instructions, Thanks