
A combination of Linux, Apache, MySQL, and PHP is known as LAMP stack is the popular web hosting environment for the PHP based application. Here Linux is an operating system, Apache is the popular web server developed by Apache Foundation, MySQL is relational database management system used for storing data and PHP is the widely used programming language.
This article will help you to Install Apache 2.4, MySQL 8.0 and PHP 7.4 on Ubuntu 20.04 LTS (Focal Fossa) system. Let’s begin the installation of LAMP stack your Ubuntu machine.
Prerequisites
You must have root or sudo privileged user access to your Ubuntu 20.04 system. Login to your Ubuntu system using GUI for Desktop and SSH for the server edition.
ssh ubuntu@remote.host
Now upgrade current packages to latest version.
sudo apt update && sudo apt upgrade
Follow the initial server setup instruction to get ready your system for working.
Step 1 – Installing Apache2
Apache2 is a powerful web server software used by large number of websites. This is the first component to install in order to setup LAMP on Ubuntu 20.04 system.
To install the Apache2 package, type:
sudo apt update && sudo apt install apache2
Once the Apache2 package installation completed, check the service status:
sudo systemctl status apache2
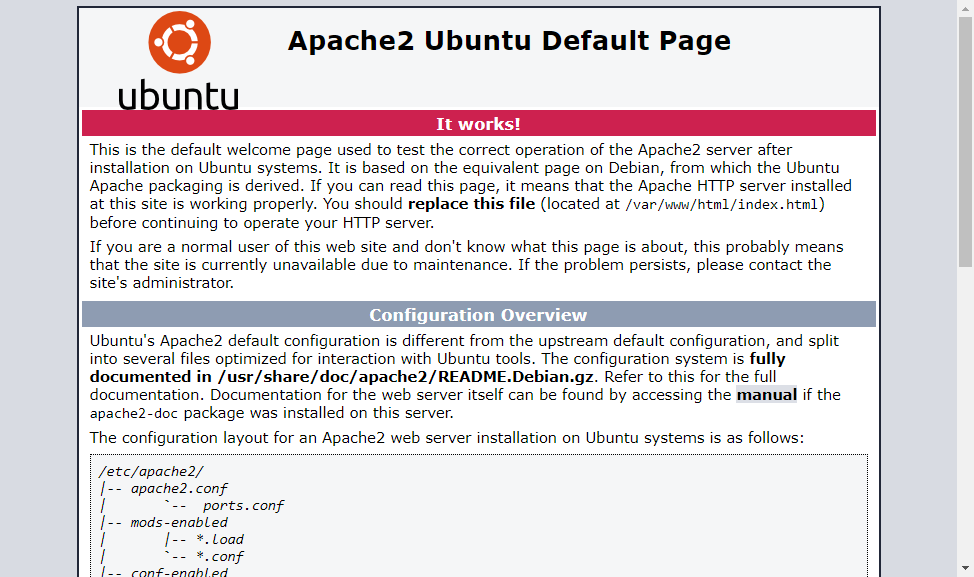
The Apache service is active and running. Now, open a web browser and enter IP address of your server. You will see the default Apache web page
All the configuration file are stored under /etc/apache2 directory. To create additional virtual hosts visit this tutorial.
Step 2 – Installing PHP
PHP 7.4 packages are available under the default Apt repositories on Ubuntu 20.04 LTS. To install PHP on your system, update apt index and then install it on your system.
sudo apt install -y php libapache2-mod-php
Also install additional PHP modules required for your application.
sudo apt install php-curl php-gd php-json php-mbstring php-xml
Step 3 – Installing MySQL Server
The default Ubuntu 20.04 apt repositories contains MySQL server 8.0. Finally, install mysql-server packages for the MySQL database. Also, install the php-mysql package to use MySQL support using PHP. Use the following command to install it.
sudo apt install mysql-server php-mysql
The installer will prompt for the root password, This password will work for your MySQL root user. After installing MySQL execute the following command for initial settings of MySQL server. You will see that script will prompt for more settings than earlier MySQL versions like password validation policy etc.
sudo mysql_secure_installation
Securing the MySQL server deployment.

Connecting to MySQL using a blank password.

VALIDATE PASSWORD COMPONENT can be used to test passwords
and improve security. It checks the strength of password
and allows the users to set only those passwords which are
secure enough. Would you like to setup VALIDATE PASSWORD component?

Press y|Y for Yes, any other key for No: y

There are three levels of password validation policy:

LOW    Length >= 8
MEDIUM Length >= 8, numeric, mixed case, and special characters
STRONG Length >= 8, numeric, mixed case, special characters and dictionary  file

Please enter 0 = LOW, 1 = MEDIUM and 2 = STRONG: 2
Please set the password for root here.

New password:

Re-enter new password:

Estimated strength of the password: 100
Do you wish to continue with the password provided?(Press y|Y for Yes, any other key for No) : y
By default, a MySQL installation has an anonymous user,
allowing anyone to log into MySQL without having to have
a user account created for them. This is intended only for
testing, and to make the installation go a bit smoother.
You should remove them before moving into a production
environment.

Remove anonymous users? (Press y|Y for Yes, any other key for No) : y
Success.


Normally, root should only be allowed to connect from
'localhost'. This ensures that someone cannot guess at
the root password from the network.

Disallow root login remotely? (Press y|Y for Yes, any other key for No) : y
Success.

By default, MySQL comes with a database named 'test' that
anyone can access. This is also intended only for testing,
and should be removed before moving into a production
environment.


Remove test database and access to it? (Press y|Y for Yes, any other key for No) : y
 - Dropping test database...
Success.

 - Removing privileges on test database...
Success.

Reloading the privilege tables will ensure that all changes
made so far will take effect immediately.

Reload privilege tables now? (Press y|Y for Yes, any other key for No) : y
Success.

All done!
Step 4 – Installing phpMyAdmin (optional)
phpMyAdmin provides a user friendly web interface to manage MySQL database server. You can install phpMyAdmin on Ubuntu 20.04 by executing the following command:
sudo apt install phpmyadmin
The installation process will prompt to select web server to configure. Select “Apache” as web server to run phpMyAdmin.
Next, this will prompt to create database for phpMyAdmin and prompt for the administrative user access details. Complete all steps to finish phpMyAdmin installation.
Step 5 – Manage Services
We have done with the installation of LAMP stack on Ubuntu 20.04 LTS system. The below commands will help you to start/stop or restart Apache and MySQL services running with systemd.
To restart Apache and MySQL services, type:
sudo systemctl restart apache2sudo systemctl restart mysql
To start Apache and MySQL services, type:
sudo systemctl start apache2sudo systemctl start mysql
To stop Apache and MySQL services, type:
sudo systemctl stop apache2sudo systemctl stop mysql
Step 6 – Adjusting Firewall Rules
You can directly provide a service name like “http” or “https” to allow. The firewalld uses /etc/services file to determine the corresponding port of the service.
sudo firewall-cmd --permanent --add-service=httpsudo firewall-cmd --permanent --add-service=httpssudo firewall-cmd --reload
Step 7 – Test Setup
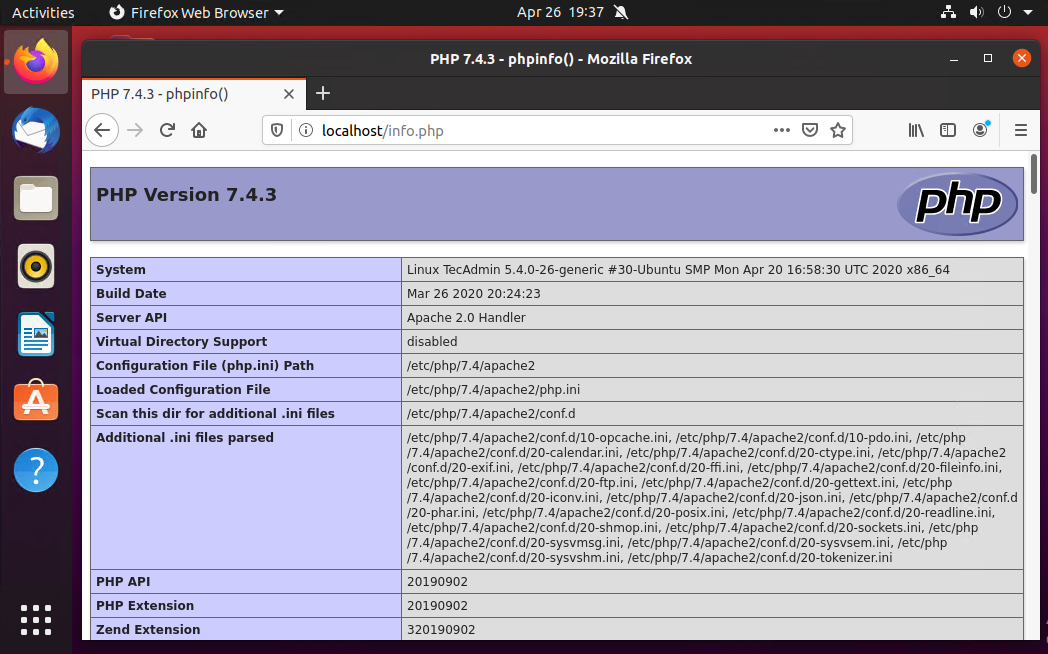
After completing all setup. Let’s create a info.php file website document root with following content.
sudo echo "<?php phpinfo(); ?>" > /var/www/html/info.php
Now access this file in web browser. You will see the screen like below with all details of PHP on server.
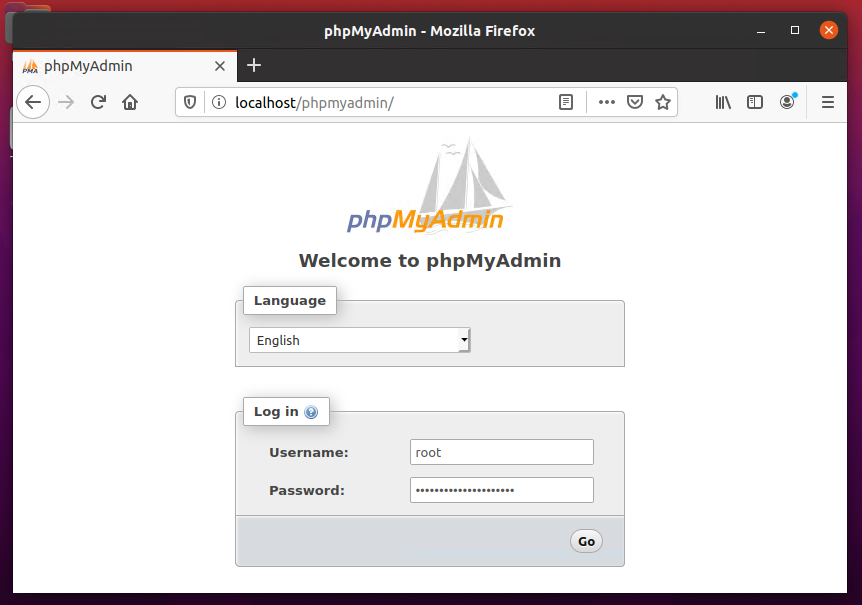
Also access the phpMyAdmin
Congratulation’s! You have successfully configured web server on your Ubuntu 20.04 LTS system. Read our next article Installing LAMP Stack on RHEL based systems
7 Comments
I successfully followed all of the above steps up until Step 7. When I type in the command that you have provided:
sudo echo “” > /var/www/html/info.php
i get the Permission Denied message.
I do not understand why this is; note that I have a very tenuous grasp have all of this stuff works!!
Very good, but there is an easier way to do most of this: install tasksel.
sudo apt install tasksel
sudo tasksel
Select “LAMP server” and click OK.
phpmyadmin is not working
Same problem. I added this line to /etc/apache2/apache2.conf
…
IncludeOptional /etc/phpmyadmin/apache.conf
…
(I added it after # Include generic snippets of statements) – then phpmyadmin worked ok for me.
you should also create a self signed ssl certificate for web development since anymore you get a SEO penalty if you do not have SSL.
I tested it out, and it works great! Thank you, this is an excellent tutorial.
One thing I would like to add is that since MySQl 5.7, root login requires a sudo. Therefore, phpMyAdmin will be not able to use root credentials.
The simplest solution is to create a new user for phpMyAdmin (maybe you created one already during the install), and grant the required privileges. Use this user to log in to phpMyAdmin.
CREATE USER ‘phpmyadmin’@’localhost’ IDENTIFIED BY ”;
GRANT ALL PRIVILEGES ON *.* TO ‘phpmyadmin’@’localhost’ WITH GRANT OPTION;
FLUSH PRIVILEGES;
Thanks for this 20.04 update.
Will the Mysql 8.0 default authentication method “caching_sha2_password” work in this configuration?
Or will the “debian-sys-maint” user’s authentication method need to be downgraded to “mysql_native_password”?
Thanks