Magento is the best eCommerce software and solution for online services. Magento 2 is the latest version Recently the Magento team has released its new version Magento 2.0 with lots of improvements changes and optimizations over Magento 1. This tutorial will help you to install the Magento2 application on Ubuntu 18.04 system.
Recommended: Magento2 codebase and database backup automation script
Step 1 – Install LAMP
You can use the following commands to install all requirements from default repositories.
sudo apt update
sudo apt install apache2 wget unzip
Then install PHP and other required PHP modules.
sudo apt install php libapache2-mod-php php-mysql php-dom php-simplexml php-pear
sudo apt install php-curl php-intl php-xsl php-mbstring php-zip php-xml php-soap php-bcmath
You can use MySQL or MariaDB as the database server for the Magento application.
sudo apt install mysql-server
Once the installation finished, run the mysql_secure_installation script to create a password for the root account and secure the MySQL server.
sudo systemctl start mysql.service
sudo mysql_secure_installation
The LAMP environment is completed on your system. Move to next step:
Step 2 – Install Composer
This tutorial required PHP composer to complete the installation. To install the PHP composer on your system execute following commands:
curl -sS https://getcomposer.org/installer | php
mv composer.phar /usr/local/bin/composer
chmod +x /usr/local/bin/composer
Step 3 – Download Magento 2 Archive
You can download the Magento source code from the official Github repository or website. After finishing the download After downloading the archive file, extract it under the website document root. So we can access directly from the web browser.
wget https://github.com/magento/magento2/archive/2.3.zip
unzip 2.3.zip
mv magento2-2.3 /var/www/magento2
After placing Magento files to the proper location, use composer to install required libraries
cd /var/www/magento2
composer install
Then, set the proper permission on the files to run with Apache webserver.
sudo chown -R www-data.www-data /var/www/magento2
sudo chmod -R 755 /var/www/magento2
sudo chmod -R 777 /var/www/magento2/{pub,var}
Step 4 – Create Database and User
Magento uses MySQL as a backend database server. Login to your MySQL server with admin privileges and create a database and user for the new Magento 2 installation.
mysql -u root -p

mysql> CREATE DATABASE magento2_db;
mysql> CREATE USER magento2_usr@'localhost' IDENTIFIED BY 'pa$$word';
mysql> GRANT ALL ON magento2_db.* TO magento2_usr@'localhost';
mysql> FLUSH PRIVILEGES;
mysql> quit
Step 5 – Create Apache VirtualHost
Create an Apache configuration file for your Magento website like /etc/apache2/sites-available/magento2.example.com.conf
sudo vim /etc/apache2/sites-available/webhost.tecadmin.net.conf
and add the following content.
<VirtualHost *:80>
   DocumentRoot /var/www/magento2
   ServerName webhost.tecadmin.net

   <Directory /var/www/magento2>
       Allowoverride all
   </Directory>
</VirtualHost>
Now enable virtual host using the following command.
sudo a2ensite webhost.tecadmin.net
Also make sure to enable the Apache rewrite module, which is recommended by Magento.
sudo a2enmod rewrite
After doing all the above changes, make sure to restart the Apache server.
sudo systemctl restart apache2.service
Step 6 – Run Web Installer
Let’s begin the installation of Magento2 using a web installer. Access your Magento 2 directory on the web browser like below. It will redirect you to the installation start page.
http://webhost.tecadmin.net
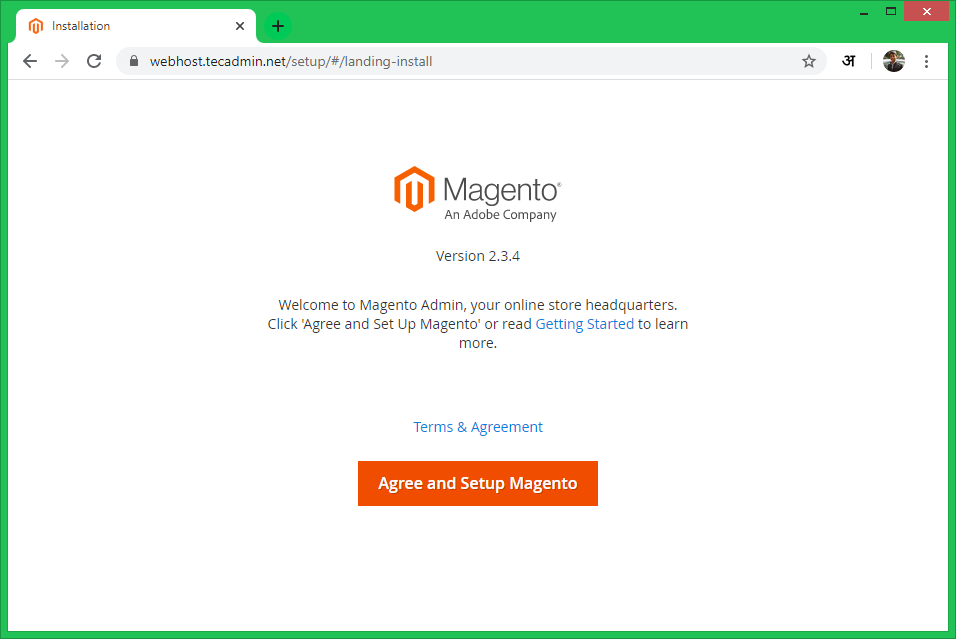
6.1. Agree the License agreement and click on “Agree and Setup Magento”
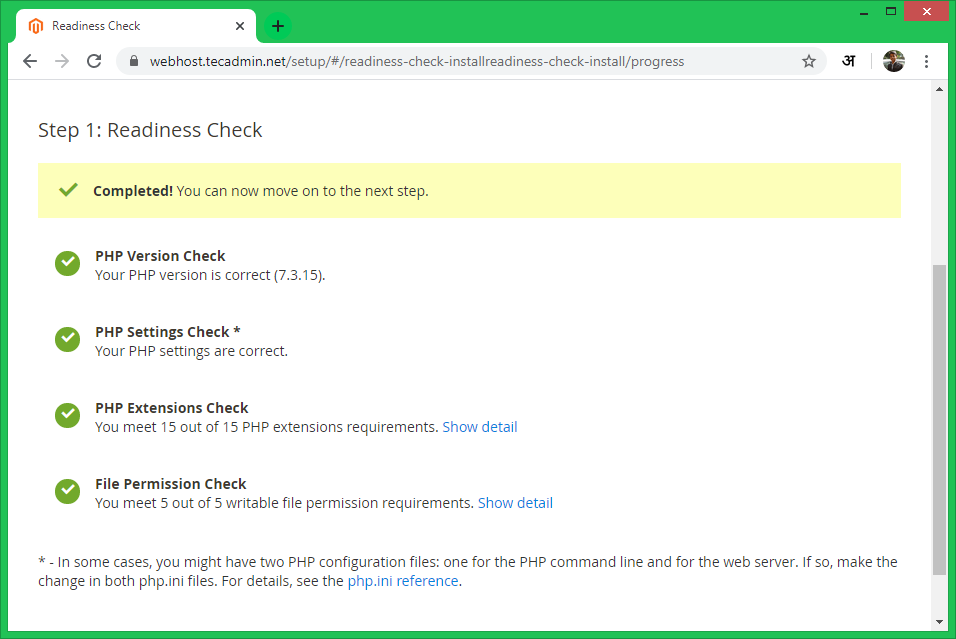
6.2. Now click on the “Start Readiness Test”. Magento will check for system requirements here. On successful completion, you will see the screen like below then Just click Next. Fix issues if shows on this screen and click Try again.
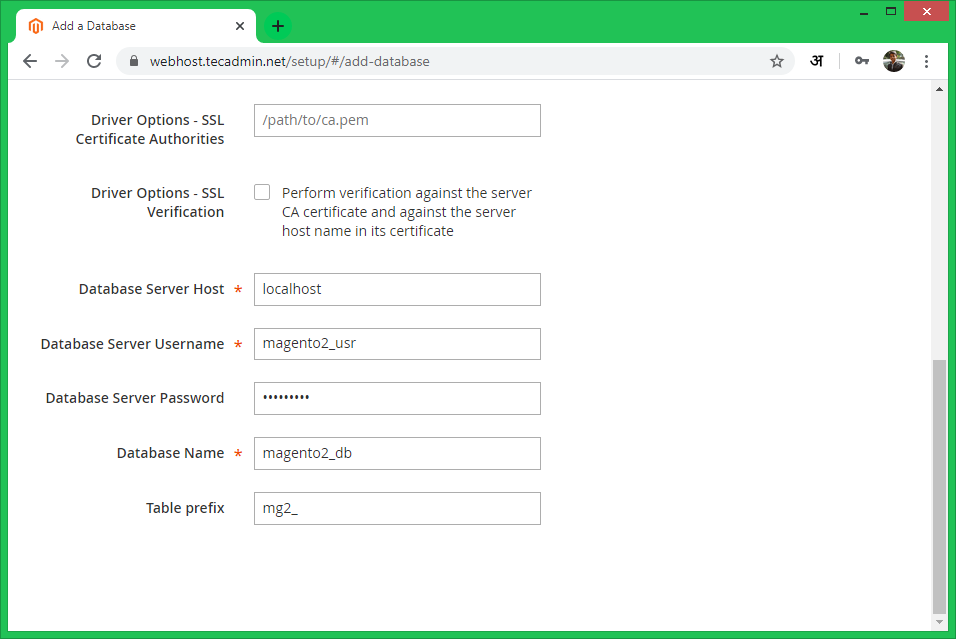
6.3. Enter your database details here created in step 4.
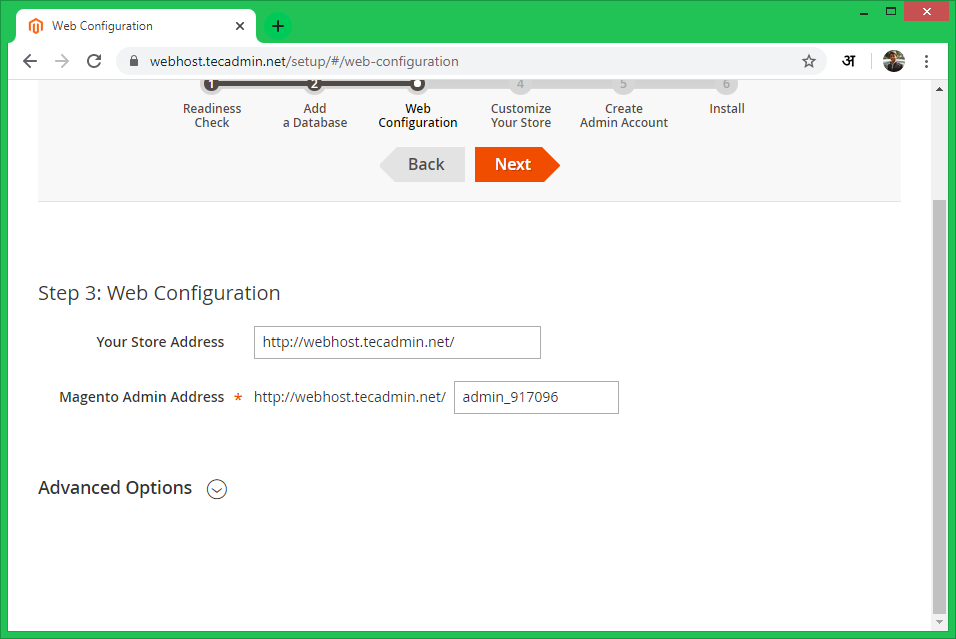
6.4. The installer will show you the store address (Same as we address). It also generates a random URL for the Admin interface. You can change it as per your requirements. For security reasons, it will not take the URL as admin.
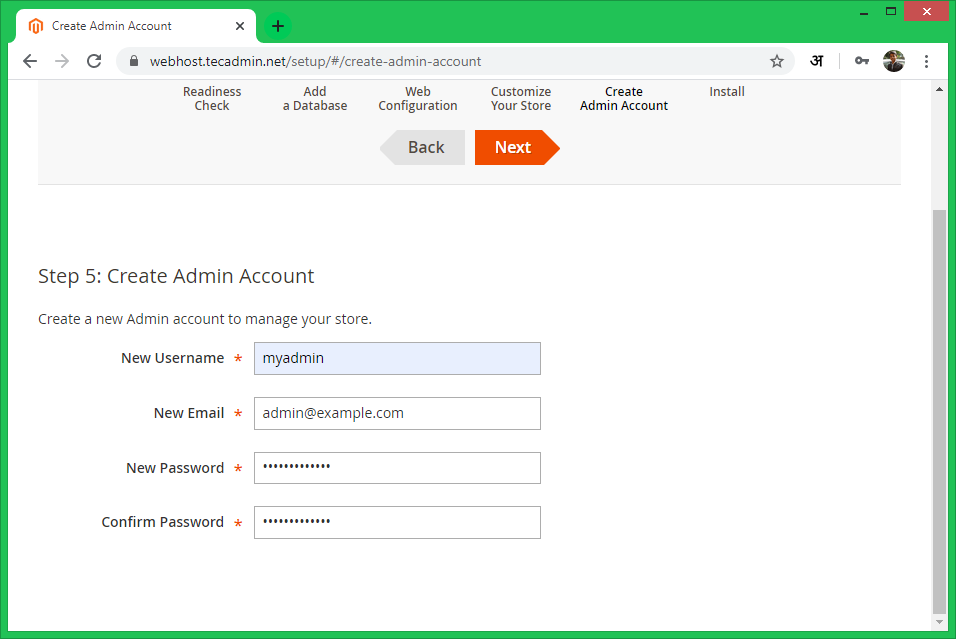
6.5. Create an Admin user with a secure password for your Magento application.
6.6. At this step, Magento is ready for installation. Click on the Install Now button to begin installation and wait for its completion.

6.7. At this step, the Magento installation is completed.

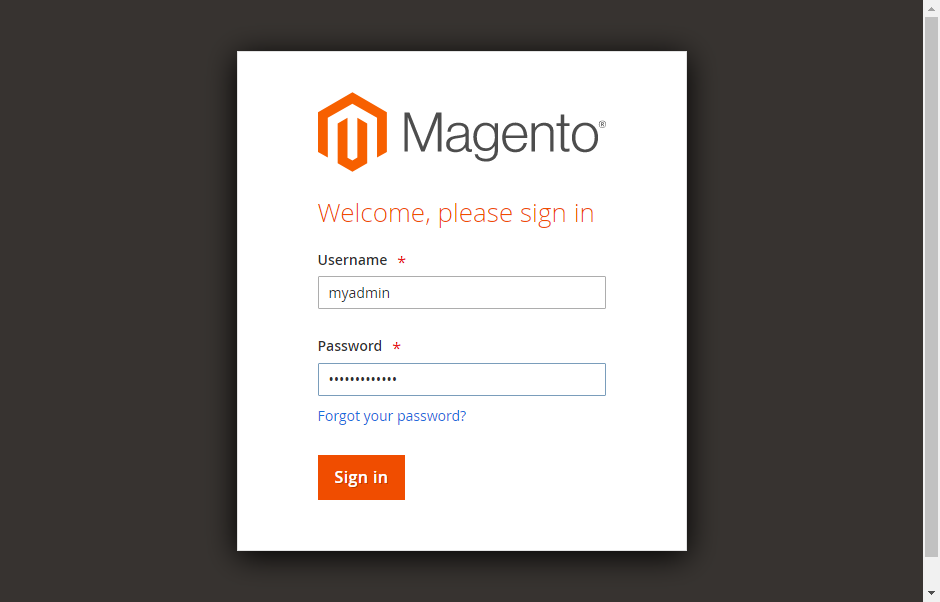
6.8. Finally, it will open the Admin Login screen. Use admin credentials created during wizard. It will open the Admin panel after successful authentication.
Congratulation! You have successfully deployed Magento2 on your system.
Step 6 – Schedule Magento2 Cronjobs
Finally, schedule the background cronjobs for your magento2 installation. These cronjobs do some activities like re-indexing, Newsletters, Update of currency rates, sending automatic emails and generating sitemaps, etc. To schedule, these jobs edit the crontab file
crontab -e
and add following cronjobs at the end of the file and save it.
* * * * * www-data php /var/www/magento2/bin/magento cron:run
* * * * * www-data php /var/www/magento2/update/cron.php
* * * * * www-data php /var/www/magento2/bin/magento setup:cron:run
Here www-data is the user under which Apache is running and /var/www/magento2/ is the location of your Magento2 applications.
Conclusion
You have successfully configured the Magento application on your system. Let’s build an awesome eCommerce website. For the production, server follow our next tutorial to Magento codebase and database backup automation script.
2 Comments
mv magento2-2.3 /var/www/magento2
it should be
sudo mv 2.3.zip /var/www/magento2
or
mv 2.3.zip /var/www/magento2
no. it should be:
unzip 2.3.zip
mv magento2-2.3 /var/www/magento2
Or
mv 2.3.zip /var/www/magento2
unzip 2.3.zip
but if one understands the steps a little, one can make it work