
Nginx is an popular web server widely used by web hosting providers. It was created by Igor Sysoev and first public release in 2004. Nginx is also used as reverse proxy, load balancer, mail proxy and HTTP cache server. Nginx web server is highly useful for heavy traffic websites.
This tutorial will help you to install and configure Nginx web server on Ubuntu 20.04 system.
Prerequisites
- Running Ubuntu 20.04 system
- Shell access with root or sudo privileged user
Step 1 – Installing Nginx
The Nginx latest packages are available under default repositories for all Ubuntu’s versions. You can directly install them by running following commands
sudo apt update
sudo apt install nginx
After installation of Nginx service, run below command to check the status of Nginx service.
sudo systemctl status nginx
● nginx.service - A high performance web server and a reverse proxy server
     Loaded: loaded (/lib/systemd/system/nginx.service; enabled; vendor preset: enabled)
     Active: active (running) since Thu 2020-05-21 11:24:22 UTC; 37min ago
       Docs: man:nginx(8)
   Main PID: 56655 (nginx)
      Tasks: 2 (limit: 2283)
     Memory: 2.7M
     CGroup: /system.slice/nginx.service
             ├─56655 nginx: master process /usr/sbin/nginx -g daemon on; master_process on;
             └─56656 nginx: worker process

May 21 11:24:22 tecadmin systemd[1]: Starting A high performance web server and a reverse proxy server...
May 21 11:24:22 tecadmin systemd[1]: Started A high performance web server and a reverse proxy server.
Step 2 – Nginx Configuration Files and Directories
Here is the list of configuration file and directories used by the Nginx web server.
- /etc/nginx/nginx.conf – is the main configuration file for Nginx server.
- /etc/nginx/conf.d – Directory contains configuration files for the applications configured with Nginx, like phpMyAdmin etc.
- /etc/nginx/sites-available – Contains all (active and inactive) the websites configuration files. We also known them as server blocks or virtual hosts.
- /etc/nginx/sites-enabled – Contains active websites configuration files linked to ../sites-available directory.
- /etc/nginx/modules-available – Contains all modules configuration files available on server
- /etc/nginx/modules-enabled – Contains active modules configuration files linked to ../modules-enabled directory.
Step 3 – Manage Nginx Service
The systemd users uses systemctl commands to manage services on Ubuntu system. You can also use the same for managing the Nginx service on your system. Use below commands will stop, start, and restart Nginx service with systemd.
sudo systemctl stop nginx
sudo systemctl start nginx
sudo systemctl restart nginx
Step 4 – Adjust Firewall Rules
The FirewallD is the popular firewall application used on Ubuntu systems. Some of the Ubuntu users also preferred to use Uncomplicated Firewall (UFW) on their system.
FirewallD users use the following command to open HTTP (80) and HTTPS (443) ports.
firewall-cmd --permanent --zone=public --add-service=http
firewall-cmd --permanent --zone=public --add-service=https
Reload the firewall changes by running the following command:
firewall-cmd --reload
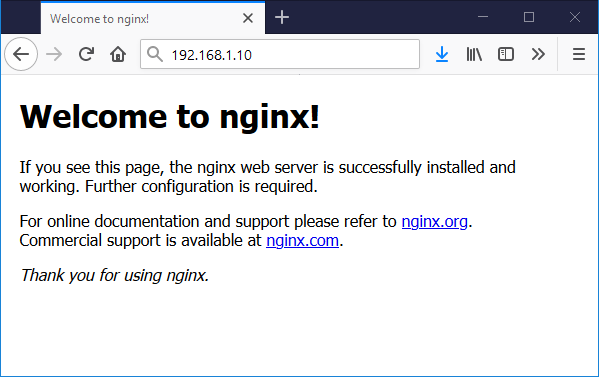
Step 5 – Test Setup
Connect to your server using localhost or use IP address for remote systems in a web browser. This will show you the default Nginx page.
Conclusion
In this tutorial, you have learned about the installation of Nginx web server.