
Node.js is an open-source JavaScript runtime environment. It allows to run JavaScript outside a web browser. This tutorial will help you to install Node.js on your Windows system.
Installing Node on Windows
Following are the steps to install Node on Windows system.
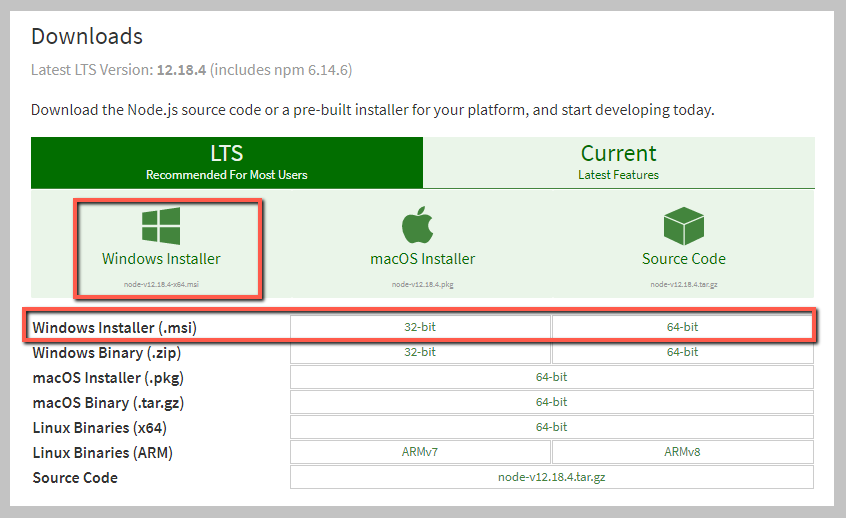
Download Node.js Installer
You can downlod the Node Windows installer from its official download page. Download the installer as per your system architecture.
Run Installer
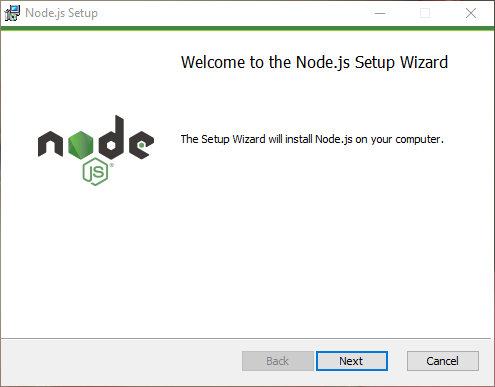
Once the installed downloaded, double click on installer file to begin the installation process. Click Next to continue installer.
Next, accept the terms of license agreement and click next to continue installation.

Complete the rest of the steps of the installation wizard.
The installer will automatically configure the required environment variables for the node binary to your system..

Test Node Version
The above installer do all the required steps to run node on command line interface. You can check the installed node and npm version via command line.
Open a terminal and type the following commands:
node -v
npm -v

Conclusion
In this tutorial, you have learned to install node on a Windows system.

