NoMachine is a popular remote desktop application. You can use it as the alternative of TeamViewer, which is available freely. Except for the Nomachine, the users have other choices like AnyDesk for the remote desktop, But NoMachine will provide you the better experience over any other remote desktop applications. This tutorial will help you to install NoMachine on Ubuntu, Debian, and LinuxMint systems.
But, If you still love TeamViewer, You can also install TeamViewer using these instructions.
Step 1 – Install NoMachine
Anydesk is available in both 64-Bit and 32-Bit formats. You can download it from its official website and install on Ubuntu, Debian, and LinuxMint operating systems.
For 64-Bit Systems
wget http://download.nomachine.com/download/6.0/Linux/nomachine_6.0.78_1_amd64.deb
sudo dpkg -i nomachine_6.0.78_1_amd64.deb
For 32-Bit Systems
wget http://download.nomachine.com/download/6.0/Linux/nomachine_6.0.78_1_i386.deb
sudo dpkg -i nomachine_6.0.78_1_i386.deb
Below is the sample installation log for a 64-bit machine. On successful installation, you will find that the NX is started on default port 4000.
...
NX> 700 Installing: nxnode version: 6.0.78.
NX> 700 Using installation profile: Ubuntu.
NX> 700 Install log is: /usr/NX/var/log/nxinstall.log.
NX> 700 Creating configuration in: /usr/NX/etc/node.cfg.
NX> 700 Installing: nxserver version: 6.0.78.
NX> 700 Using installation profile: Ubuntu.
NX> 700 Install log is: /usr/NX/var/log/nxinstall.log.
NX> 700 Creating configuration in: /usr/NX/etc/server.cfg.
NX> 700 Install completed at: Thu Mar 08 12:03:43 2018.
NX> 700 NoMachine was configured to run the following services:
NX> 700 NX service on port: 4000
Step 2 – Connect Remote Desktop with NoMachine
The Nomachine installer will install an application as well as service. The Nomachine application to connect remote systems running with NoMachine service.
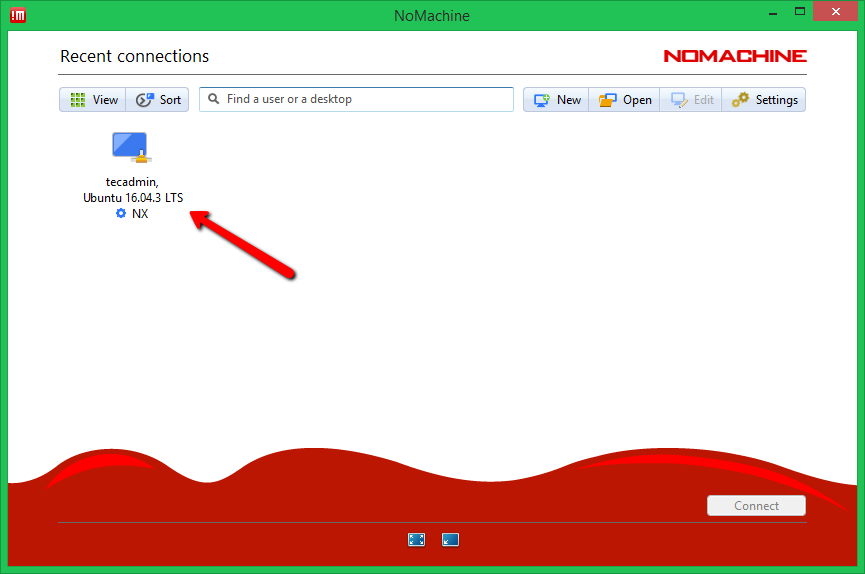
Launch the NoMachine application on your system. It will automatically detect the systems running with NoMachine service on the same network.
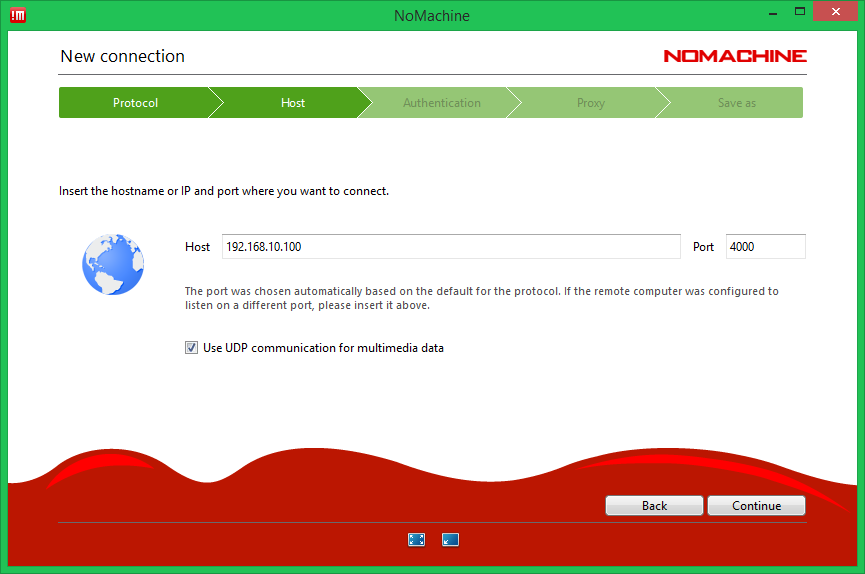
If your remote system is on the different network. You can connect it with IP address of the remote system. This will also prompt for some more details. You can go with default options.
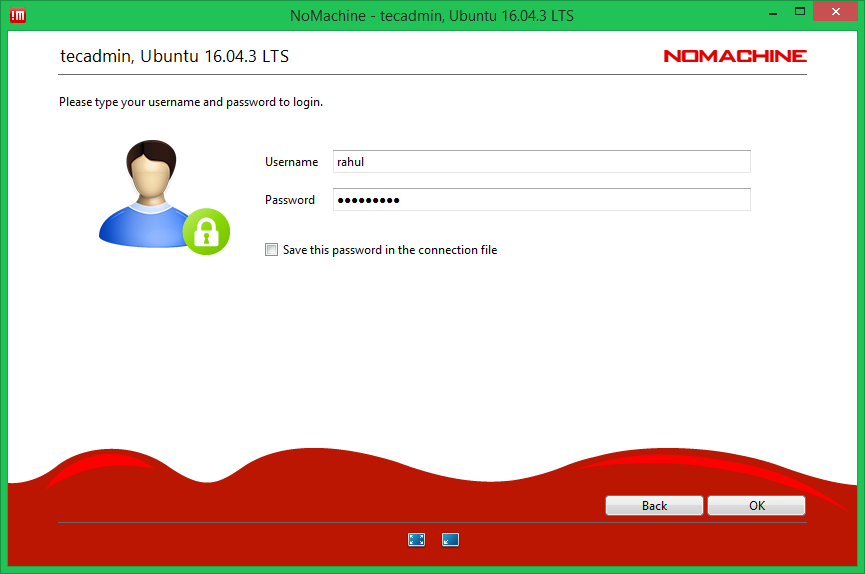
Enter the remote system login details to authenticate the session.
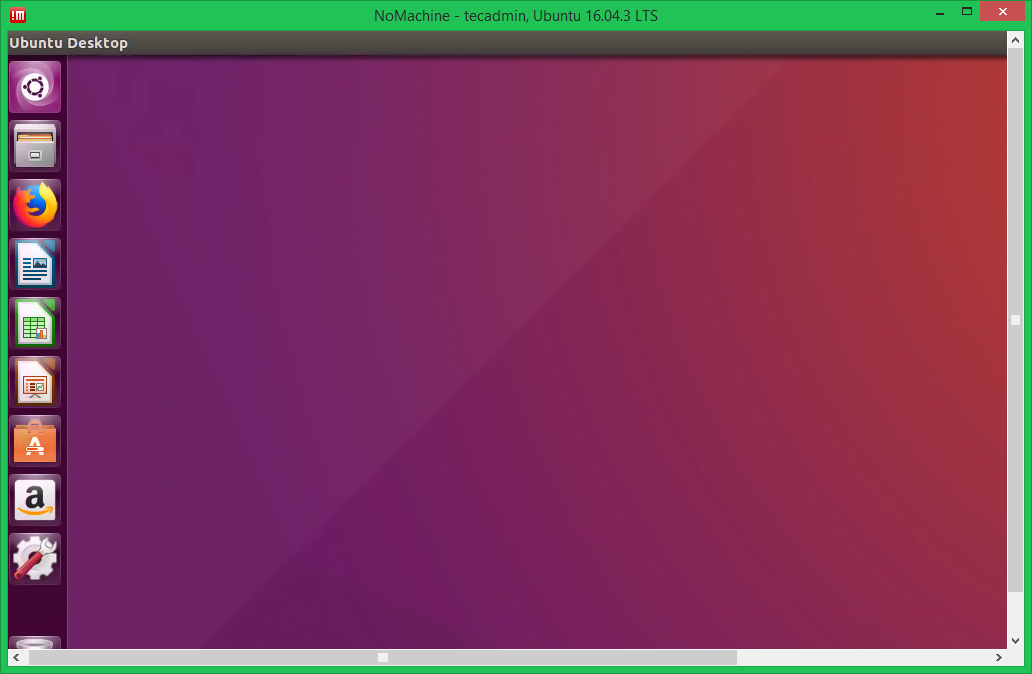
All done. You have access to Desktop of the remote system.


2 Comments
I am so sorry, but i think You mean “Nomachine” instead of “Anydesk”:
“Anydesk is available in both 64-Bit and 32-Bit formats.”
+1 LiteManager – great alternative with free version too …