ownCloud provides data access using web interface. It also provides options to sync and share across devices—all under your control. Using ownCloud we can easily implement restrictions on file (ACLs) per user. ownCloud provides its desktop clients (Windows, MAC, Linux) as well as mobile apps (Android and iPhone) to keep our data sync on your device.
This tutorial will help you to Install ownCloud 10 on CentOS and RedHat systems.
Features of ownCloud:
- ownCloud provides data accessibility through Android, iOS and desktop clients.
- ownCloud provides data to store on external storage like Dropbox, S3, Google Docs etc.
- ownCloud maintains files previous versions so that we can recover from any accidental delete.
Step 1 – Enable Yum Repository
First, you need to enable REMI & EPEL yum repositories in your system. Use one of the below commands as per your operating system version.
### CentOS/RHEL 7 ###
rpm -Uvh http://dl.fedoraproject.org/pub/epel/7/x86_64/Packages/e/epel-release-7-11.noarch.rpm
rpm -Uvh http://rpms.famillecollet.com/enterprise/remi-release-7.rpm

### CentOS/RHEL 6 ###
rpm -Uvh http://download.fedoraproject.org/pub/epel/6/x86_64/epel-release-6-8.noarch.rpm
rpm -Uvh http://rpms.famillecollet.com/enterprise/remi-release-6.rpm
Step 2 – Install LAMP
Before installation, we first need to set up a running LAMP server. If you have already running LAMP stack skip this step else use followings commands to setup lamp stack.
Install Apache
yum --enablerepo=remi,epel install httpd
Install MySQL
yum --enablerepo=remi,epel install mysql-server
service mysqld start
/usr/bin/mysql_secure_installation
Install PHP
yum --enablerepo=remi,epel install php php-mysql php-mcrypt php-curl php-gd php-xml php-dom php-mbstring
service httpd restart
Step 3 – Download ownCloud Archive
After successfully configuring lamp server on your system, Let’s download latest ownCloud from its official website.
cd /var/www/html
wget https://download.owncloud.org/community/owncloud-10.4.0.tar.bz2
Now extract downloaded archive under website document root and setup appropriate permissions on files and directories.
tar xjf owncloud-10.4.0.tar.bz2
chown -R apache.apache owncloud
chmod -R 755 owncloud
Now, remove the archive file.
rm -f owncloud-10.4.0.tar.bz2
Step 4 – Create MySQL Database and User
After extracting code, let’s create a MySQL database and user account for configuring ownCloud. Use the following set of commands to log in to the MySQL server and create a database and user.
mysql -u root -p
Enter password:

mysql> CREATE DATABASE owncloud;
mysql> GRANT ALL ON owncloud.* to 'owncloud'@'localhost' IDENTIFIED BY '_password_';
mysql> FLUSH PRIVILEGES;
mysql> quit
Step 5 – Install ownCloud with Web Installer
Now access the ownCloud directory on the web browser as below. Change localhost to your server IP address or domain name.
http://localhost/owncloud/
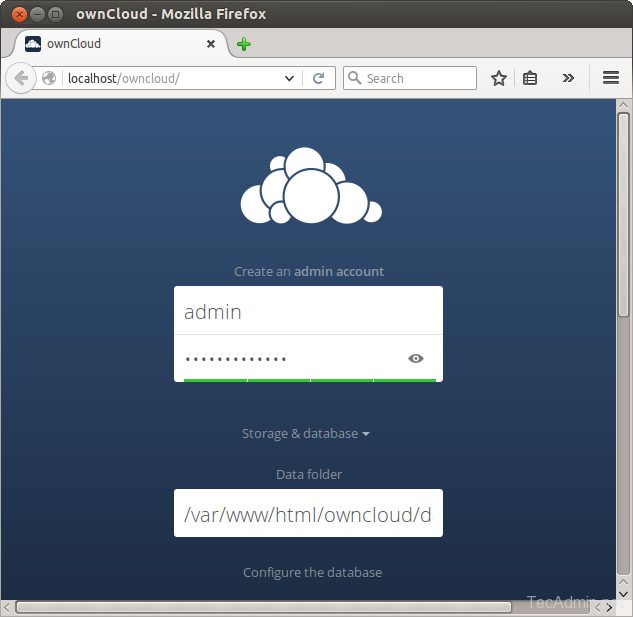
Enter new admin credentials to create an admin account and provide the location of the data folder.

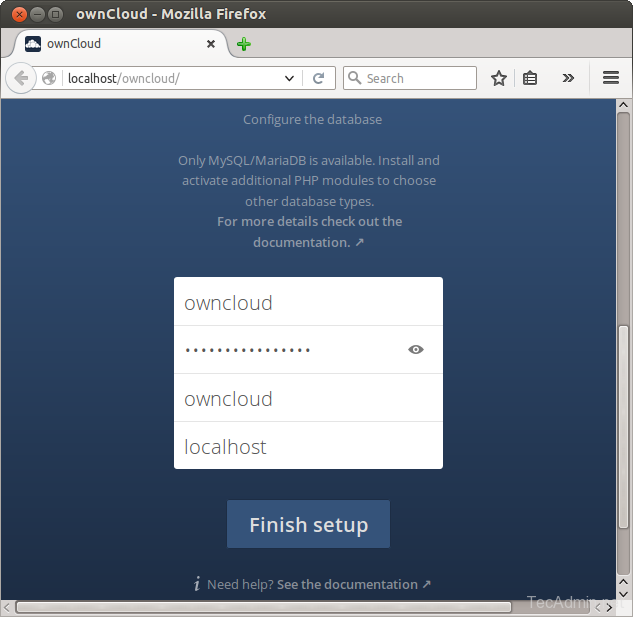
Now slide your page down and input the database credentials and click on Finish Setup.

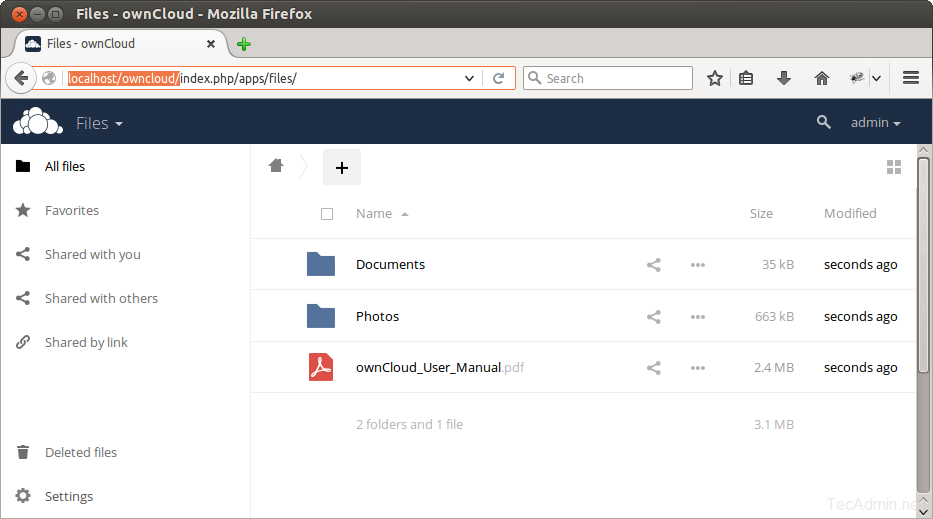
After completing setup you will get the admin dashboard. Where you can create users, groups and assign them permissions, etc.


10 Comments
I’m trying to do this, but I’m getting stuck on two different steps.
1. Install mySQL I get about two dozen of errors of “Requires x package”. At the end it says
“You could try using –skip-broken to work around the problem
You could try running: rpm -Va –nofiles –nodigest”
But trying those don’t help.
2. tar xjf owncloud-10.3.0.tar.bz2 returns:
tar (child): bzip2: Cannot exec: No such file or directory
tar (child): Error is not recoverable: exiting now
tar: Child returned status 2
tar: Error is not recoverable: exiting now
Any ideas that could help?
Hi !
Message on first login
CSRF check failed
any help ?
tks
Hi, thank you so much for the writeup, ownCloud’s instructions for RHEL leave A LOT to be desired.
Can you update this for present day, as ownCloud is now saying they need PHP >= 5.6, with 7 recommended, and only 5.4 is in the repo?
Thanks again!
Hi Tony
Which OS version are you running?
CentOS7
Cannot write into “config” directory!
This can usually be fixed by giving the webserver write access to the config directory.
can anyone tell me the solution for this.
Can you show me the permissions on config directory?
$ ls -ld config
This is a good manual approach for a fresh install but, what do you do when a new ownCloud update comes out?
Thanks for an excellent writeup. This all worked fine until I started a web browser session to http:///owncloud, and I get the following errors:
PHP module dom not installed.
Please ask your server administrator to install the module.
PHP module XMLWriter not installed. Same message for XMLReader, and mb multibyte.
Of course, I am the system administrator, and do not know what to do.
Hi Paul, just install those packages.
yum install php-dom
yum install php-XMLWriter
yum install php-XMLReader
yum install php-mb
Hope this will help.