
PartKeepr is an open source Inventory Manage System, primarily designed for electronic components. This article will help you to install Install PartKeepr in CentOS & RHEL Systems.
We assume you already have LAMP environment setup on your system or use LAMP setup instructions on CentOS/RHEL system.
Step 1: Install Required Packages
PartKeepr required multiple packages, Use following set of commands to install them, PHP and pear packages.
# yum install php-pear php-pecl-imagick php-gd
Install below pear packages as well
# pear channel-discover pear.symfony.com
# pear channel-discover pear.doctrine-project.org
# pear channel-discover pear.twig-project.org

# pear install pear.doctrine-project.org/DoctrineORM
# pear install doctrine/DoctrineSymfonyYaml
# pear install pear.doctrine-project.org/DoctrineSymfonyConsole
# pear install twig/Twig
Step 2: Download PartKeepr Archive and Extract
Download PartKeepr archive file using wget command from CLI.
# cd /var/www/html
# wget http://partkeepr.org/downloads/partkeepr-0.1.9.zip
Extract archive in document root of you domain and update permissions on files.
# unzip partkeepr-0.1.9.zip
# mv partkeepr-0.1.9 inventory
# chown -R apache.apache inventory
# chmod -R 755 inventory
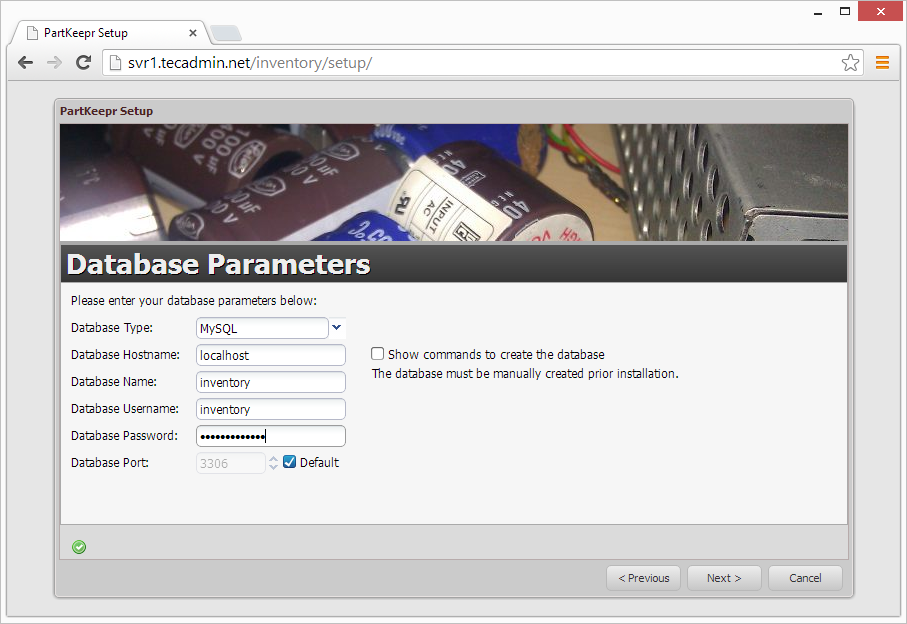
Step 3: Create MySQL Database and User
After extracting code we need to create a MySQL database and user account for configuring WordPress. Use following set of command to do it
# mysql -u root -p
Enter password:

mysql> CREATE DATABASE inventory CHARACTER SET utf8;
mysql> GRANT ALL ON inventory.* to 'inventory'@'localhost' IDENTIFIED BY '_secret_password_';
mysql> FLUSH PRIVILEGES;
mysql> quit
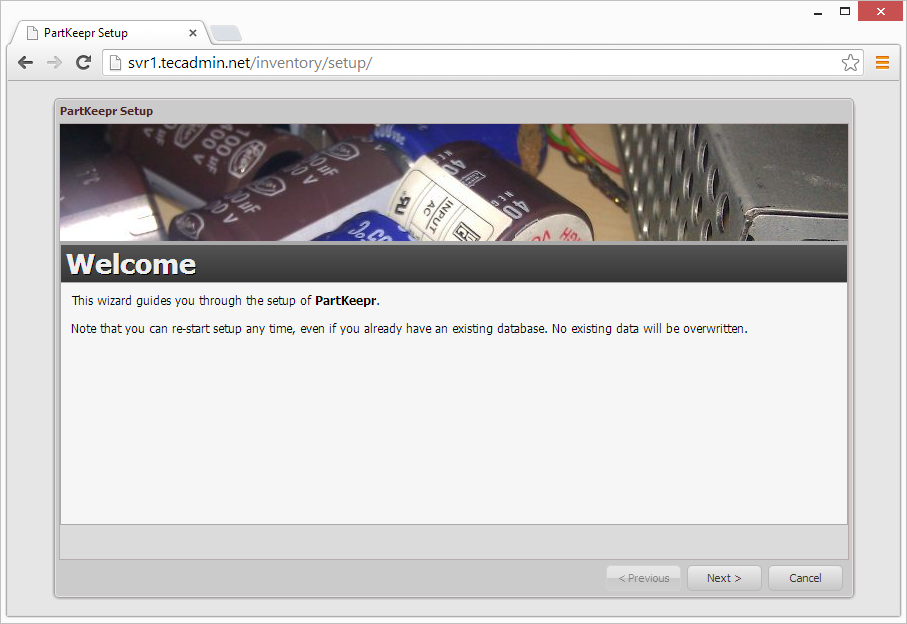
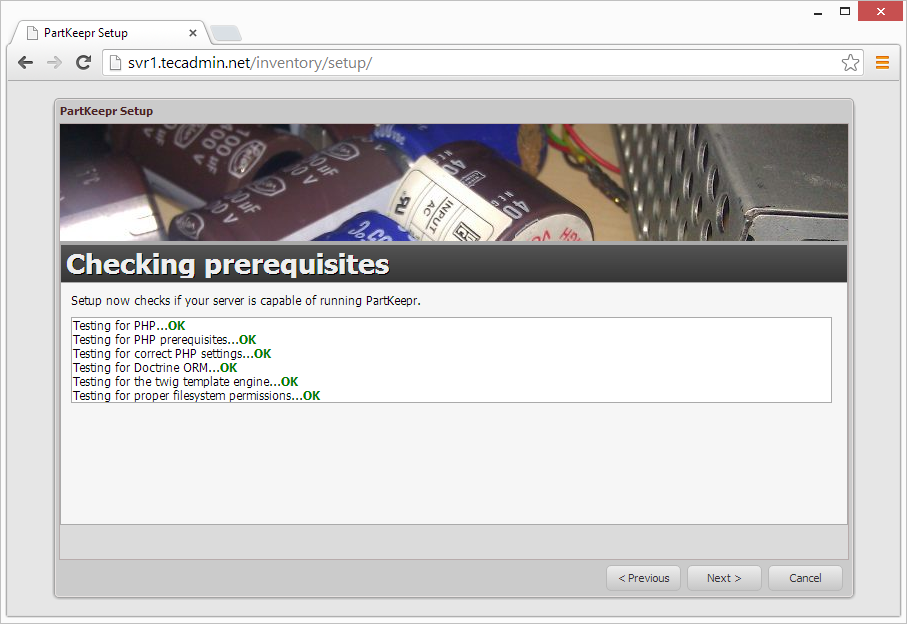
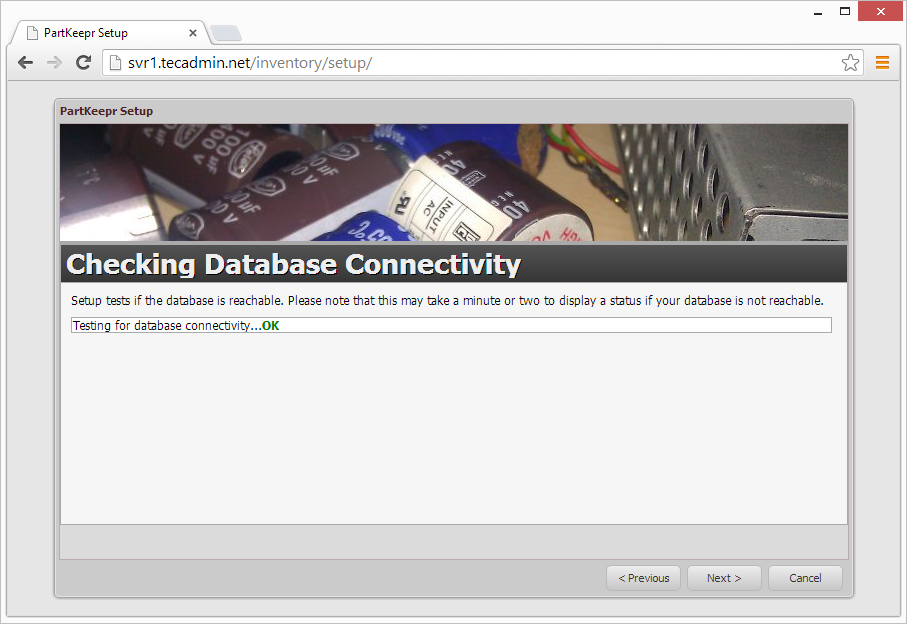
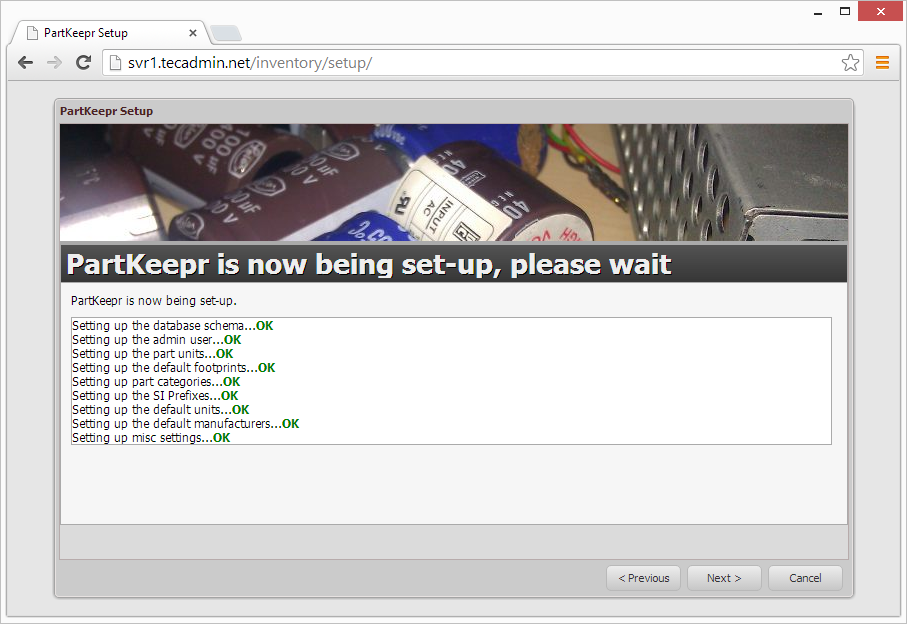
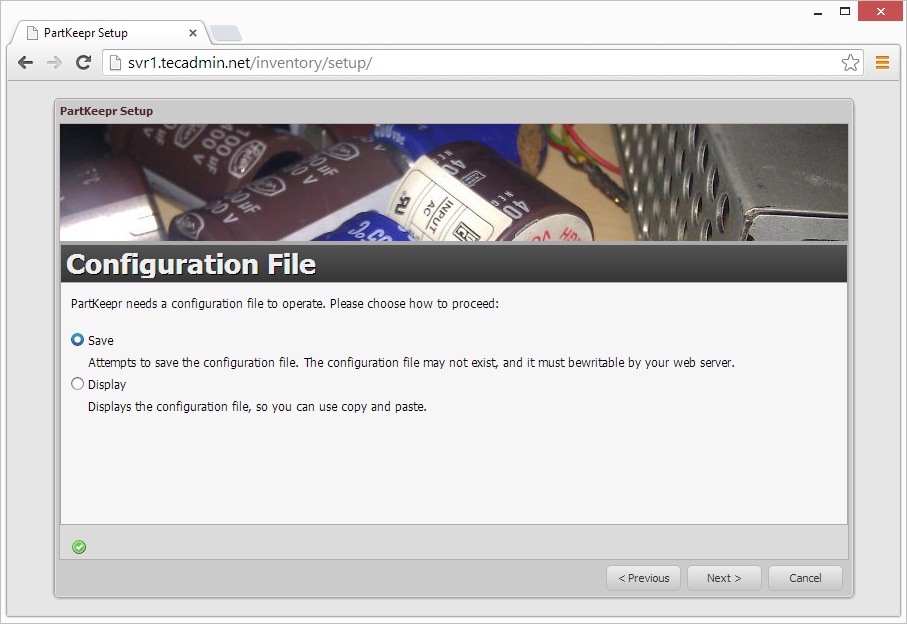
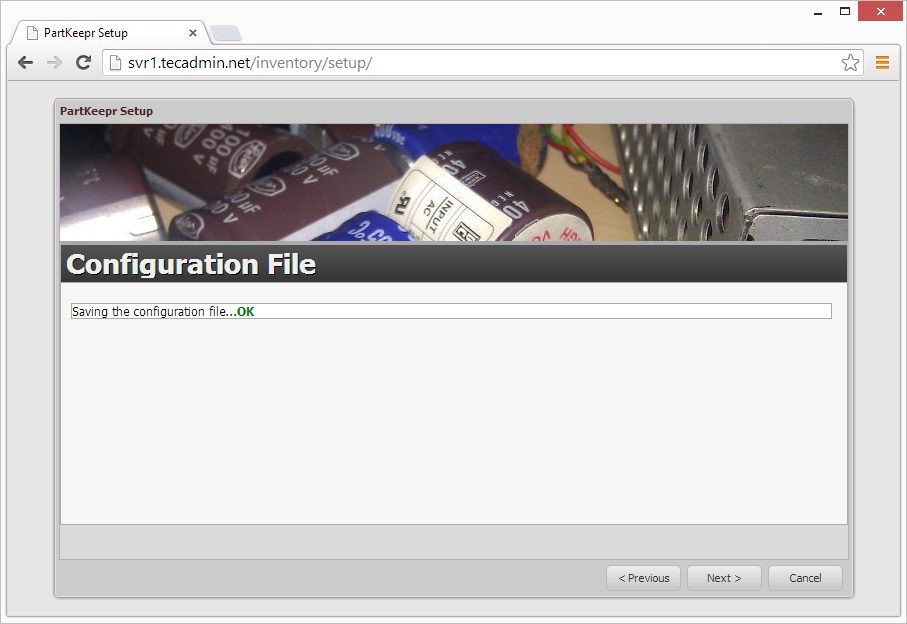
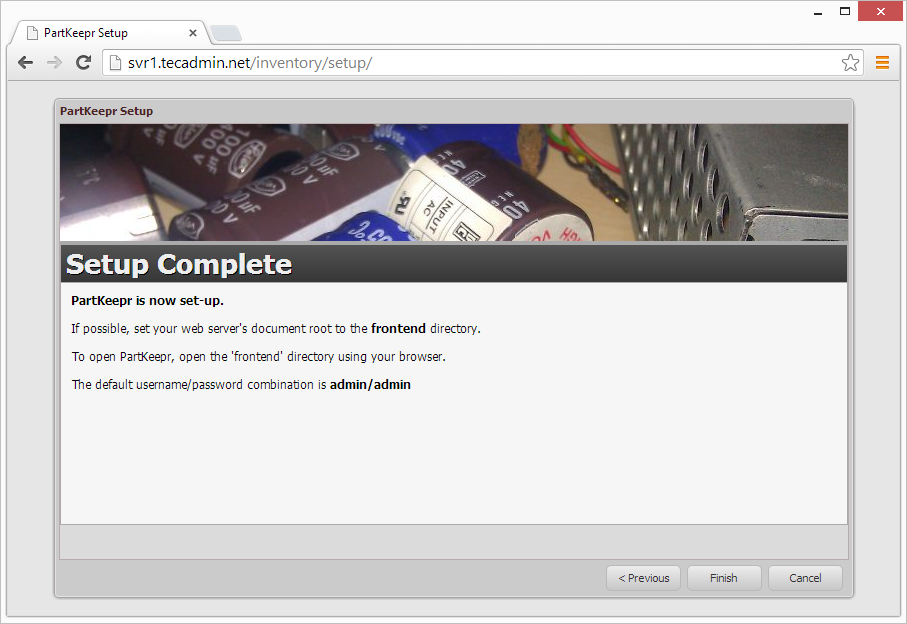
Step 4: Start PartKeepr Web Install
Use following url to open partkeepr web installer, you need to change domain name in url with your system ip or domain.
http://svr1.tecadmin.net/inventory/setup/
And follow below steps.
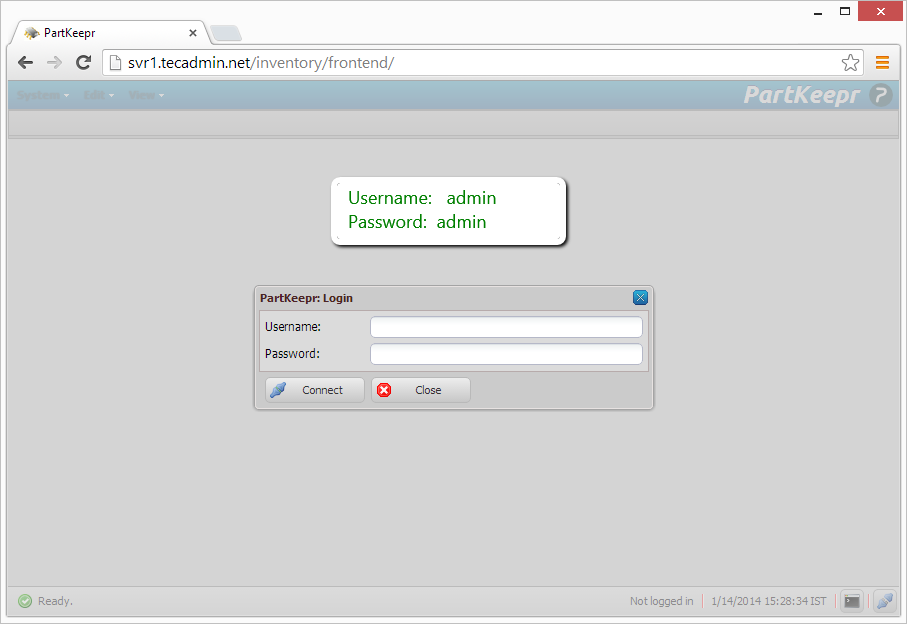
Step 4: Open PartKeepr Web Access
After completing above instructions, Use following url to open partkeepr web interface, you need to change domain name in url with your system ip or domain.
http://svr1.tecadmin.net/inventory/frontend/
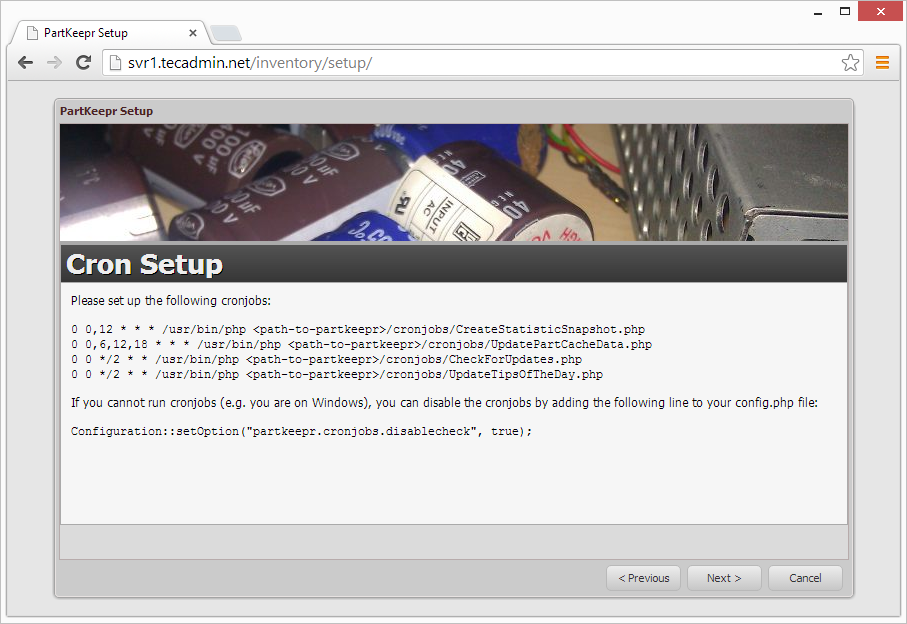
Step 4: Setup PartKeepr Cronjobs
Set up the following cronjobs by editing crontab using following command
# crontab -e
And append following jobs at the end of file
0 0,12 * * * /usr/bin/php /var/www/html/inventory/cronjobs/CreateStatisticSnapshot.php
0 0,6,12,18 * * * /usr/bin/php /var/www/html/inventory/cronjobs/UpdatePartCacheData.php
0 0 */2 * * /usr/bin/php /var/www/html/inventory/cronjobs/CheckForUpdates.php
0 0 */2 * * /usr/bin/php /var/www/html/inventory/cronjobs/UpdateTipsOfTheDay.php
If you cannot run cronjobs (e.g. you are on Windows), you can disable the cronjobs by adding the following line to your config.php file:
Configuration::setOption("partkeepr.cronjobs.disablecheck", true);
5 Comments
I’m stuck in step3.
mysql>GRANT ALL ON inventory.* to ‘inventory’@’localhost’ IDENTIFIED BY ‘_secret_password_’;
Error 1064 (42000) : You have an error in your SQL syntax;…..
How can I resolve this issue?
Hi Rank,
This issue, i have faced many times while copying single quote… Open a text editor (notepad) and just rewrite all single or double quote like:
GRANT ALL ON inventory.* to ‘inventory’@’localhost’ IDENTIFIED BY ‘_secret_password_’;
Hello. And Bye.
Boas prezados,
como posso editar os privilégios dos utilizadores do Partkeepr?
Thank you. The only workable documentation for partkeepr on centos I have found so far. The installation was very smoth when following your instruction but a small thing need to be mentioned. I had to add “php_value date.timezone …..” in /etc/httpd/confi.d/php.conf to pass the testing.