
PHP, an acronym for HyperText Preprocessor, is a powerful server-side scripting language that has become an indispensable tool for web developers and programmers worldwide. This was originally discussed by Rasmus Lerdorf in 1994 for simple web development tasks. PHP has evolved significantly over the years into a comprehensive general-purpose programming language employed in a vast array of applications. Its versatility allows it to be used not just for creating dynamic web pages but also for developing robust web applications, making it a cornerstone of modern web development.
This guide will help you install any of these PHP versions on your macOS, allowing you to customize your development environment according to your project requirements and preferences. Whether you’re upgrading an existing setup or configuring a new system, these steps will enable you to successfully manage PHP installations on macOS.
Prerequisites
Before starting the installation of PHP using this tutorial you must have the following prerequisites
- Terminal: You must have Mac terminal access and little knowledge about working with the terminal application. Now login to your Mac system and open a terminal
- Homebrew: Homebrew is a popular package manager for the Mac operating systems. It is useful for installing most open-source software like Node. You can install Homebrew with the following command.
/bin/bash -c "$(curl -fsSL https://raw.githubusercontent.com/Homebrew/install/HEAD/install.sh)"
.
How to Install PHP on macOS
As of the latest updates, macOS no longer ships with pre-installed versions of PHP, reflecting Apple’s decision to give developers more freedom in managing their software environments. This shift means that users now need to manually install PHP on their systems. The latest version of PHP, 8.3, along with other versions like 8.2, 8.1, 8.0, 7.4, 7.3, 7.2, 7.1, and even 5.6, are available for installation on macOS systems.
- To open Terminal on a macOS system using a keyboard shortcut, you can press
Command (⌘) + Spaceto open Spotlight Search, then type “Terminal” and hit Enter. - Next, you need to add the shivammathur/php tap to homebrew.
brew tap shivammathur/php - Installing PHP: Use the following command to install PHP 8.3 on your macOS system. To install a different PHP version just replace
8.3with required version.brew install shivammathur/php/php@8.3 - Configure PHP 8.3 as default:
brew link --overwrite --force shivammathur/php/php@8.3 - Once the installation is finished, restart the shell and check the active PHP version.
php -v#Output PHP 8.3.0 (cli) (built: Aug 16 2023 19:49:00) (NTS) Copyright (c) The PHP Group Zend Engine v4.2.9, Copyright (c) Zend Technologies with Zend OPcache v8.2.9, Copyright (c), by Zend Technologies
Configureing PHP with Apache
After installation, configure PHP to work with Apache by editing the Apache configuration file:
nano /usr/local/etc/httpd/httpd.conf
Add the following configuration snippet:
LoadModule php_module /usr/local/opt/php/lib/httpd/modules/libphp.so
<FilesMatch \.php$>
    SetHandler application/x-httpd-php
</FilesMatch>
DirectoryIndex index.php index.html
Save your changes and restart Apache:
apachectl restart
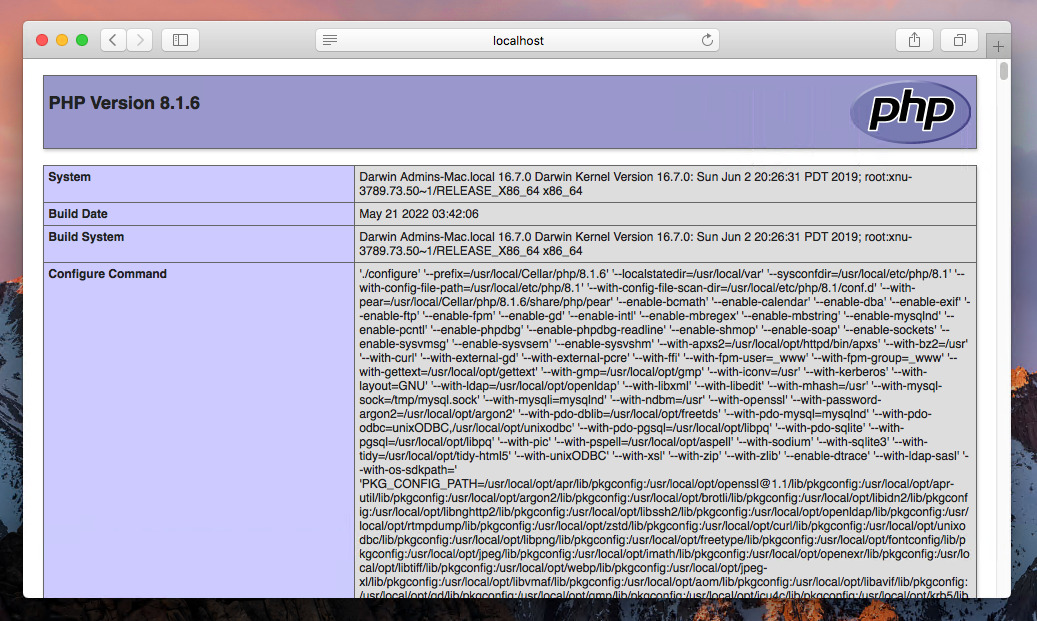
Test your PHP installation by creating a phpinfo() function file and accessing it in your browser.
Upgrade PHP version
Keep your PHP version up-to-date by upgrading to the latest patch release using the `brew upgrade` command. For instance, to upgrade to PHP 8.3:
brew upgrade shivammathur/php/php@8.3
Switching the Default PHP Version
If you have multiple PHP versions installed, switch between them as needed. For example, to switch to PHP 7.4:
brew link --overwrite --force shivammathur/php/php@7.4
Make sure you already have installed the PHP 7.4 version on your system.
Conclusion
By following this comprehensive guide, you should now have a fully functional PHP setup on your macOS system using Shivam Mathur’s Homebrew repository. The process covered the essentials of installing and configuring multiple versions of PHP, allowing for flexibility depending on your project’s requirements. Whether you’re upgrading to the latest PHP 8.3, switching back to PHP 7.4, or configuring PHP to work seamlessly with Apache, the steps outlined provide a solid foundation for managing your development environment effectively.


13 Comments
this article’s helpful, but it still complicates to maintain brew packages. servbay (servbay.dev) will be simply.
And how to install php 8 without homebrew?
how do i delete it?
I have installed php as detailed above for a Mac.
The commmand php is working but the php info page is not
I followed the download link for 7.3 and it installed 7.3.8, no problems
I dunno if its me but mine auto reverts back to PHP7.1 despite I have installed 7.3. Anyone got an idea why or if they’re having the same issue
Same here
Same here.
Thanks. Absolutely helpful.
very helpful, thank you so much
Very good work ! you saved me 🙂 i was looking for how to update my mac from 7.1 to 7.2 , since 3 days , by chance i found your post i solved my problem thanks your tuto in 2 secondes ! , i thank you 🙂
How did you get PHP to default to 7.2 on your MAC? I just installed php 7.3 but PHP -version shows version 7.1 still. I can’t find how to make it default to version 7.3 – if you know please tell me because this blog entry doesn’t have the answer. – Thanks!
Hello there, I found your blog via Google search, and found
that it’s informative truly. I’ll appreciate if you continue
this in future. Lots of individuals will be benefited from the given information
you have provided.
Cheers!