
Managing PostgreSQL databases through a graphical interface rather than the command line can significantly streamline database operations. phpPgAdmin, much like its MySQL counterpart phpMyAdmin, offers a web-based management tool for PostgreSQL databases. This guide will walk you through the process of installing phpPgAdmin on an Ubuntu system, providing you with a user-friendly interface for managing your PostgreSQL databases.
Prerequisites
- A server running Ubuntu (the steps should be applicable for most recent versions of Ubuntu).
- You should have PostgreSQL installed on your system. If not, you’ll need to install it before proceeding.
- sudo privileges to execute administrative commands.
Step 1: Update Your System
Always start with updating your package lists to ensure you install the latest versions of the software:
sudo apt updatesudo apt upgrade -y
Step 2: Install Apache and PHP
phpPgAdmin is a PHP application and requires a web server to function. Here, we’ll use Apache:
sudo apt install apache2 php libapache2-mod-php php-pgsql
This command installs Apache, PHP, and the PHP extension for PostgreSQL. You might need to install additional PHP extensions depending on your specific requirements.
Step 3: Install PostgreSQL
If you haven’t installed PostgreSQL yet, you can do so by executing:
sudo apt install postgresql postgresql-contrib
Make sure to secure your PostgreSQL installation and create a database user if you haven’t done so yet.
Step 4: Download and Install phpPgAdmin
As of my last update, phpPgAdmin might not be available directly from the Ubuntu default repositories. You may need to download it manually from its official website or use a third-party repository. For the most current method, check the phpPgAdmin official documentation. Assuming it’s available from a trusted source, you can download and extract it to the Apache server’s root directory:
cd /var/www/htmlwget https://github.com/phppgadmin/phppgadmin/releases/download/REL_7-13-0/phpPgAdmin-7.13.0.tar.gzsudo tar xzf phpPgAdmin-7.13.0.tar.gzsudo mv phpPgAdmin-7.13.0 phppgadminsudo chown -R www-data:www-data phppgadmin
Step 5: Configure Apache for phpPgAdmin
Create a new Apache configuration file for phpPgAdmin:
sudo nano /etc/apache2/conf-available/phppgadmin.conf
Add the following lines to the file:
Alias /phppgadmin /var/www/html/phppgadmin
<Directory /var/www/html/phppgadmin>
    Require all granted
</Directory>
Enable the new configuration and reload Apache:
sudo a2enconf phppgadminsudo systemctl reload apache2
Step 6: Configure phpPgAdmin
You might need to configure phpPgAdmin to connect to your PostgreSQL database by editing its configuration file:
sudo nano /var/www/html/phppgadmin/conf/config.inc.php
Make sure the connection settings match your PostgreSQL setup. The default settings usually work, but you may need to adjust the host, port, or authentication method depending on your setup.
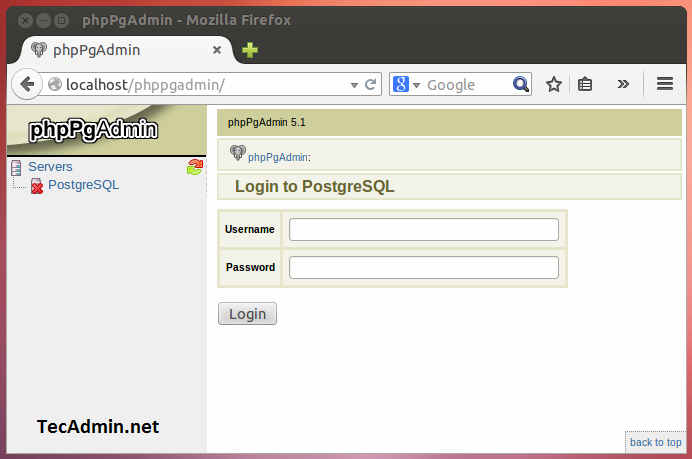
Step 7: Access phpPgAdmin
Open your web browser and navigate to http://your_server_ip/phppgadmin to access the phpPgAdmin interface. From here, you can log in with your PostgreSQL credentials and manage your databases through the web interface.
Conclusion
You have successfully installed phpPgAdmin on Ubuntu. This setup provides a powerful, web-based tool for managing your PostgreSQL databases. Remember to secure your phpPgAdmin installation by implementing appropriate security measures, such as restricting access to trusted IP addresses and using SSL encryption. Happy database managing!
5 Comments
what is username and password for phppgadmin?
Use PostgreSQL username and password for the login.
When I try to : sudo nano /etc/apache2/conf.d/phppgadmin
got this error message :
[ Error writing /etc/apache2/conf.d/phppgadmin: No such file or directory ]
What should I do ?
good but how to login now?
y con que login entro?