
RabbitMQ is a lightweight application available for the most popular operating systems. RabbitMQ supports multiple messaging protocols. RabbitMQ can be easily deployed in distributed and federated configurations to meet high-scale, high-availability requirements. This tutorial will help you to install RabbitMQ on Debian 11 and Debian 10 systems.
Step 1 – Installing Erlang
RabbitMQ requires Erlang to be installed on the system. So first of all, You can simply download the erlang repository package from its official website and install it on your system.
wget https://packages.erlang-solutions.com/erlang-solutions_1.0_all.deb
sudo dpkg -i erlang-solutions_1.0_all.deb
Run the following commands to update the Apt cache and install Erlang packages.
sudo apt-get update
sudo apt-get install erlang erlang-nox
Step 2 – Install RabbitMQ Server
After installing the requirements, now enable RabbitMQ apt repository on your system. Also, you need to import rabbitmq signing key on your system. Use the following commands to do this.
sudo add-apt-repository 'deb http://www.rabbitmq.com/debian/ testing main'
wget -O- https://www.rabbitmq.com/rabbitmq-release-signing-key.asc | sudo apt-key add -
After that update the apt cache and install the RabbitMQ server on your system.
sudo apt-get update
sudo apt-get install rabbitmq-server
Step 3 – Manage RabbitMQ Service
RabbitMQ has been installed on the Debian system. Use the following commands to enable the RabbitMQ service on your system. Also, start the RabbitMQ service.
sudo systemctl enable rabbitmq-server
sudo systemctl start rabbitmq-server
sudo systemctl stop rabbitmq-server
Step 4 – Create Admin User in RabbitMQ
By default, rabbitmq creates a user named “guest” with the password “guest”. You can also create your own administrator account on the RabbitMQ server using the following commands. Change your password with your own password.
sudo rabbitmqctl add_user admin password
sudo rabbitmqctl set_user_tags admin administrator
sudo rabbitmqctl set_permissions -p / admin ".*" ".*" ".*"
Step 5 – Setup RabbitMQ Web Management Console
RabbitMQ also provides and web management console for managing the entire RabbitMQ. To enable the web management console run the following command on your system. The web management console helps you for managing the RabbitMQ server.
sudo rabbitmq-plugins enable rabbitmq_management
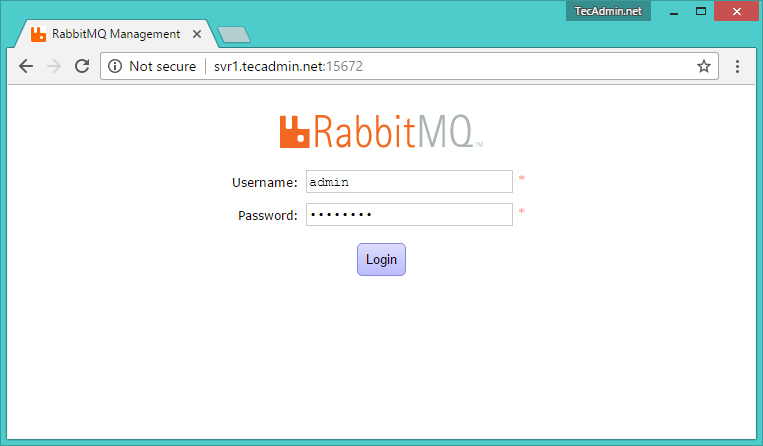
RabbitMQ dashboard starts on port 15672. Access your server on the port to get the dashboard. Use the username and password created in step 4
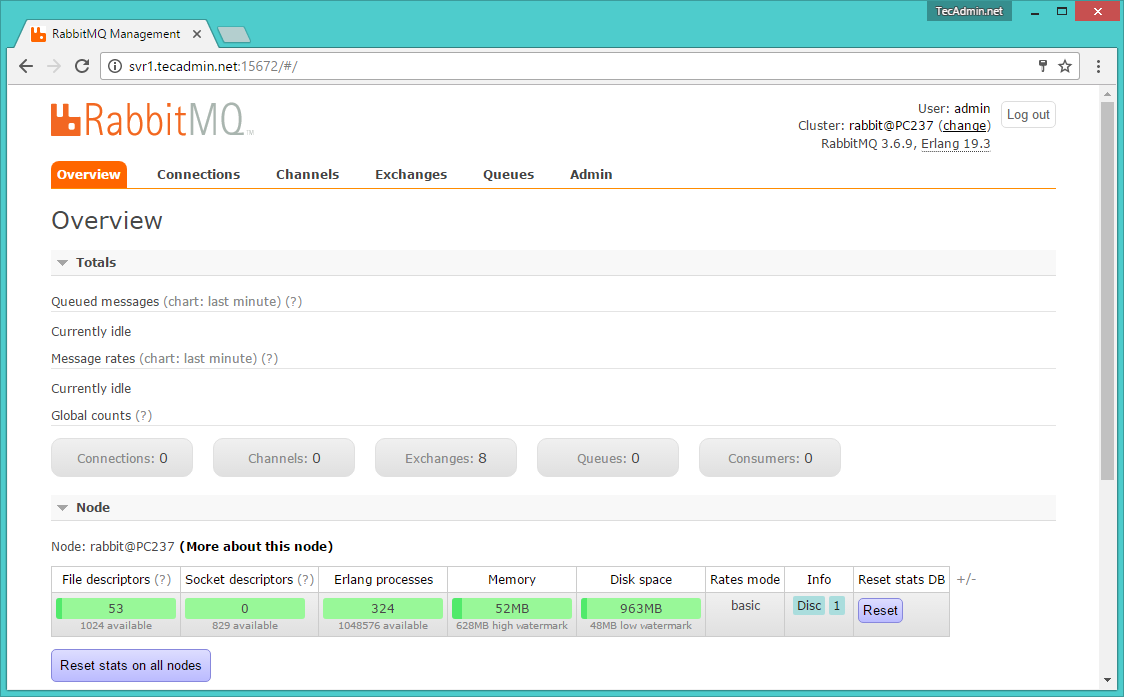
After log in, you will get the RabbitMQ management web interface dashboard.
4 Comments
thanks for info
Thanks!
Thanks!
Straight forward and perfectly worked.