RabbitMQ is the most popular open-source message broker. RabbitMQ is a lightweight application available for most of popular operating systems. RabbitMQ supports multiple messaging protocols. RabbitMQ can be easily deployed in distributed and federated configurations to meet high-scale, high-availability requirements.
This tutorial will help you to install RabbitMQ on Ubuntu 18.04 LTS and 16.04 LTS systems.
Prerequisities
Login to your Ubuntu system and update current packages.
sudo apt-get update && sudo apt-get upgrade
Also, included the below step based on our reader’s experiences added in the comments section. Remove erlang packages already installed on your system.
sudo apt-get purge erlang*
Step 1 – Install RabbitMQ on Ubuntu
First of all, enable the RabbitMQ PPA repository on your system. Also, import rabbitmq signing key on your system. Use the following commands to do this.
echo 'deb http://www.rabbitmq.com/debian/ testing main' | sudo tee /etc/apt/sources.list.d/rabbitmq.list
wget -O- https://www.rabbitmq.com/rabbitmq-release-signing-key.asc | sudo apt-key add -
After that update the apt cache and install the RabbitMQ server on your system.
sudo apt-get update
sudo apt-get install rabbitmq-server
Step 2 – Manage RabbitMQ Service
After completing installations, enable the RabbitMQ service on your system. Also, start the RabbitMQ service. Use one of the below methods sysvinit for older systems or systemctl for the latest operating system.
Using Init –
sudo update-rc.d rabbitmq-server defaults
sudo service rabbitmq-server start
sudo service rabbitmq-server stop
Uisng Systemctl –
sudo systemctl enable rabbitmq-server
sudo systemctl start rabbitmq-server
sudo systemctl stop rabbitmq-server
Step 3 – Create Admin User in RabbitMQ
By default, rabbitmq creates a user named “guest” with the password “guest”. You can also create your own administrator account on the RabbitMQ server using the following commands. Change your password with your own password.
sudo rabbitmqctl add_user admin password
sudo rabbitmqctl set_user_tags admin administrator
sudo rabbitmqctl set_permissions -p / admin ".*" ".*" ".*"
Step 4 – Setup RabbitMQ Web Management Console
RabbitMQ also provides and web management console for managing the entire RabbitMQ. To enable the web management console run the following command on your system. The web management console helps you with managing the RabbitMQ server.
sudo rabbitmq-plugins enable rabbitmq_management
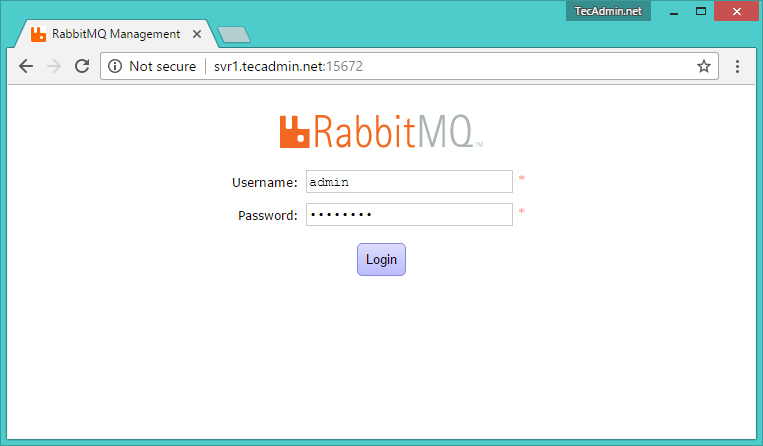
RabbitMQ dashboard starts on port 15672. Access your server on the port to get the dashboard. Use the username and password created in step 3
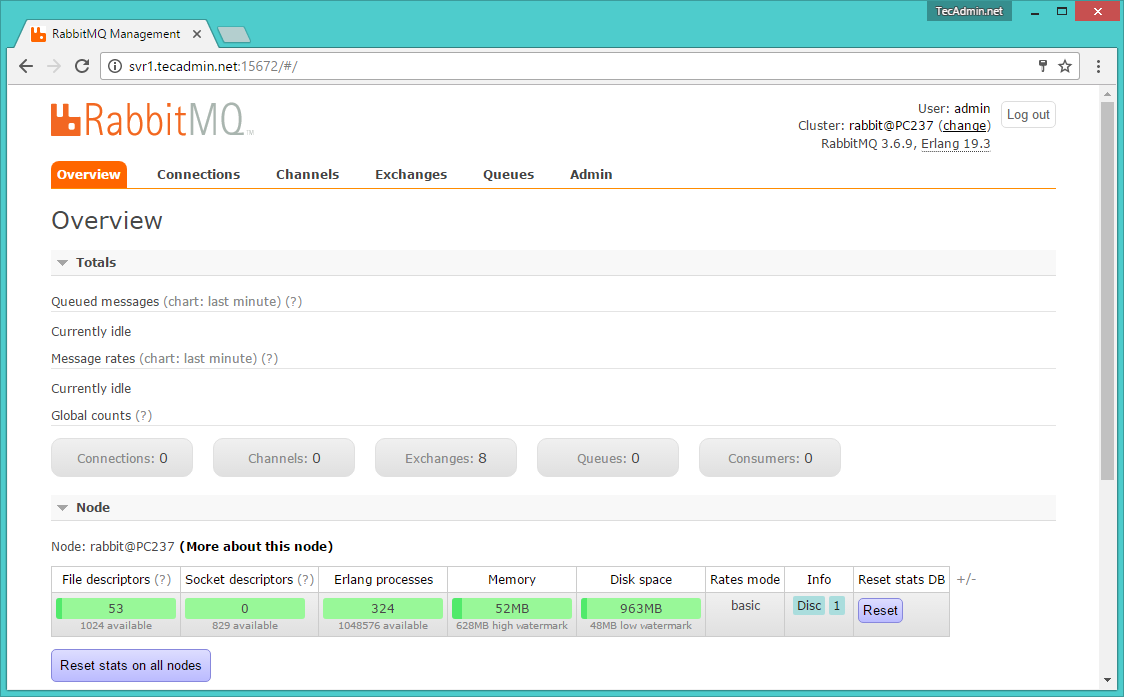
After login in, you will get the RabbitMQ management web interface dashboard.


44 Comments
Thank you so much, this was very very helpful!!
works great, thanks a lot!
Great tutorial! Thanks!
this is a very good and easy tutorial =)
thanks =)
Rabbit mq until 3.6.12 is easy to install… but not recommended anymore.
For RabbitMq 3.8 you need the latest Erlang… which is very complicated to install by our software team. Erlang seems some high level language which probably makes Rabbitmq slower…
Since the old version is unstable … our customers simple stop communicating between 1 and 60 minutes…
we finally decided to stop with RabbitMQ and Erlang. Sorry this is a dead end, not mature software yet.
Very helpful thnkuu
Thanks TechAdmin ,You save my time
Thanks it works perfectly
Your tutorial is not working with me :'(
I work fine! what’s the problem for you?
You have missing part in your tutorial to work man. Honestly I think everyone in internet should test their tutorial before publishing to avoid wasting others time.
In ubuntu 18.04 you have to edit /etc/rabbitmq/rabbitmq-env.conf and set NODENAME=rabbit@localhost to works!
Anyway thanks for your tutorial.
Hi
Installed version of rabbitmq crashed and not able to restart. So I uninstalled and reinstalling using above steps. But I am getting below error while installing.
sudo apt-get install rabbitmq-server
Reading package lists… Done
Building dependency tree
Reading state information… Done
The following additional packages will be installed:
socat
The following NEW packages will be installed:
rabbitmq-server socat
0 upgraded, 2 newly installed, 0 to remove and 49 not upgraded.
Need to get 0 B/5,346 kB of archives.
After this operation, 6,771 kB of additional disk space will be used.
Do you want to continue? [Y/n] Y
Selecting previously unselected package socat.
(Reading database … 133187 files and directories currently installed.)
Preparing to unpack …/socat_1.7.3.1-1_amd64.deb …
Unpacking socat (1.7.3.1-1) …
Selecting previously unselected package rabbitmq-server.
Preparing to unpack …/rabbitmq-server_3.6.15-1_all.deb …
Unpacking rabbitmq-server (3.6.15-1) …
Processing triggers for man-db (2.7.5-1) …
Processing triggers for systemd (229-4ubuntu21.15) …
Processing triggers for ureadahead (0.100.0-19) …
Setting up socat (1.7.3.1-1) …
Setting up rabbitmq-server (3.6.15-1) …
Job for rabbitmq-server.service failed because the control process exited with error code. See “systemctl status rabbitmq-server.service” and “journalctl -xe” for details.
invoke-rc.d: initscript rabbitmq-server, action “start” failed.
● rabbitmq-server.service – RabbitMQ broker
Loaded: loaded (/lib/systemd/system/rabbitmq-server.service; enabled; vendor preset: enabled)
Active: activating (auto-restart) (Result: exit-code) since Mon 2019-01-28 17:50:12 PST; 8ms ago
Process: 16329 ExecStop=/bin/sh -c while ps -p $MAINPID >/dev/null 2>&1; do sleep 1; done (code=exited, status=0/SUCCESS)
Process: 16202 ExecStop=/usr/lib/rabbitmq/bin/rabbitmqctl stop (code=exited, status=0/SUCCESS)
Process: 15981 ExecStart=/usr/lib/rabbitmq/bin/rabbitmq-server (code=exited, status=1/FAILURE)
Main PID: 15981 (code=exited, status=1/FAILURE)
Jan 28 17:50:12 ip-10-129-30-10 systemd[1]: Failed to start RabbitMQ broker.
Jan 28 17:50:12 ip-10-129-30-10 systemd[1]: rabbitmq-server.service: Unit entered failed state.
Jan 28 17:50:12 ip-10-129-30-10 systemd[1]: rabbitmq-server.service: Failed with result ‘exit-code’.
dpkg: error processing package rabbitmq-server (–configure):
subprocess installed post-installation script returned error exit status 1
Processing triggers for systemd (229-4ubuntu21.15) …
Processing triggers for ureadahead (0.100.0-19) …
Errors were encountered while processing:
rabbitmq-server
E: Sub-process /usr/bin/dpkg returned an error code (1)
I think that this tutorial is suggesting the wrong version of Erlang, because I spent like 4 hours.
Rabbit didn’t start, so I had to remove all PPA/repo and just type ‘sudo apt-get install rabbitmq-server’
I am using RabbitMQ for one of my project but due to some reason On first time I am not able to consume all the messages from the queue. I am using this for bulk upload off csv file which create users data
Hi Raul,
thank you for this helpful article i have setup rabbitmq server and this is working fine for shall
but i am not able to run as localhost:15672
can you help me
How to downgarde rabbitmq to version 3.6.9
Hii Rahul,
I am getting the following error.
Adding new user `rabbitmq’ (UID 123) with group `rabbitmq’ …
Not creating home directory `/var/lib/rabbitmq’.
Job for rabbitmq-server.service failed because the control process exited with error code. See “systemctl status rabbitmq-server.service” and “journalctl -xe” for details.
invoke-rc.d: initscript rabbitmq-server, action “start” failed.
● rabbitmq-server.service – RabbitMQ broker
Loaded: loaded (/lib/systemd/system/rabbitmq-server.service; enabled; vendor preset: enabled)
Active: activating (auto-restart) (Result: exit-code) since Tue 2018-06-26 17:34:33 IST; 6ms ago
Process: 26951 ExecStop=/bin/sh -c while ps -p $MAINPID >/dev/null 2>&1; do sleep 1; done (code=exited, status=0/SUCCESS)
Process: 26825 ExecStop=/usr/lib/rabbitmq/bin/rabbitmqctl stop (code=exited, status=0/SUCCESS)
Process: 26606 ExecStart=/usr/lib/rabbitmq/bin/rabbitmq-server (code=exited, status=1/FAILURE)
Main PID: 26606 (code=exited, status=1/FAILURE)
Jun 26 17:34:33 SDD-22 systemd[1]: Failed to start RabbitMQ broker.
Jun 26 17:34:33 SDD-22 systemd[1]: rabbitmq-server.service: Unit entered fa…e.
Jun 26 17:34:33 SDD-22 systemd[1]: rabbitmq-server.service: Failed with res…’.
Hint: Some lines were ellipsized, use -l to show in full.
dpkg: error processing package rabbitmq-server (–configure):
subprocess installed post-installation script returned error exit status 1
Processing triggers for systemd (229-4ubuntu21.1) …
Processing triggers for ureadahead (0.100.0-19) …
Errors were encountered while processing:
rabbitmq-server
E: Sub-process /usr/bin/dpkg returned an error code (1)
I also encountered the same error. Did you find any resolution?
Don’t install Erlang manually. If you already installed it in the first steps, remove Erlang by doing this:
sudo apt-get purge erlang*
Then start from Step 2 in this guide and do this:
sudo apt-get update
sudo apt-get install rabbitmq-server
Bill,
You Are The BEST.
this comment ended 4 hours of pure frustration.
Thanks.
Thank you a lot. You saved me 6 painful hours.
Awesome. Crisp and clear steps.
Thank you V.M. All perfect works 🙂
Thanks a ton! This helped me setup my RabbitMQ locally in a jiffy! 🙂
hi can you help me with ngnix config so that i can use RabbitMQ management web interface dashboard
Hi Rahul,
After installation, i got below issue. I am not able to start RabbitMq server.
——————————————————————–
rabbitmq-server.service – RabbitMQ broker
Loaded: loaded (/lib/systemd/system/rabbitmq-server.service; enabled; vendor preset: enabled)
Active: inactive (dead) since Thu 2018-03-08 20:18:51 IST; 2min 21s ago
Process: 4222 ExecStop=/bin/sh -c while ps -p $MAINPID >/dev/null 2>&1; do sleep 1; done (code=exited, status=0/SUCCESS)
Process: 4044 ExecStop=/usr/lib/rabbitmq/bin/rabbitmqctl stop (code=exited, status=0/SUCCESS)
Main PID: 3538 (code=exited, status=0/SUCCESS)
Status: “Initialized”
Starting broker…
: systemd unit for activation check: “rabbitmq-server.service”
: Started RabbitMQ broker.
: completed with 0 plugins.
: Started RabbitMQ broker.
: Started RabbitMQ broker.
: Stopping RabbitMQ broker…
: Stopping and halting node ‘rabbit@stg-trident-app2’
: Gracefully halting Erlang VM
: Stopped RabbitMQ broker.
———————————————————————————–
Try below command:
systemctl enable rabbitmq-server.service
Hi Rahul,
Thanks for the Quick reply.
After this command also I got same issue.
Hi Rahul,
Thanks a lot , its working fine now.
Thanks a lot!
Hi rahul, while logging in the management console i’m getting User can only log in via localhost .
Hi Rahul, first of all, thank you so mush, .I successfully installed rabbitmq, but when i will start it i have the problem “FAILED – check /var/log/rabbitmq/startup_\{log, _err\} [Fail]”.
I installed your following steps but can’t access web management console please help me.
What are you getting on the webpage? Any error message in the system log?
Thank’s a lot
Thanks Rahul.
thank you very much .I successfully installed rabbitmq on Ubuntu 16.04 LTS,that’s very useful !
Thank you so much. I just installed rabbitmq successfully on Ubuntu 17.10.
Thanks a lot.
Just installed on my virtualbox guest machine (ubuntu 16.04.3).
All okay.
Will be nice to provide guide for plugin installation and maybe recommend some helpful plugins?
Works 🙂
Worked like a charm, thank you.
Great quick guide! However, you only need to install erlang-nox not the full erlang package. Thanks!
Thanks TechAdmin ,You save my time
Successfully installed rabbitmq on Ubuntu 16.04…. Awesome post.. keep it up tecadmin