
The Red5 server is a powerful media streaming server that offers a wide range of features including live streaming, recording, shared objects, and live stream publishing. Here, we will go through the step-by-step process to install Red5 server on Ubuntu and Debian systems.
Before we start, it’s important to note that you need a non-root user account with sudo privileges on your server to perform this installation. Also, ensure your server meets the minimum system requirements.
Prerequisites
- Ubuntu (20.04, 22.04 or any LTS version) or Debian (10 or newer)
- A non-root user account with sudo privileges
- Java Development Kit (JDK) 8 or higher
- Apache Ant 1.9 or higher
Step 1: Update Your System
First, we should always start by updating the package lists for upgrades and new package installations. Open your terminal and type:
sudo apt-get update -ysudo apt-get upgrade -y
Step 2: Install Java Development Kit (JDK)
Red5 server needs Java Development Kit (JDK) to function. If you do not have JDK installed, use the following command:
sudo apt-get install default-jdk
Verify the installation with:
java -version
You should see an output that displays the installed Java version.
Step 3: Install Apache Ant
Red5 also needs Apache Ant, a Java library and command-line tool. To install Apache Ant, use the following command:
sudo apt-get install ant
Verify the installation with:
ant -version
Again, this command should return the version of Apache Ant that you installed.
Step 4: Download and Install Red5 Server
Once the required packages are installed, download the latest stable release of Red5 Server from the official GitHub repository. You can download it directly using the wget command followed by the download URL.
At the time of writing, the latest stable release is Red5 Server 1.3.19, You can check the latest Red5 version here and update:
wget https://github.com/Red5/red5-server/releases/download/v1.3.19/red5-server-1.3.19.tar.gz
After the download is complete, extract the downloaded file using the tar command:
tar xvfz red5-server-1.3.19-release.tar.gz
Move the extracted files to a suitable directory, /usr/local/ in our case:
sudo mv red5-server /usr/local/red5
Step 5: Run Red5 Server
Navigate to the Red5 directory:
cd /usr/local/red5
Start the Red5 server with this command:
./red5.sh &
The & symbol indicates that the Red5 server should run in the background.
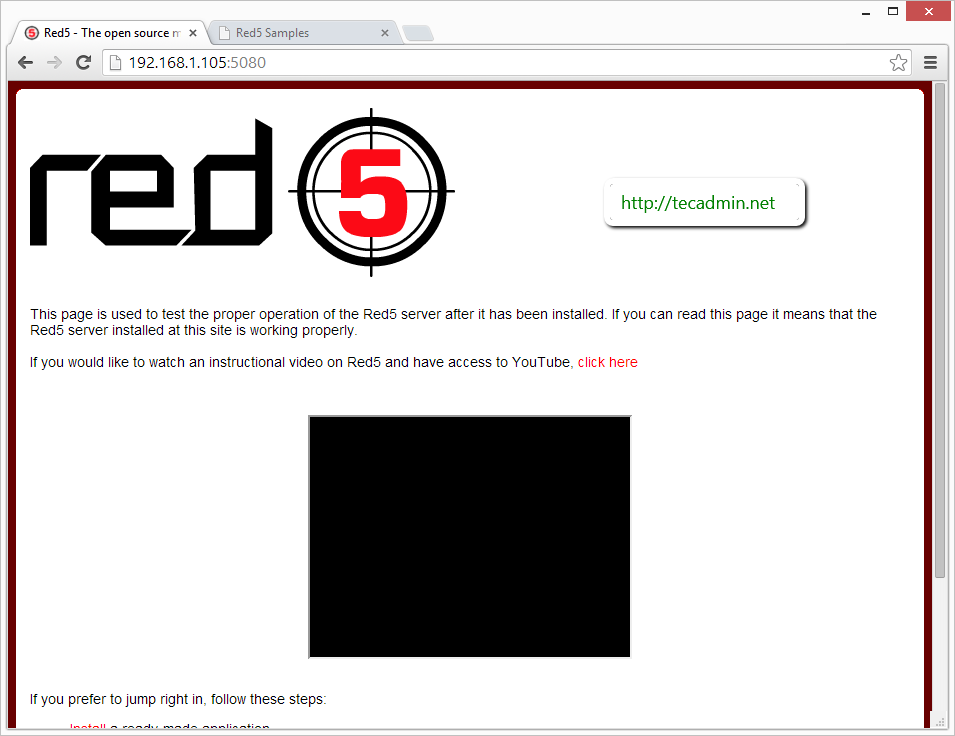
Step 6: Verify Red5 Server Installation
To verify if Red5 server is installed and running correctly, open a web browser and visit http://your_server_ip:5080. You should see the Red5 welcome page, which confirms that your installation was successful.
Step 7: Creating a systemd Service for Red5 Server
To ensure the Red5 server starts automatically on boot, we’ll create a systemd service.
- Open a new systemd service file in your text editor with root privileges:
sudo nano /etc/systemd/system/red5.service - Paste the following content into the editor:123456789101112131415[Unit]Description=Red5 serverAfter=network.target[Service]ExecStart=/usr/local/red5/red5.shExecStop=/usr/local/red5/red5-shutdown.shUser=rootType=simpleRestart=on-failureRestartSec=10KillMode=process[Install]WantedBy=multi-user.target
Save and close the file (Ctrl+O, Enter to save and Ctrl+X to exit in nano).
- Now, you’ll need to reload the systemd manager configuration:
sudo systemctl daemon-reload - Enable the Red5 service to start on boot:
sudo systemctl enable red5.service - You can now start the service:
sudo systemctl start red5.service - To check the status of the service, use the following command:
sudo systemctl status red5.serviceThis should provide some output including the status of the Red5 service, which should be ‘active (running)’.
Conclusion
By following these steps, you should have a working Red5 server installed on your Ubuntu or Debian system. This server can help you implement a variety of rich, interactive multimedia applications, from live streaming services to video conferencing solutions. Remember to keep your Red5 server updated and configure it securely to protect your content and users.
2 Comments
had this error error missing usr/lib/jvm/java-11-amazon-corretto/bin/java
fix:
https://docs.aws.amazon.com/corretto/latest/corretto-11-ug/generic-linux-install.html
Does not work. /installer URL gives 404 despite application install screen shown.