Redis is an open-source, in-memory data structure store that can be used as a database, cache, and message broker. It is known for its high performance, scalability, and ease of use. In this article, we will guide you through the process of compiling and installing the latest Redis version on Linux.
Before we begin, make sure that you have administrative privileges on your Linux server. We will be using Ubuntu 20.04 for this tutorial, but the steps should be similar for other Linux distributions.
Install latest Redis Version
Redis only required GCC and GLIBC packages to build from Source. So it’s the most recommended way for the Redis installation on a VPS. Run the below set of commands to download the latest source code and install Redis’s latest version on the Linux system.
wget http://download.redis.io/redis-stable.tar.gztar xvzf redis-stable.tar.gzcd redis-stable
Run the below commands to compile Redis from the source and install it.
sudo make && sudo make install
A Redis configuration file is also available in the current directory. You can copy this file to a better location and customize Redis.
mkdir /etc/redis && cp redis.conf /etc/redis/
Start Redis Server
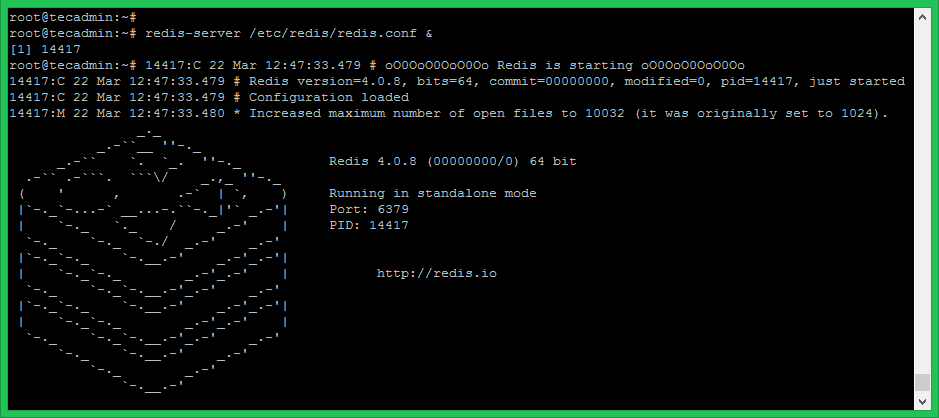
You can start the Redis server without any configuration files. In that situation, Redis uses its inbuilt configuration. If you need to customize, Update changes to /etc/redis/redis.conf and start your Redis server as below.
redis-server /etc/redis/redis.conf &
Run command redis-cli ping on your system terminal. On successful execution, you will get string PONG in response.
redis-cli ping

PONG
Using Redis Server
Start working with the Redis server by inserting some key and value pairs manually. Type redis-cli on terminal and press enter. This will provide your Redis service prompt, Here you can run the commands directory to Redis.
redis-cli

redis 127.0.0.1:6379> ping
PONG

redis 127.0.0.1:6379> set keyname datavalue
OK

redis 127.0.0.1:6379> get mykey
"datavalue"

redis 127.0.0.1:6379> set website tecadmin.net
OK

redis 127.0.0.1:6379> get website
"tecadmin.net"
Conclusion
In this tutorial, we have shown you how to compile and install the latest Redis version on Linux. By following these steps, you can set up a high-performance Redis server that can be used as a database, cache, or message broker for your applications.
3 Comments
Easy to follow and simple Redis tutorial. Hi from Canada!
I jumped through a few of your tuts and was wondering if you would use redis or memcached on WordPress (with buddy press etc… can’t cache the pages)
Thanks a lot to share this articles. it is very straight forward and helpful.
^^ what he said 🙂