Redis is an in-memory data structure store, used as a database server, cache, and message broker. Redis is written in C programming language. It also provides a PHP module for communication between PHP script with the Redis server.
This tutorial will help you to install Redis server along with PHP extensions on an Ubuntu 20.04 LTS system.
Prerequisites
Before beginning the Redis server installation on Ubuntu 20.04:
- Login to Ubuntu as sudo privileged user
- For the newly installed systems, required to complete initial server setup
Step 1 – Install Redis Server
Redis packages are available under the default apt repository. For the installation of Redis on an Ubuntu VPS. Run below command from the terminal to install Redis on your machine:
sudo apt update
sudo apt install redis-server
Next is to enable Redis to start on system boot. Also restart Redis service once.
sudo systemctl enable redis-server
Step 2 – Configure Redis
Redis can be started without a configuration file using a built-in default configuration. But to make any extra parameter changes you can use its configuration file that is: /etc/redis/redis.conf. Edit the Redis configuration file in a text editor to make changes
sudo vim /etc/redis/redis.conf
Update the following values in Redis configuration file according to your requirement. You can increase max memory limit as per available on your server.
maxmemory 256mb
maxmemory-policy allkeys-lru
The above configuration tells Redis to remove any key using the LRU algorithm when the max memory of 256mb is reached. Save the configuration file and restart the Redis service:
sudo systemctl restart redis-server
Step 3 – Install PHP Extension (Optional)
Next, if you need to use Redis with PHP application, you need to install Redis PHP extension on your Ubuntu system. To install Redis PHP extension, type:
sudo apt install php-redis
The installer will automatically enable redis extension for all the pre installed PHP versions. If you installer new PHP version after this, you can use below command to enable redis module. For example to enable extension for PHP 7.4, type:
sudo phpenmod -v 7.4 -s ALL redis
Step 4 – Connect to Redis Server
Use redis-cli tool to verify the connection between the Redis server.
redis-cli

127.0.0.1:6379> ping
PONG
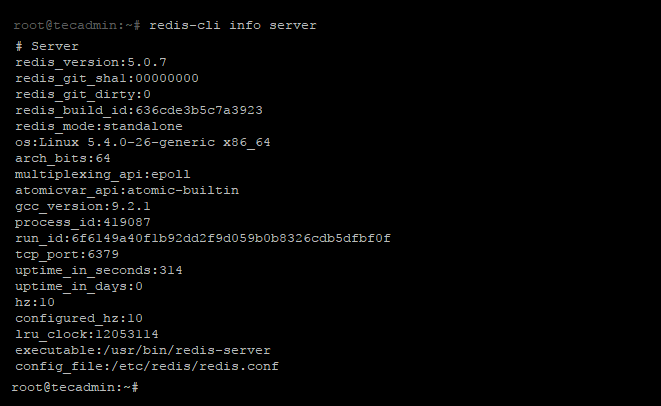
Few more examples of redis-cli command line tool. You can find more details about redis-cli here.
redis-cli info
redis-cli info stats
redis-cli info server
Conclusion
This tutorial helps you with the installation of Redis server on Ubuntu 20.04 LTS (Focal Fossa) system.

