
The Shutter tool is an open-source program for taking screenshots in Linux. It allows you to snap a picture of a certain area, window, entire screen, or even a website. You can also post pictures to Imgur, TwitPic, Dropbox, and other image hosting websites or even upload them to your own FTP server.
In this article, you will learn how to install the shutter application on an Ubuntu system using the official PPA.
How to Install Shutter on Ubuntu
The shutter project provides an official PPA for installing the shutter applications on Ubuntu. You can add this repository to your system and install the shutter screenshot tool on your system.
- Run the below command to configure Shutter PPA on your system:
sudo add-apt-repository ppa:shutter/ppa - A Shutter repository has been added. Then install the Shutter package on Ubuntu by executing the below-mentioned command:
sudo apt update && sudo apt install shutter
Once the command is finished, the shutter tool will be successfully installed on your system. Now, you can open the application and take the required screenshots.
Capture Screenshot with Shutter
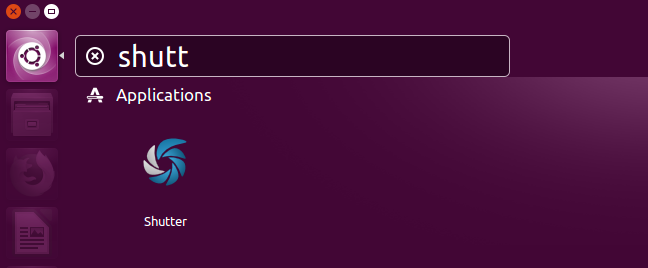
After installing the Shutter tool on your system, capture your first screenshot on your system. Launch the shutter tool on your system.
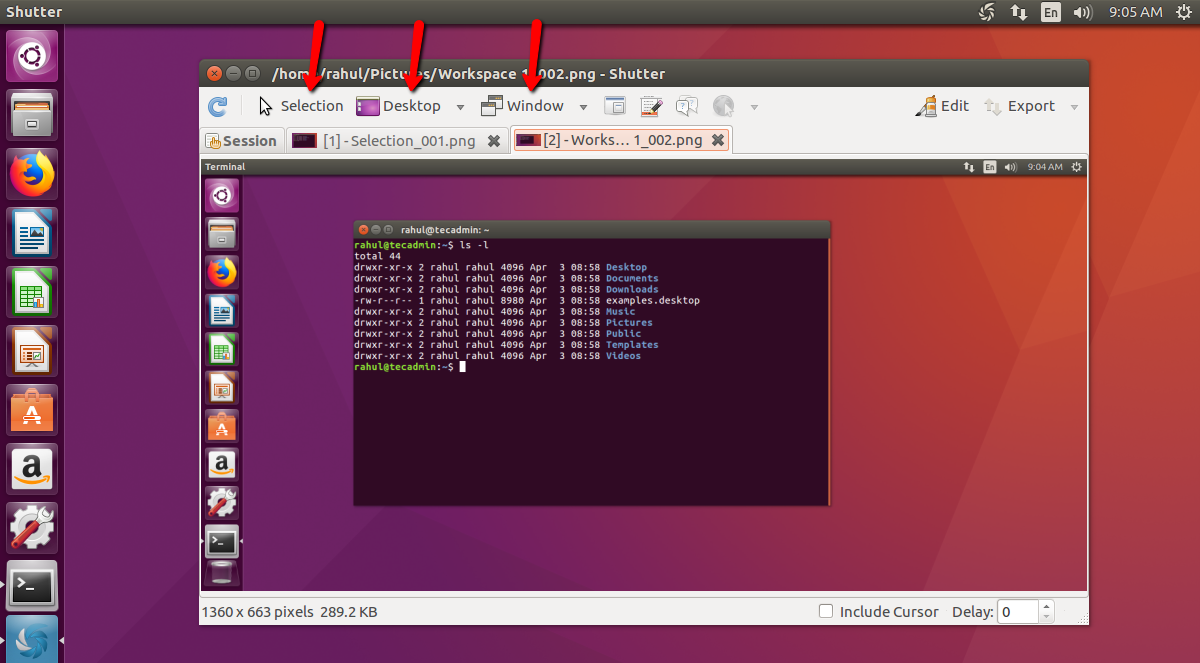
On the Shutter tool window, you will find multiple options to capture screenshots as per your need. It also provides an option to edit images.
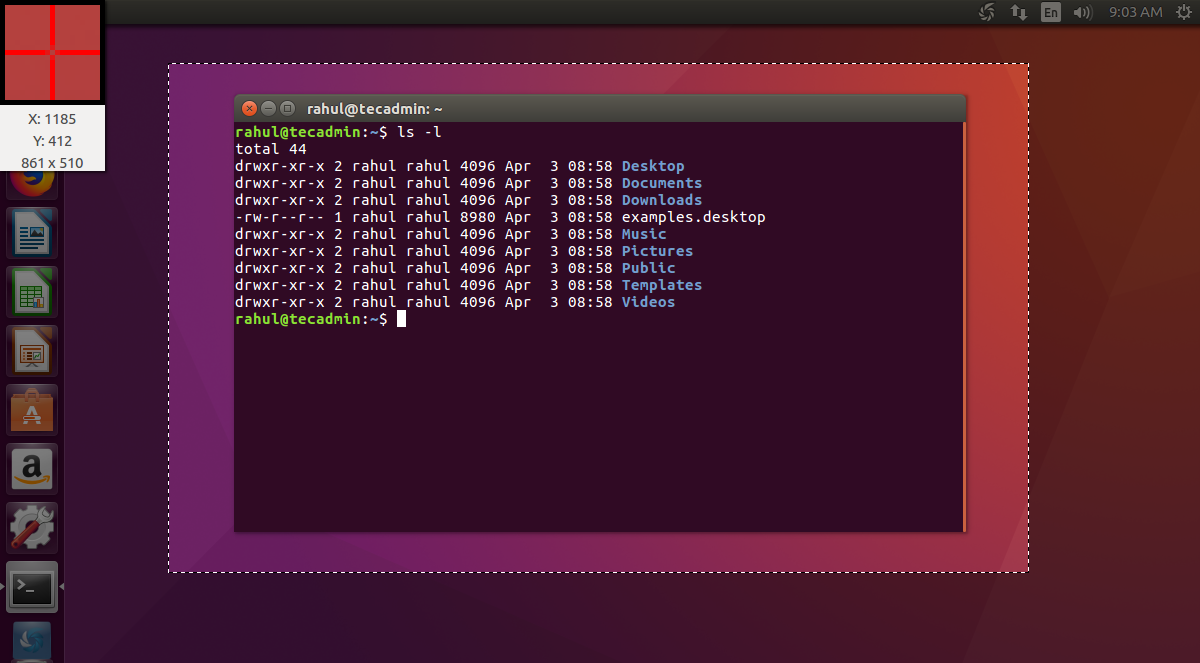
Shutter screenshot capture tool in action.
Wrap Up
A shutter is an excellent tool for taking screenshots on Linux systems. This blog post helps you to install shutter from official repositories. With the help of the shutter application, you can capture screenshots quickly.