SVN is an open source version control system build by Apache Foundation Team. It helps you keep track of a collection of files and folders. Any time you change, add or delete a file or folder that you manage with Subversion, you commit these changes to your Subversion repository, which creates a new revision in your repository reflecting these changes. You can always go back, look at and get the contents of previous revisions.
This article will help you for step by step setup of Subversion (svn) server on Debian 11, Debian 10 and Debian 9 Linux systems.
Step 1 – Install Apache
We are using Apache web server to host SVN server. You need to install the Apache web server to access the svn server using HTTP URLs. Skip this step if you already have Apache web server on your system.
sudo apt-get updatesudo apt-get install apache2
Step 2 – Install SVN Server
Use the following command to install subversion packages and their dependencies. Also, install svn module for Apache libapache2-mod-svn packages on your system.
sudo apt-get install subversion libapache2-mod-svn libapache2-svn libsvn-dev
After installation, enable required Apache modules and restart Apache service.
sudo a2enmod davsudo a2enmod dav_svnsudo service apache2 restart
Step 3 – Configure Apache with Subversion
Subversion Apache module package creates an configuration file /etc/apache2/mods-enabled/dav_svn.conf. You just need to make necessary changes to it.
Alias /svn /var/lib/svn
<Location /svn>

   DAV svn
   SVNParentPath /var/lib/svn

   AuthType Basic
   AuthName "Subversion Repository"
   AuthUserFile /etc/apache2/dav_svn.passwd
   Require valid-user

</Location>
Step 4 – Create SVN Repository
Use following commands to create your first svn repository with name myrepo. Also, set the required permissions on newly created directories.
sudo mkdir -p /var/lib/svn/sudo svnadmin create /var/lib/svn/myreposudo chown -R www-data:www-data /var/lib/svnsudo chmod -R 775 /var/lib/svn
Step 5 – Create Users for Subversion
Now create first svn user in /etc/apache2/dav_svn.passwd file. These users will use for authentication of svn repositories for checkout, commit processes.
sudo htpasswd -cm /etc/apache2/dav_svn.passwd admin
To create additional users, use following commands.
sudo htpasswd -m /etc/apache2/dav_svn.passwd user1sudo htpasswd -m /etc/apache2/dav_svn.passwd user2
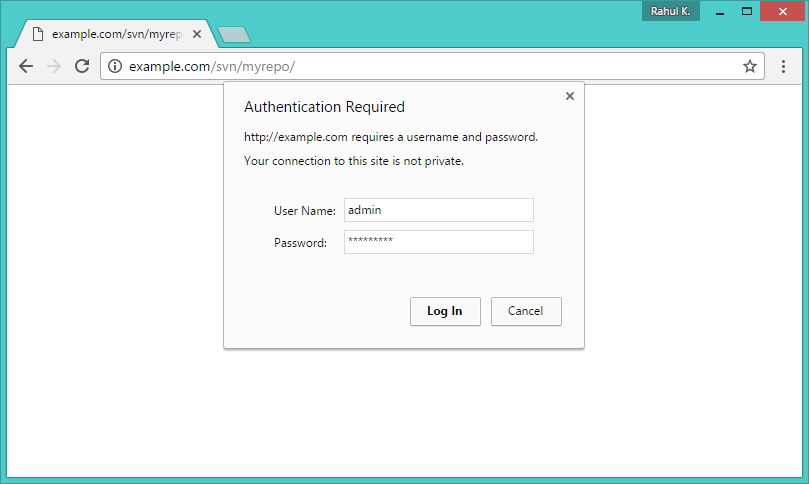
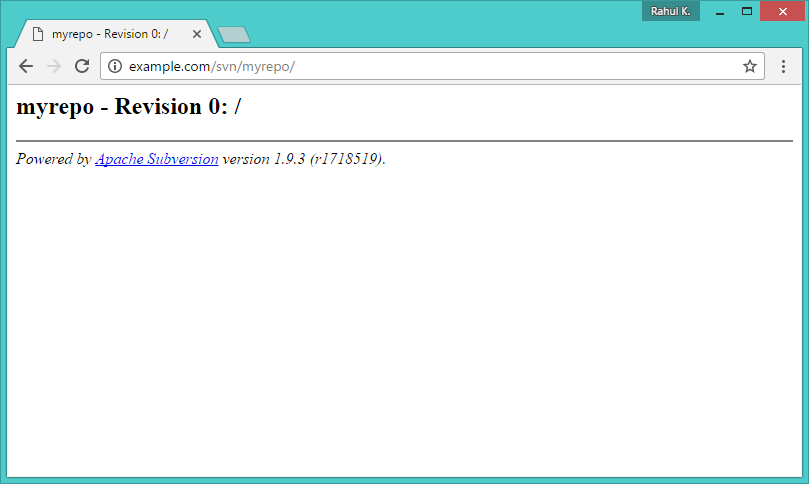
Step 6 – Access Repository in Browser
Use HTTP URLs to access your repository in the browser. It will prompt for authentication. Use login credentials created in Step 5. Change example.com with your system hostname, domain name or IP address.
http://example.com/svn/myrepo/


6 Comments
Commenting out Alias /svn /var/lib/svn makes this work for tortoiseSVN as well. Wish I’d read this comment a couple days ago.
Thanks for the tutorial. However, I encountered a similar problem to Dario when using svn import and the solution was the same – to remove the Alias /svn /var/lib/svn in the dav_svn.conf file (using Debian 10).
Hey man, i did everything in this tutorial but it seems that the server isnt ¨ON¨ because i cant access it on a browser
Hi, What are you getting in browser? Is Apache running?
Hi, I get the message “This site can’t be reached” which I guess is bc the server is off or something. How do I know if Apache is running? Also did you do anything else besides de svn configuration, like a port configuration? And how can I create folders in the server? Thank you
Great !
but when i try to connect with smartsvn he says that exist a recursive path .
Solution:
please remove
Alias /svn /var/lib/svn
from
/etc/apache2/mods-enabled/dav_svn.conf
as suggest in
https://stackoverflow.com/questions/18474825/what-is-the-cause-of-svn-e195019-redirect-cycle-detected-for-url
thanks