

Visual Studio Code is a lightweight source code editor for JavaScript, TypeScript and Node.js Applications. It also has extensions for multiple other programming languages like C++, C#, Python, PHP, Go, etc. This tutorial will help you to install Visual Studio Code on OpenSUSE and SUSE Linux Enterprise operating system.
- How to Install Visual Studio Code Editor in Ubuntu & Debian
- How to Install Visual Studio Code Editor in Fedora & CentOS
Step #1. Enable Package Repository
Create a new file /etc/yum.repos.d/vscode.repo and edit in text editor.
sudo vim /etc/yum.repos.d/vscode.repo
Now add the following content to the file.
[vscode]
name=Visual Studio Code
baseurl=https://packages.microsoft.com/yumrepos/vscode
enabled=1
type=rpm-md
gpgcheck=1
gpgkey=https://packages.microsoft.com/keys/microsoft.asc
Step #2. Install Visual Studio Code
Now, Import the package signing gpg key on your system using the following command.
sudo rpm --import https://packages.microsoft.com/keys/microsoft.asc
After importing gpg key, Let’s use the below commands to install the Visual Studio Code on your openSUSE or SEL system.
sudo zypper refresh
sudo zypper install code
Step #3. Open Visual Studio Code
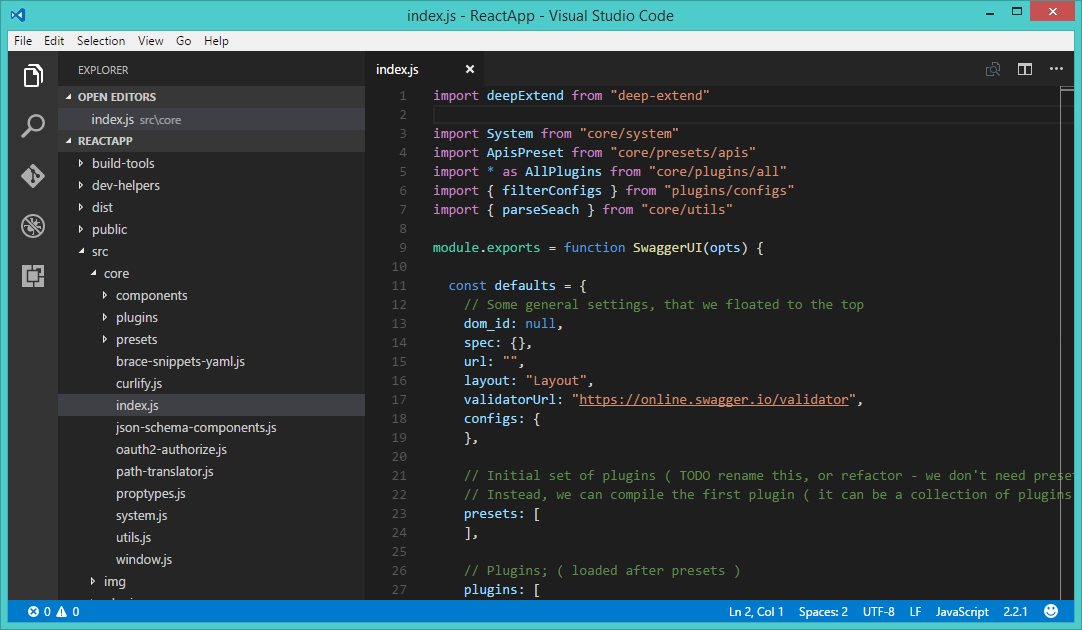
Now launch the Visual Studio Code editor on your system using the graphical menu. After that create a new file or open files and directories using the File menu.
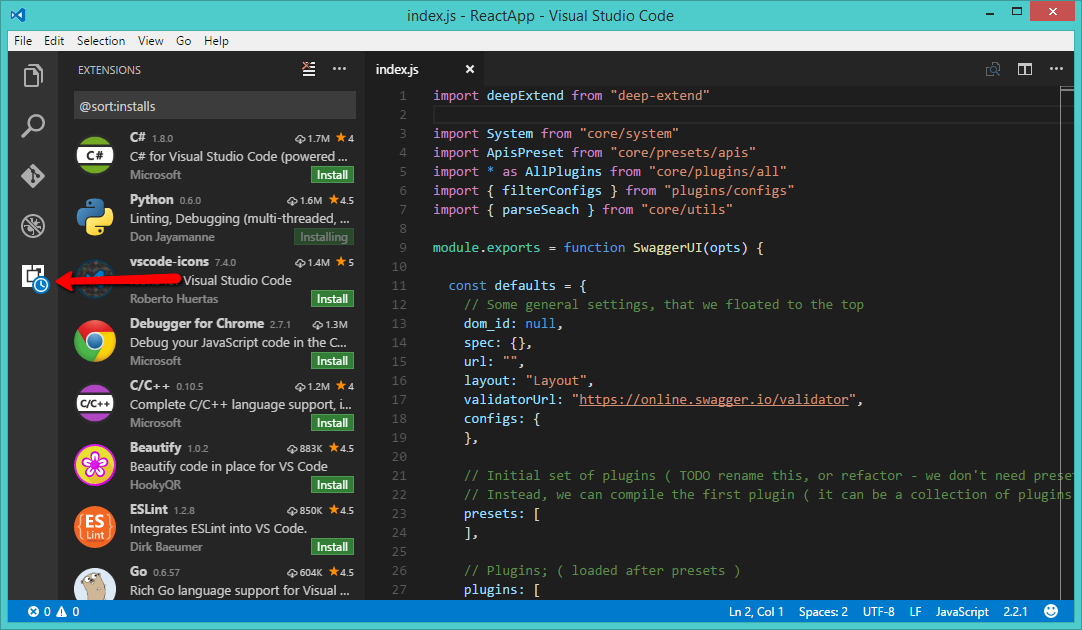
Step #4. Add Required Extensions
There are a large number of extensions available for Visual Studio Code like C#, Python, JavaScript, Google Chrome, etc. Install the required extensions to enhance your working experience with Visual Studio Code.
How did it make you feel?


These are instalation steps for OpenSuse Leap 15
sudo rpm –import https://packages.microsoft.com/keys/microsoft.asc
sudo zypper ar https://packages.microsoft.com/yumrepos/vscode vscode
sudo zypper refresh
sudo zypper install code
doesnt work, in opensuse tumbleweed the repo file would created with:
sudo vi /etc/zypp/repos.d/vscode.repo