Welcome to the guide on installing Wine 9.0 on Fedora! Wine is a compatibility layer that enables you to run Windows applications on Linux and other Unix-like operating systems. With the latest version of Wine, you can enjoy improved compatibility and performance when running your favorite Windows software on your Fedora system. This step-by-step tutorial will walk you through the installation process, ensuring that you can seamlessly integrate Wine into your Fedora environment and start using your preferred Windows applications without hassle. Let’s get started!
Prerequisite
You must have a sudo privileged account for the Wine installation on Fedora.
Wine required many development packages. First, we recommend upgrading all system packages using the following commands.
sudo dnf clean allsudo dnf update
Step 1: Configure Wine Repository
The first step in installing WineHQ on Fedora is to add the WineHQ repository to your system. This can be done by running the following commands. First, import the Winehq GPG key into your system.
sudo dnf -y install dnf-plugins-coresudo rpm --import https://dl.winehq.org/wine-builds/winehq.key
Next, add the Wine package repository to your system.
source /etc/os-releasesudo dnf config-manager --add-repo https://dl.winehq.org/wine-builds/fedora/${VERSION_ID}/winehq.repo
If you are running Fedora 35 or older version repository contains WineHQ 7 and older versions. So if you want to use Wine 8, you need to upgrade Fedora to the latest version.
Step 2: Install WineHQ on Fedora
You have configured the WineHQ yum repository on your Fedora system. The next step is to install WineHQ by running the following command:
sudo dnf install winehq-stable
The above command will install a large number of packages as a dependency. The installation may take time as per your network speed. Enjoy a cup of coffee until the installation finishes.
Step 3: Verify the Installation
After finishing the installation process, Use the following command to check the version of wine installed on your system.
wine --version

wine-9.0
Step 4: Configure Wine
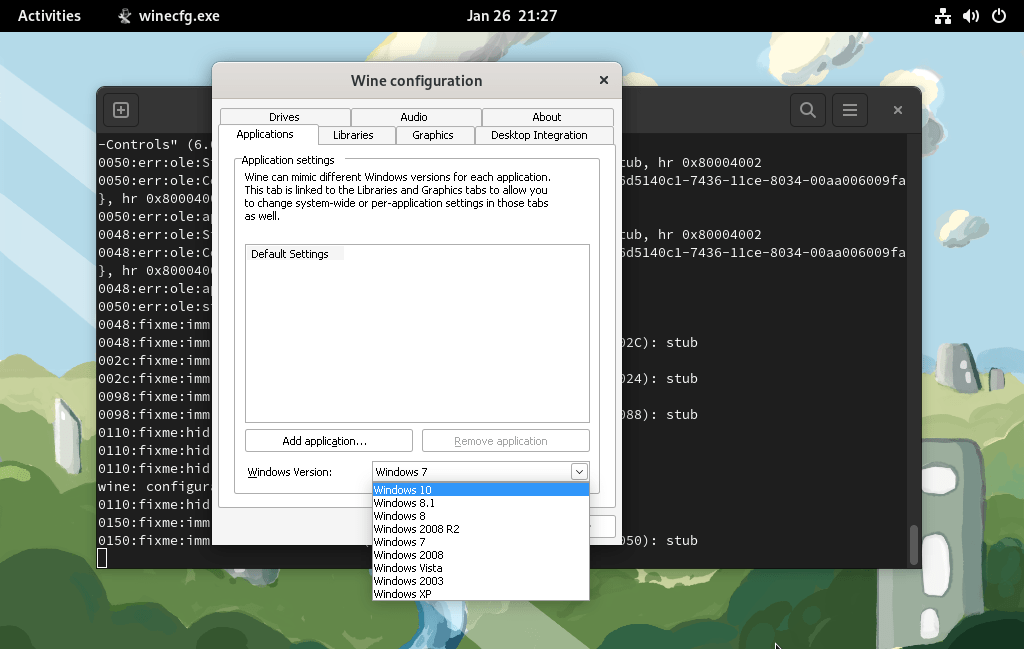
WineHQ is now installed on your system, but it is not yet configured. The next step is to configure Wine by running the following command:
winecfg
This will open the Wine configuration window, where you can set various options such as the Windows version to emulate and the location of the virtual C drive.

Step 5: Running .exe file Using Wine
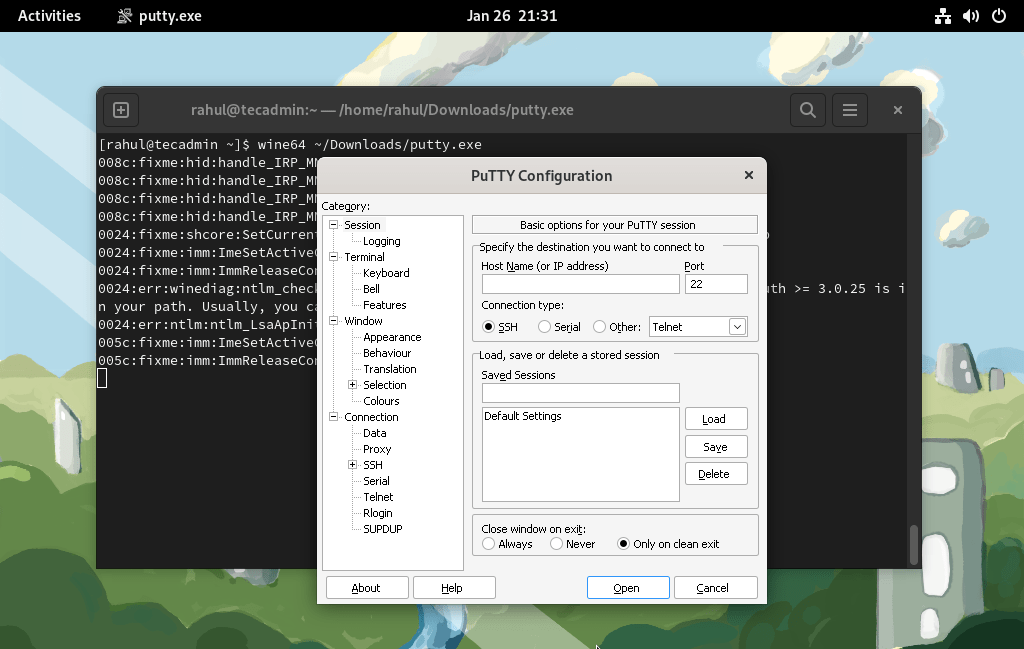
For this example, I have downloaded the putty.exe file. Now use the wine utility to run this putty Windows application on your Fedora system.
wine ~/Downloads/putty.exe

Conclusion
Congratulations! You have successfully installed Wine 9.0 on your Fedora system. With Wine, you now have the ability to run a wide range of Windows applications seamlessly on your Linux environment. Whether it’s productivity software, games, or other utilities, Wine provides you with the compatibility needed to enjoy your favorite Windows programs without having to switch operating systems. Remember to regularly update Wine to access the latest features and improvements. Enjoy exploring the possibilities that Wine brings to your Fedora experience!


1 Comment
Error info:
/opt/wine-stable/bin/wine: error while loading shared libraries: libwine.so.1: cannot create shared object descriptor: Permission denied
Please help.