
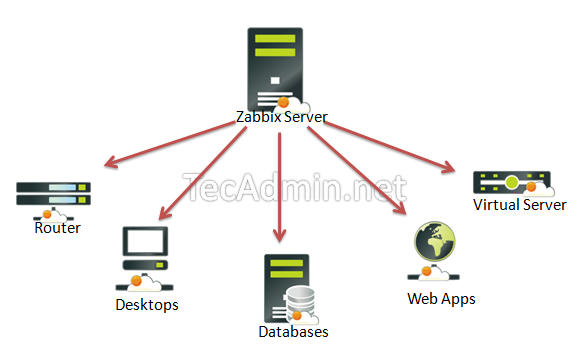
Welcome to our comprehensive tutorial on installing Zabbix Server on Debian, a powerful, open-source monitoring solution. Zabbix offers a robust set of features to track network performance, server health, and other critical infrastructure components. Debian, known for its stability and security, makes an ideal host for your Zabbix installation. Whether you’re an IT professional, system administrator, or tech enthusiast, this guide aims to provide you with a clear, detailed pathway for setting up Zabbix on a Debian server.
Step 1: Preparing Your Debian System
Before diving into the installation of Zabbix, it’s crucial to ensure that your Debian system is updated. This can be achieved by executing the following commands:
sudo apt update && sudo apt upgrade
This process updates the list of available packages and their versions, and then installs newer versions of the packages you have. After updating, it’s also a good idea to install some dependencies that Zabbix will require:
sudo apt install apache2 libapache2-mod-php \
     php php-mysql php-ldap php-bcmath php-mbstring php-gd php-xml php-pear php-cgi
Update timezone in php configuration file /etc/php/PHP_VERSION/apache2/php.ini. Like below:
[Date]
; http://php.net/date.timezone
date.timezone = 'Asia/Kolkata'
Step 2: Installing the Zabbix Server
Zabbix is not available in the default Debian repositories. However, you can add Zabbix’s official repository to your system:
wget https://repo.zabbix.com/zabbix/6.4/debian/pool/main/z/zabbix-release/zabbix-release_6.4-1+debian$(lsb_release -sr)_all.debsudo dpkg -i zabbix-release_6.4-1+debian$(lsb_release -sr)_all.debsudo apt update
Once the repository is added and your package list is updated, you can install Zabbix server, frontend, and agent:
sudo apt install zabbix-server-mysql zabbix-frontend-php zabbix-apache-conf zabbix-agent
Step 3: Configuring the MySQL Database for Zabbix
Zabbix requires a database to store its data. Here, we’ll set up a MySQL database for Zabbix:
- First, secure your MySQL installation:
sudo mysql_secure_installation - Then, log in to MySQL and create a Zabbix database and user:
CREATE DATABASE zabbix character set utf8 collate utf8_bin; CREATE USER 'zabbix'@'localhost' IDENTIFIED BY 'your_password'; GRANT ALL PRIVILEGES ON zabbix.* TO 'zabbix'@'localhost'; FLUSH PRIVILEGES; - Import the initial schema and data on your Zabbix server host. During this process, you will need to input the password you recently created. Execute the following command:
zcat /usr/share/zabbix-sql-scripts/mysql/server.sql.gz | mysql --default-character-set=utf8mb4 -uzabbix -p zabbix - After successfully importing the database schema, you should disable the
log_bin_trust_function_creatorsoption for security purposes. To do this, log in to MySQL as root:mysql -uroot -pWhen prompted, enter your MySQL root password.
- Then, execute the following commands in the MySQL prompt:
SET GLOBAL log_bin_trust_function_creators = 0;
QUIT;
This will ensure the
log_bin_trust_function_creatorssetting is safely configured post-import.
Step 4: Configuring the Zabbix Server
Now, it’s time to configure Zabbix to use this database:
- Edit the Zabbix server configuration file (
/etc/zabbix/zabbix_server.conf), setting the database name, user, and password.DBName=zabbix DBUser=zabbix DBPassword=your_password - Restart the Zabbix server to apply these changes:
sudo systemctl restart zabbix-server
Step 5: Setting Up the Zabbix Frontend
Zabbix’s web frontend allows you to manage your Zabbix server via a web browser. Configure the PHP for Zabbix frontend by editing the PHP configuration file (/etc/php/PHP_VERSION/apache/php.ini) and adjust the necessary parameters such as `max_execution_time`, `memory_limit`, and `post_max_size`.
Then restart the Apache web server.
sudo systemctl restart apache2.service
Step 6: Accessing the Zabbix Web Interface
Finally, you can access the Zabbix web interface by navigating to http://your_server_ip/zabbix in your web browser.
http://your_server_ip/zabbix
The Zabbix setup wizard will guide you through the final setup steps.
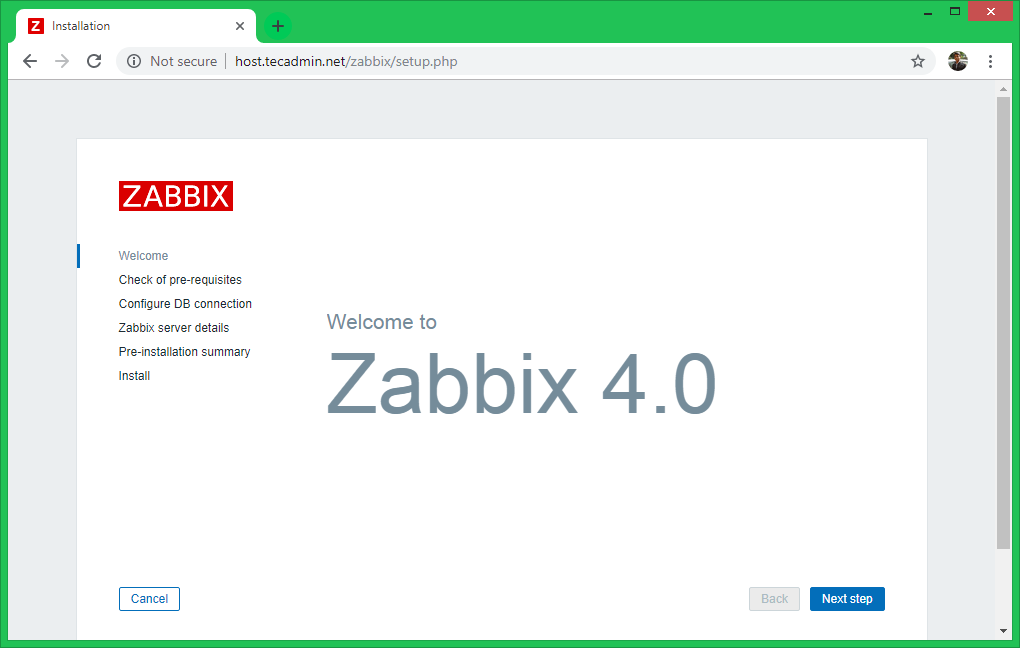
- Zabbix Setup Welcome Screen:
This is the welcome screen of Zabbix web installer. Go forward by click on next button.
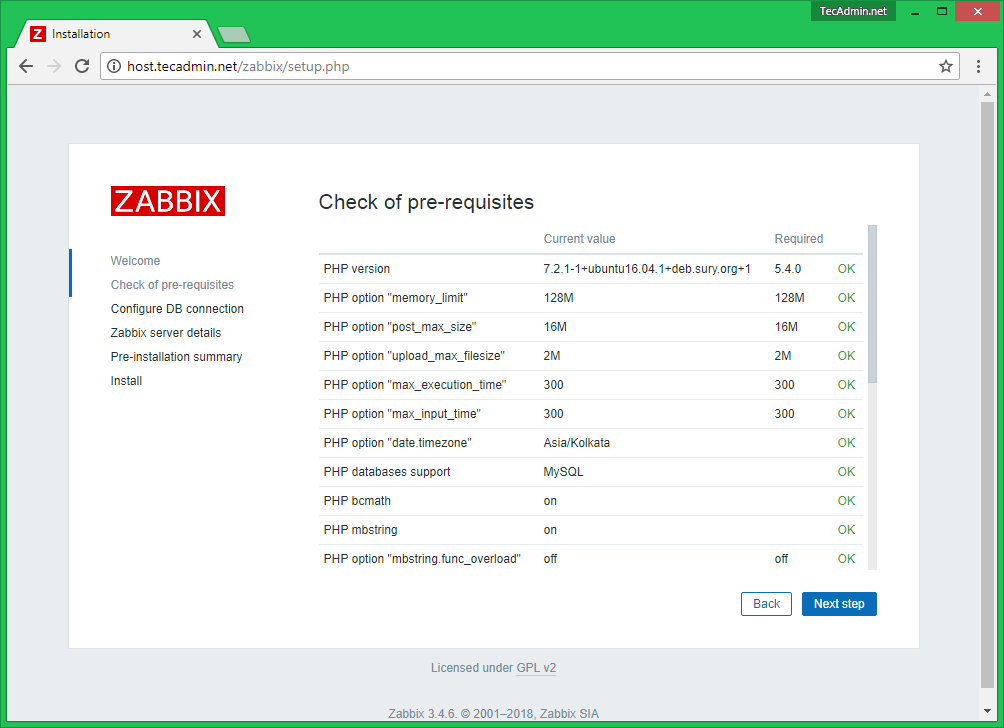
- Check for pre-requisities:
Check if your system has all required packages, if everything is ok click next.
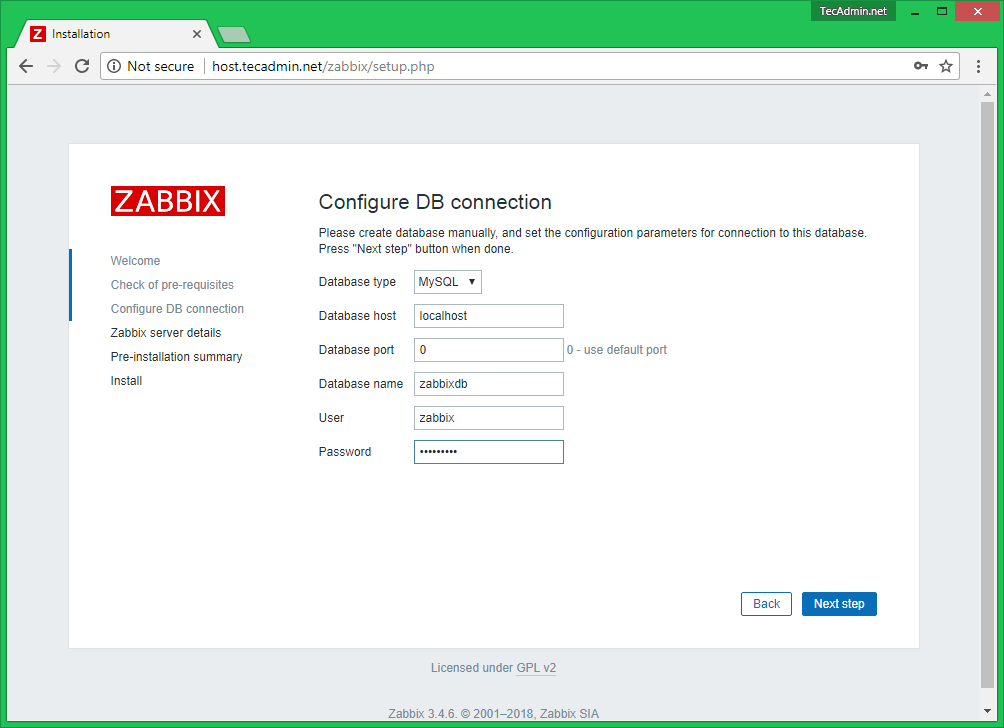
- Configure DB Connection:
Enter database details created in Step #4 and click next to continue.
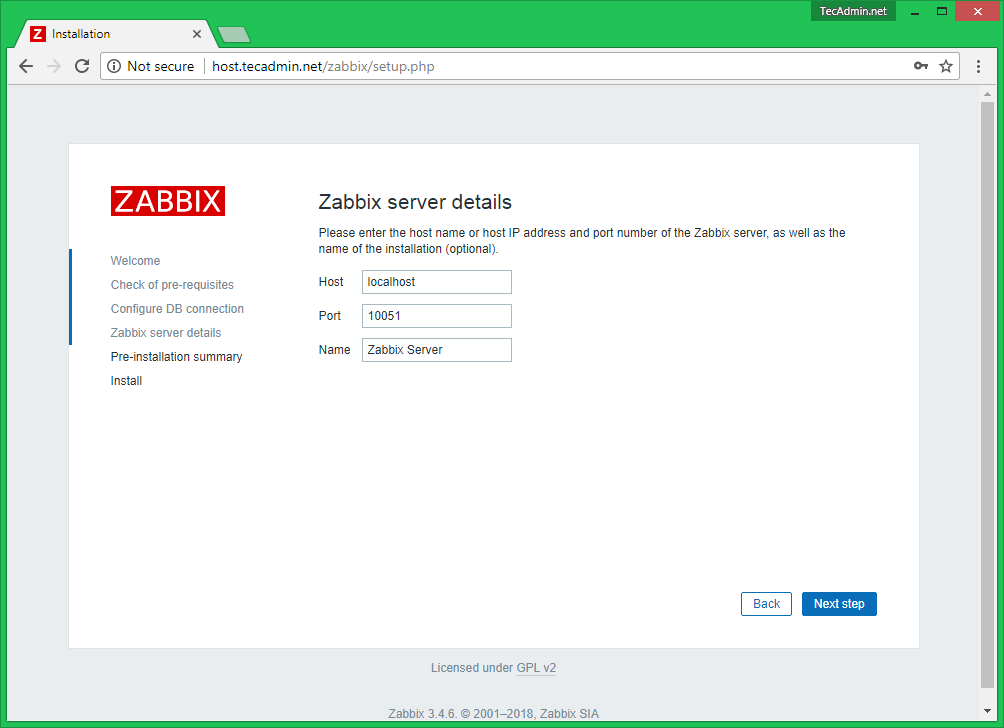
- Zabbix Server Details:
This is the host and port of running Zabbix server. As your Zabbix server is running on the same host, so keep the values unchanged. You can give a name for your instance.
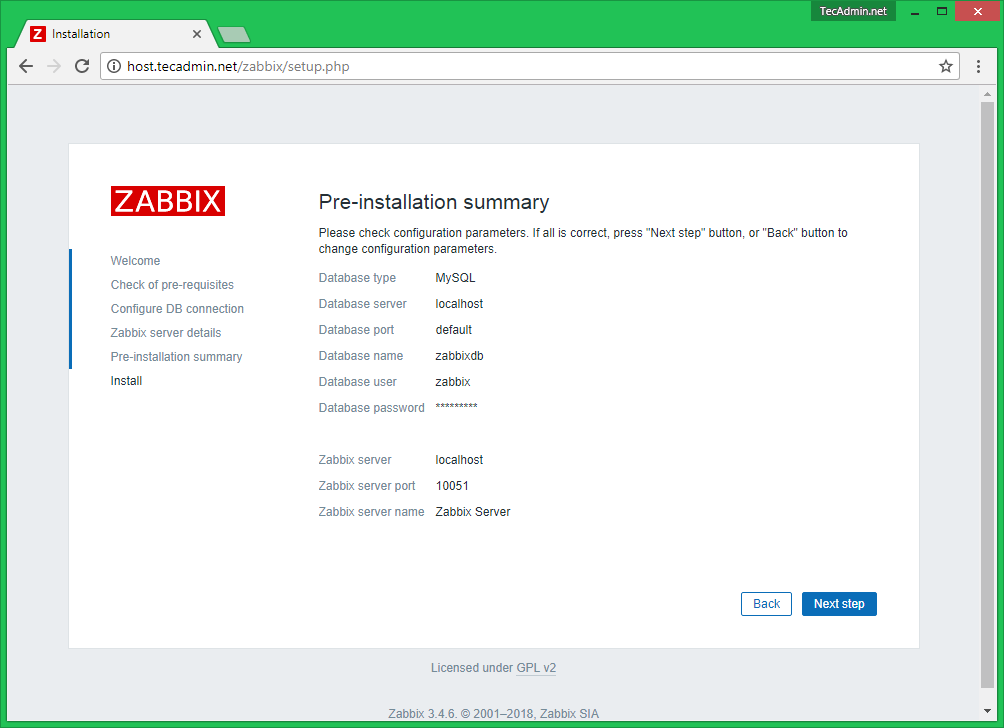
- Pre-Installation Summary:
In this step will show the summary you have entered the previous steps, so simply click next.
- Install Zabbix:
If everything goes correctly, you will see a successful installation message on this page. This will also show you a message for the created configuration file.

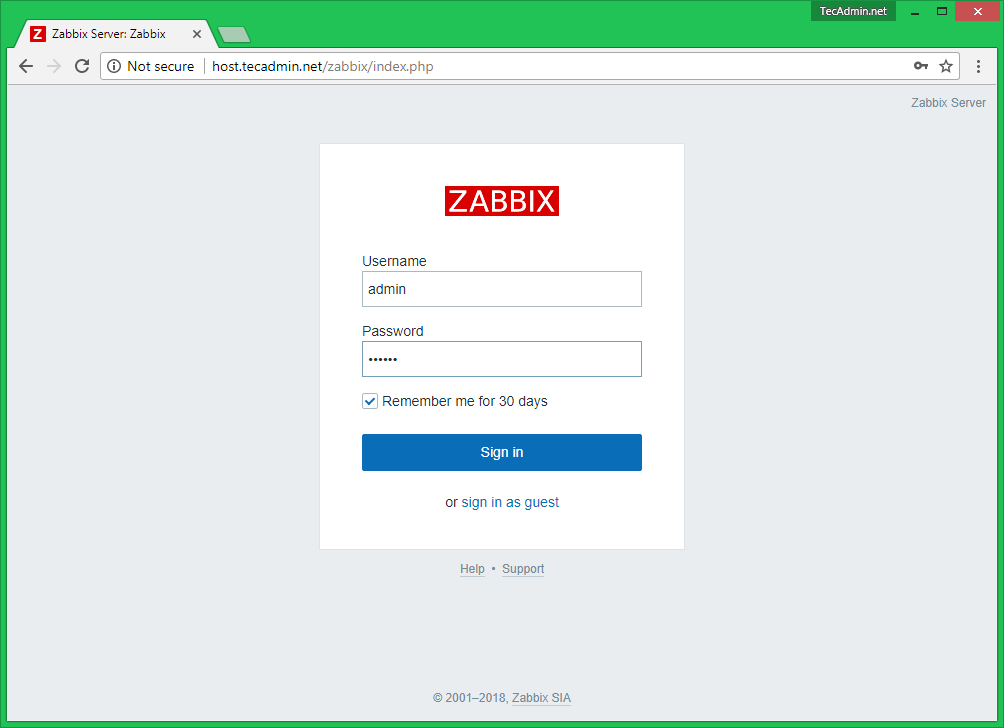
- Zabbix Login Screen:
Login to Zabbix using default credentials.
- Username: Admin
- Password: zabbix
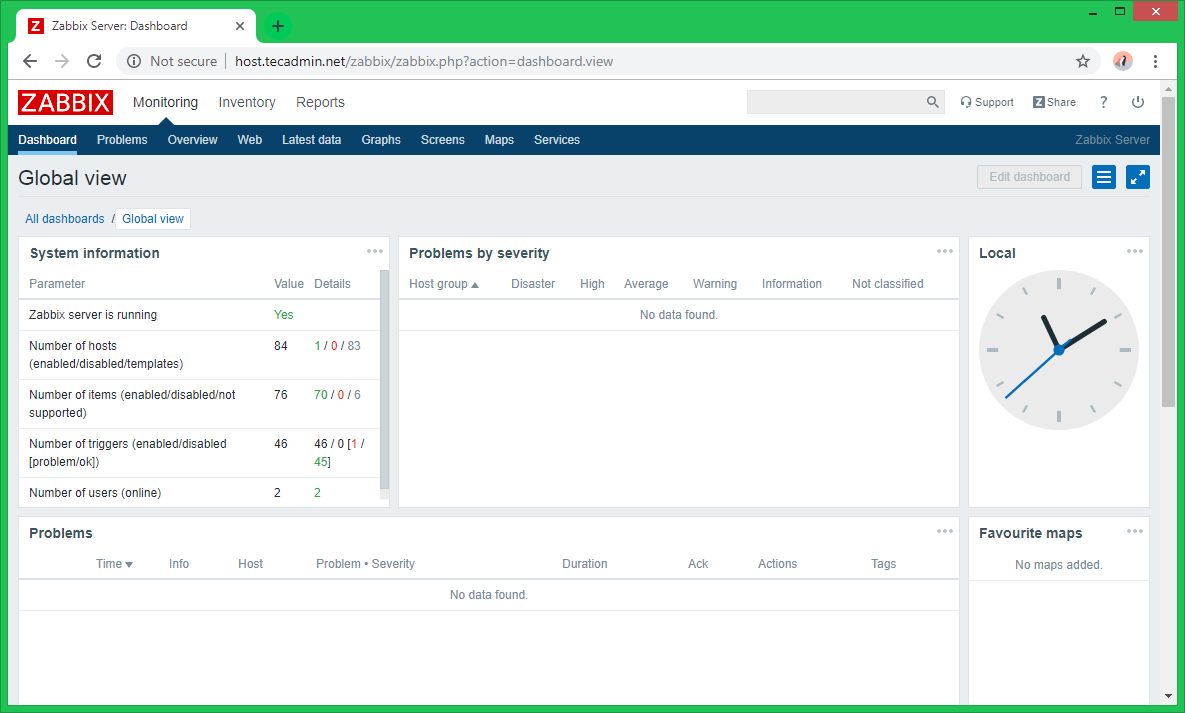
- After successful login, You will get Zabbix dashboard like below.
Conclusion
Congratulations! You’ve successfully installed Zabbix Server on Debian. This setup not only enhances your network monitoring capabilities but also provides a scalable and reliable solution for managing IT infrastructure. With Zabbix and Debian, you’re equipped to monitor your network’s health effectively, ensuring optimal performance and uptime. Remember, regular maintenance and updates to both Zabbix and your Debian system are key to maintaining a secure and efficient monitoring environment.
Now that your Zabbix setup is complete, you’re ready to take the next steps in enhancing your monitoring system. For further guidance, explore our upcoming articles on how to Install Zabbix Agent and Add Host in Zabbix Server. These resources will provide you with detailed instructions to expand and optimize your Zabbix monitoring capabilities.
3 Comments
Thanks for the tutorial Rahul
nice tnx!
Thanks for the tutorial!
It’s maybe out-dated, but to avoid errors while loading the db, it should be created as utf8 with the following command:
create database zabbix character set utf8 collate utf8_bin;
Personnaly, I would also run mysql_secure_installation to be safe !
Thanks again!