
Docker has revolutionized the development world, making it easier to create, deploy, and run applications using containers. Containers allow a developer to package up an application with all the parts it needs, such as libraries and other dependencies, and ship it all out as one package. If you’re using Windows 10 or Windows 11, this tutorial will guide you through the process of installing Docker, enabling you to take your development projects to the next level.
Why Docker?
Before diving into the installation process, let’s understand why Docker is a game-changer for developers:
- Consistency across environments: Docker ensures that your application runs the same way in development, staging, and production environments.
- Simplicity and faster configurations: Easily share and collaborate on application configurations.
- Isolation: Docker allows you to run multiple applications on the same host, isolated from each other.
- Microservices: Docker is ideal for building microservice applications, offering dynamic scaling and deployment.
Prerequisites
Before installing Docker on Windows 10 or 11, ensure your system meets the following requirements:
- Windows 10 64-bit: Build 18362 or higher
- Windows 11 64-bit
- Hardware Virtualization Technology (VT-x) enabled in BIOS
- Microsoft Hyper-V and Containers features enabled
Step 1: Enable WSL 2
Windows Subsystem for Linux (WSL) 2 is a prerequisite for Docker Desktop on Windows. It provides a lightweight Linux kernel for compatibility and performance improvements.
Open PowerShell as Administrator and run:
wsl --install
Restart your computer if prompted.
Step 2: Install Docker Desktop
- Download Docker Desktop for Windows from the official Docker website.
- Run the installer and follow the on-screen instructions.
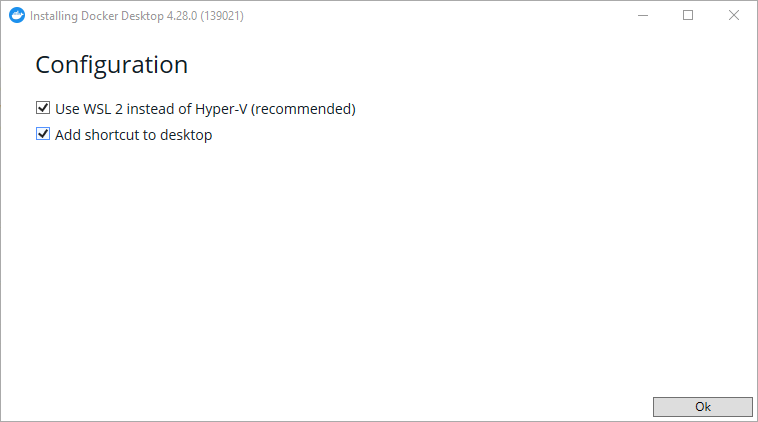
Step-by-Step: Installing Docker on Windows - Launch Docker Desktop after installation. You might be prompted to log out and back in, or to enable the WSL 2 feature.

Step 3: Configuration and Verification
After installation, it’s time to configure and verify Docker Desktop.
- Right-click on the Docker icon in the system tray and select Settings.
- Review the settings and adjust them according to your needs. For most users, the default settings are sufficient.
- To verify Docker is installed correctly, open a terminal (Command Prompt or PowerShell) and run:
docker --versionThis command should display the Docker version, indicating a successful installation.
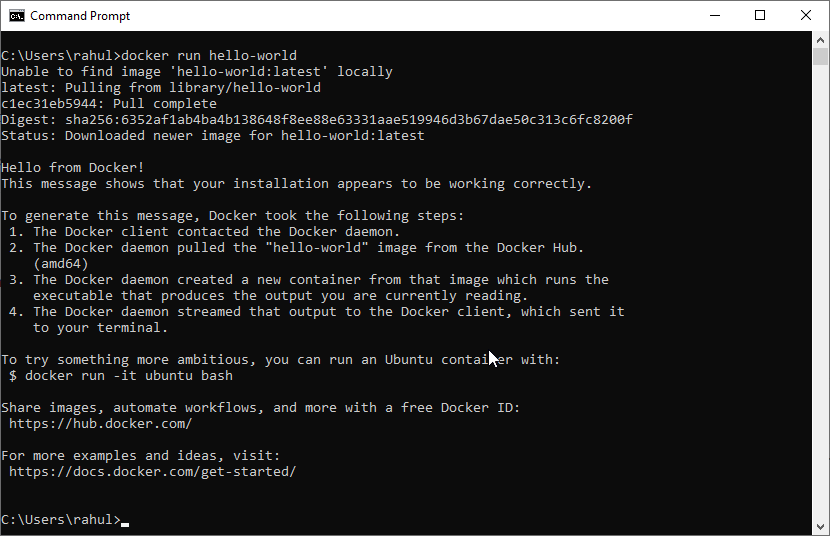
- Run the Hello World container to ensure everything is set up correctly:
docker run hello-worldIf you see a welcome message, congratulations! Docker is now installed and running on your Windows system.

Tips for Using Docker on Windows
- Switch between Linux/Windows containers: Docker Desktop allows you to switch between Linux and Windows containers. This can be done from the Docker system tray icon.
- Use Docker Compose: Docker Desktop includes Docker Compose, a tool for defining and running multi-container Docker applications.
- Explore Docker Hub: Docker Hub is a repository of Docker images. You can find, share, and use third-party images to accelerate your development process.
Conclusion
Installing Docker on Windows 10 or 11 is straightforward if you follow these steps. Docker offers a robust platform for developing, shipping, and running applications. By leveraging Docker, you can streamline your development workflow and ensure that your applications run smoothly across different environments. Start exploring the world of containers and take your development projects to new heights with Docker.
Whether you’re a seasoned developer or new to containerization, mastering Docker installation and usage on Windows is a valuable skill in today’s development landscape.

