Munin is a networked resource monitoring tool that can help analyze resource trends. Munin the monitoring tool surveys all your computers and remembers what it saw. It presents all the information in graphs through a web interface.
This article will help you to install Munin Network Monitoring Tool on your CentOS, Fedora, and Red Hat systems.
Step 1 – Enable Yum Repository
First of all, you need to add enable EPEL yum repository in your system. Use the following command to install as per system architecture.
yum install epel-release
Step 2 – Install Munin Packages
Use the following command to install Munin and required packages
yum --enablerepo=epel install munin munin-node rrdtool
Step 3 – Configure Apache
By default Munin creates Apache configuration file /etc/httpd/conf.d/munin.conf. Edit Munin Apache configuration file and add following content.
vim /etc/httpd/conf.d/munin.conf
Alias /munin /var/www/html/munin
<Directory /var/www/html/munin>
    Options FollowSymLinks
    AllowOverride None
    Order allow,deny
    Allow from all
</Directory>

<directory /var/www/html/munin>
	AuthUserFile /etc/munin/munin-htpasswd
	AuthName "Munin"
	AuthType Basic
	require valid-user

	ExpiresActive On
	ExpiresDefault M310
</directory>
ScriptAlias /munin-cgi/munin-cgi-graph /var/www/cgi-bin/munin-cgi-graph
Create munin htpasswd file using following command
htpasswd -cm /etc/munin/munin-htpasswd muninadmin

New password:
Re-type new password:
Above created login details will be required to access Munin web interface.
Step 4 – Restart Services
First, start Munin node service and configure to autostart on system boot.
/etc/init.d/munin-node start
chkconfig munin-node on
Restart Apache service
service httpd restart
Step 5 – Access Munin Web Interface
Open the following URL in the browser to access Munin web interface. Change IP/domain as per your setup.
http://192.168.1.100/munin
or
http://svr2.tecadmin.net/munin
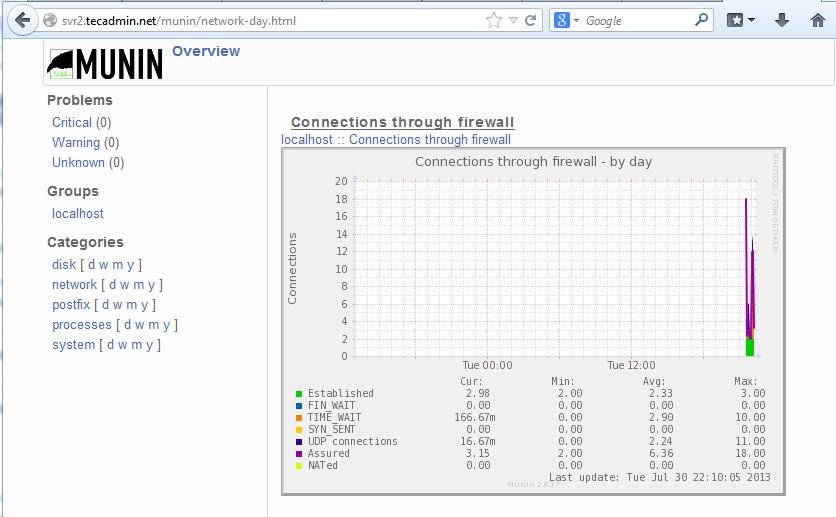
Wait approx one hour to view Munin graphs in the web interface.
For more details and configuration of munin refer following links
http://munin.readthedocs.org/en/latest/
http://munin.readthedocs.org/en/latest/installation/configuration.html
2 Comments
Thank you .Great Tutorial .
Bookmarking !!
Thanks for the useful article