
Nginx is an open-source, high-performance HTTP server and reverse proxy server. It also functions as a mail proxy server and a generic TCP/UDP proxy server. Renowned for its stability, rich feature set, simple configuration, and low resource consumption, Nginx is often used as a web server or reverse proxy.
This article provides a comprehensive guide on how to install Nginx on a Windows-based operating system. It is worth noting that while Nginx does provide a Windows version, it is mostly recommended for development and testing purposes. For production environments, Linux distributions are typically preferred.
Prerequisites
Before you start with the installation process, make sure you have administrative rights on your Windows system, as they are required for software installation. Additionally, ensure your system meets the minimum hardware requirements for Nginx.
Step 1: Downloading Nginx
- Go to the Nginx download page.
- Under the “Mainline version”, click on the zip file link for the latest Windows version. The file will start downloading.
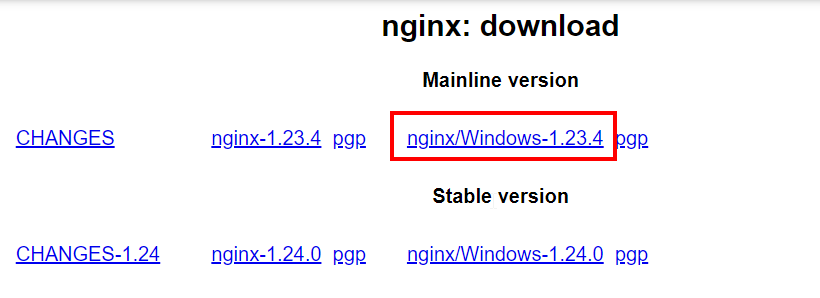
Downloading Nginx for Windows

Step 2: Extracting Nginx
- Once downloaded, locate the zip file, typically in your Downloads folder.
- Extract the zip file to your desired location. For this guide, we will use C:\nginx.
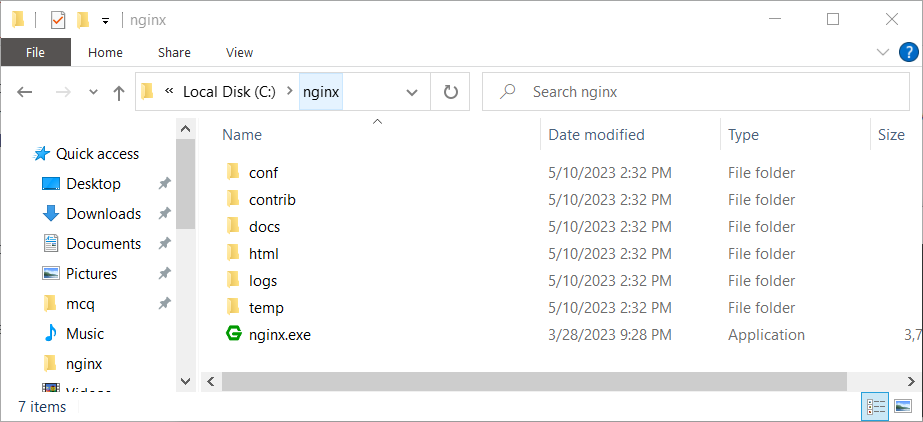
Extracted Nginx code in C:\nginx directory

Step 3: Running Nginx
- Open the Command Prompt with administrative privileges. You can do this by searching for ‘cmd’ in the Start menu, right-clicking on Command Prompt, and selecting “Run as administrator”.
- Navigate to the directory where you extracted Nginx. You can do this by typing cd C:\nginx and hitting Enter.
- Start Nginx by typing start nginx and hitting Enter.
cd C:\nginxstart nginx.exe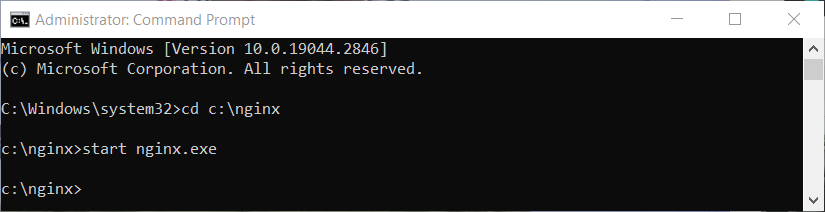
Starting Nginx service on Windows - Nginx should now be running on your Windows machine. You can check this by opening a web browser and navigating to http://localhost. If Nginx has started successfully, you will see a welcome page.
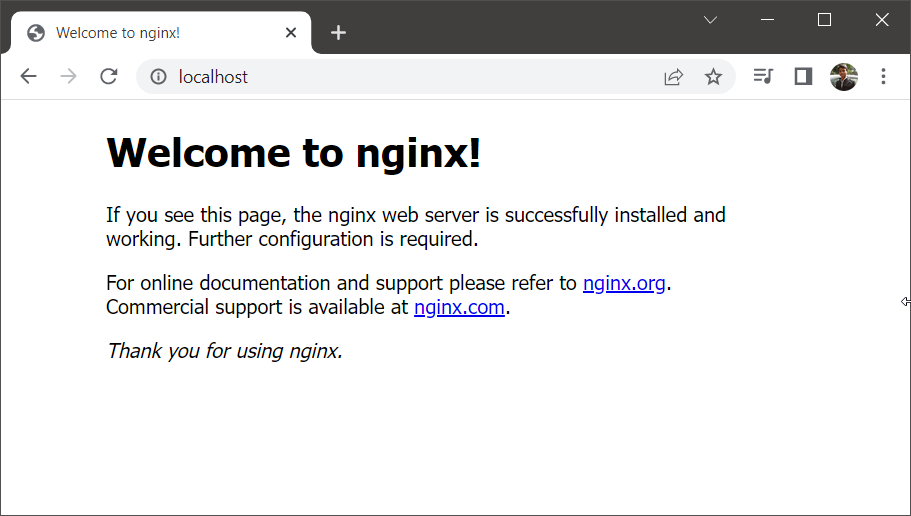
Verify Nginx on Windows


Step 4: Managing Nginx
Here are some basic commands you can use to manage Nginx:
- To stop Nginx, use the command `nginx -s stop`.
- To quit Nginx gracefully, use `nginx -s quit`.
- To reload the Nginx configuration file, use `nginx -s reload`.
- To reopen the Nginx log files, use `nginx -s reopen`.
Remember to run these commands from the directory where Nginx is installed.
Step 5: Configuring Nginx
The primary configuration file for Nginx is nginx.conf, located in the conf subdirectory of the directory where Nginx was extracted. The configuration file is well-commented and provides a good starting point for configuring your server.
For Nginx to serve your website, you need to edit this file with your specific parameters. You may need to set up server blocks (similar to Apache’s virtual hosts) to specify the document root and other parameters for your website.
After making changes to the configuration file, remember to reload Nginx so that the changes take effect.
Conclusion
This guide provided a basic introduction to installing Nginx on a Windows system. While this should get you started, Nginx’s true power comes from its extensive configurability, allowing you to optimize it for your specific needs. Be sure to check out the official Nginx documentation for more detailed information on how to harness this power.