
Apache is a versatile and widely-used web server that can be configured to listen on multiple ports. This is particularly useful for hosting multiple websites, running different types of services, or improving your server’s accessibility. In this article, we will explore the steps to configure Apache to listen on multiple ports.
Apache’s ability to listen on multiple ports allows for greater flexibility in web server management. This feature is especially useful in scenarios where different services or applications require separate port numbers.
Prerequisites
Before proceeding, ensure you have administrative access to the Apache server and a basic understanding of its configuration files. This guide is applicable to most Unix/Linux and Windows systems.
Step 1: Access Apache Configuration File
Locate and open the Apache main configuration file, typically named httpd.conf or apache2.conf. The file path usually depends on your operating system:
- On RHEL-based Systems: /etc/httpd/conf/httpd.conf
- On Debian-based Systems: /etc/apache2/ports.conf
- For Windows users, it’s often located in the conf directory within the Apache installation directory.
Step 2: Modify the Listen Directive
The Listen directive in Apache’s configuration file tells the server which IP addresses and ports to listen to. To add multiple ports, you need to add or modify Listen directives for each port. For example:
Listen 80
Listen 8080
This configuration makes Apache listen on ports 80 and 8080.
Step 3: Configure Virtual Hosts (Optional)
If you use virtual hosts, you’ll need to specify the port in each <VirtualHost *:80> block. For each port, create a separate block:
<VirtualHost *:80>
    ServerAdmin webmaster@domain.com
    DocumentRoot "/www/domain"
    ServerName domain.com
    ServerAlias www.domain.com
</VirtualHost>

<VirtualHost *:8080>
    ServerAdmin webmaster@domain.com
    DocumentRoot "/www/subdomain"
    ServerName subdomain.domain.com
</VirtualHost>
This configuration sets up two virtual hosts, each listening on a different port.
After making the changes, save and close the configuration file. Make sure no syntax errors are introduced.
Step 4: Restart Apache
To apply the changes, restart the Apache server. This can be done using the following command on Unix/Linux systems:
sudo systemctl restart apache2
On Windows, restart the service through the Apache Service Monitor or use the command prompt to execute httpd.exe -k restart.
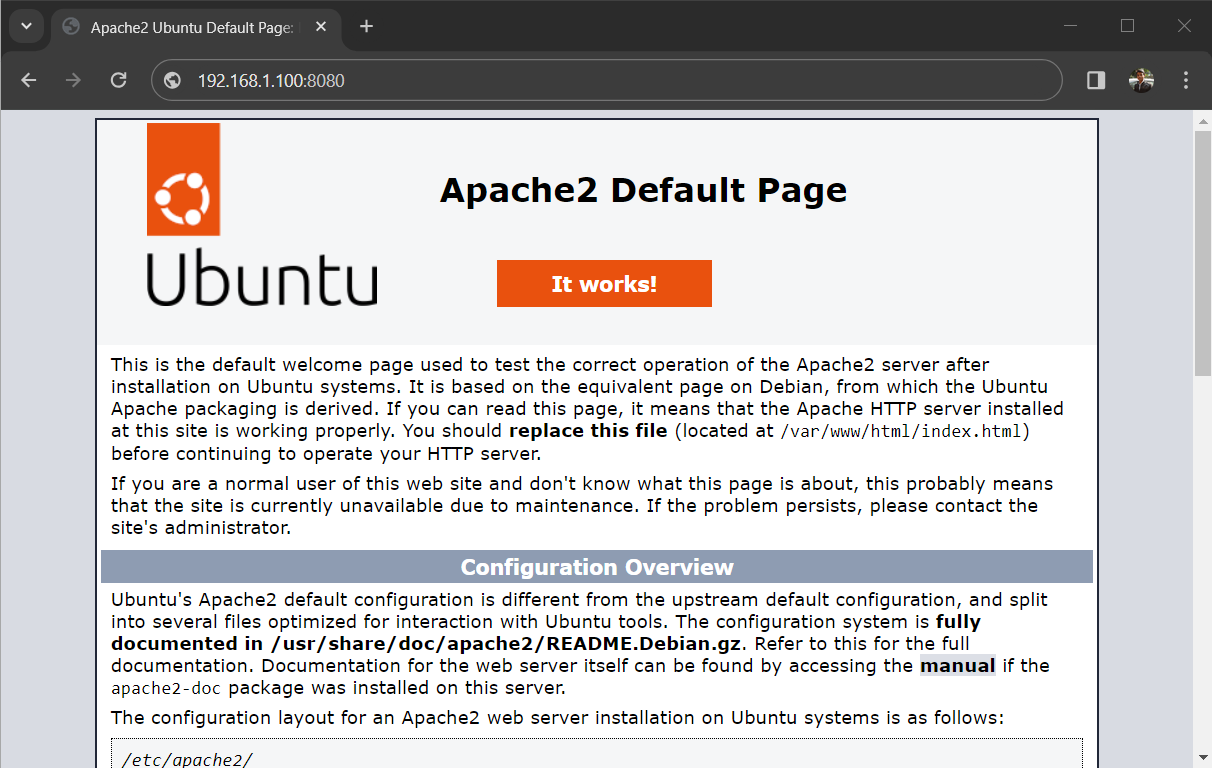
Step 5: Test Your Configuration
To ensure Apache is listening on the new ports, test by accessing your website using the respective port numbers, like http://yourdomain.com:8080. You should be able to access your site through each configured port.

Conclusion
Configuring Apache to listen on multiple ports is a straightforward process that can greatly enhance the functionality and flexibility of your web server. Whether you are hosting different websites or running various services, this setup allows for efficient utilization of Apache’s capabilities. Remember to always back up configuration files before making changes, ensuring a smooth and risk-free configuration process.