In an increasingly digitized world, the demand for efficient, scalable, and interactive web applications is on the rise. As a result, developers across the globe are turning to powerful tools and frameworks to build these applications. One such tool is Angular, a robust open-source web application framework developed by Google.
Angular is known for its dynamic and powerful capabilities that simplify the development of complex web applications. Its features include data binding, dependency injection, and a modular architecture that promotes code reuse and testability. Additionally, Angular provides tools for routing, form handling, and more, making it a comprehensive solution for web development needs.
To leverage these features, it’s crucial to know how to set up Angular on your development machine. This article presents a detailed guide on how to install and set up Angular on two popular Linux distributions: Ubuntu and Debian. This setup will include the installation of necessary dependencies such as Node.js and NPM (Node Package Manager), the Angular CLI (Command Line Interface), and steps to create, run, and build an Angular application.
Prerequisites
Before proceeding with this guide, ensure you have:
- A Ubuntu machine.
- Sudo or root privileges on your system.
- Stable internet connection.
Step 1: Install Node.js and NPM
Angular requires Node.js and NPM for its operations. The latest version of Angular requires Node.js version 14.20 or later. To install Node.js and NPM, execute the following commands.
- First, update your system:
sudo apt update - Next, install Node.js:
sudo apt install nodejs - Afterwards, install NPM:
sudo apt install npm - Verify the installation by checking the version of Node.js and NPM:
node -vnpm -v
Step 2: Install Angular CLI
Angular CLI (Command Line Interface) is a tool that initializes, develops, scaffolds, and maintains Angular applications. Install the Angular CLI globally on your system using NPM:
npm install -g @angular/cli
After the installation is complete, verify the installation by checking the version of Angular CLI:
ng --version
Step 3: Create a New Angular Project
Now that Angular CLI is installed, we can create a new Angular project. Navigate to the directory where you want to create the project and use the `ng new` command:
ng new my-angular-app
Replace “my-angular-app” with your desired application name. This command will create a new directory with your application name, set up the initial project structure, and install project dependencies.
Step 4: Run the Angular Application
After creating the application, navigate into the application directory:
cd my-angular-app
Then, start the application server with this command:
ng serve
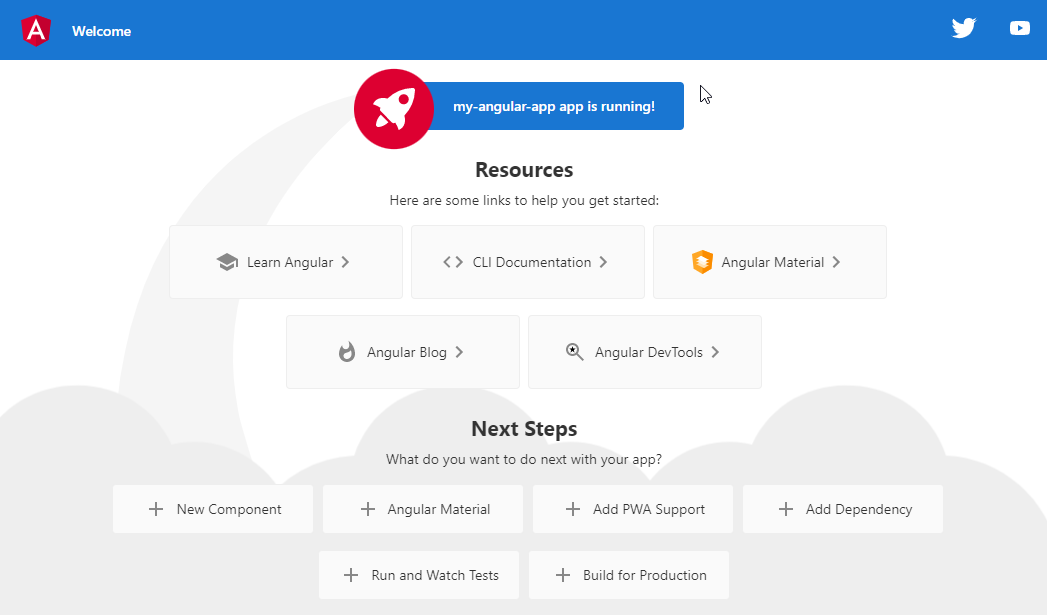
By default, the application will be available at http://localhost:4200/. Open this URL in your browser to view your Angular application.
Now, you Angular application is running locally for the development. To access this application over the network, you can start it using --host 0.0.0.0 options. Also you can customize the port number with --port options.
ng serve --host 0.0.0.0
Once your application is ready for production, the next step will help you make build for the production deployment.
Step 5: Build the Angular Application
When you’re ready to deploy your Angular application, use the ng build command to compile the application into an output directory named “dist/”:
ng build
The build artifacts will be stored in the dist/ directory. Use the --prod flag for a production build:
ng build --prod
You can upload the files generated under dist/ directory to the document root on production website.
Conclusion
Setting up Angular on Ubuntu or Debian, as demonstrated, is a straightforward process that involves installing dependencies, the Angular CLI, and creating your first Angular project. The use of Angular CLI simplifies the entire process, allowing you to focus on developing your application rather than worrying about setup and configuration.
Learning to set up Angular on your system is a crucial step in becoming a proficient Angular developer. The power and flexibility that Angular offers make it an excellent choice for building a wide variety of web applications, from simple single-page applications to complex enterprise-level systems.
With this newfound knowledge, you are now prepared to embark on your journey to create impressive and efficient web applications using Angular. The road to mastering Angular might seem daunting, but remember, every expert was once a beginner. Happy coding!