CodeIgniter is a popular PHP framework for web development that provides a simple and elegant toolkit for creating dynamic web applications. This guide will provide a step-by-step introduction to how to set up CodeIgniter on Ubuntu and other Debian-based systems.
Step 1: Install Apache & PHP
First, you will need to install the Apache web server and PHP. This can typically be done by running the following commands:
sudo apt updatesudo apt install apache2 php libapache2-mod-php
Step 2 – Create CodeIgniter Starter Application
Next, you can download the latest version of the CodeIgniter starter application framework files from the official website (https://codeigniter.com/). Once downloaded, extract the contents of the archive to your project directory (eg: /var/www/ci4-app).
Alternatively, you can simply create the CodeIgniter application using the composer tool:
cd /var/wwwcomposer create-project codeigniter4/appstarter pci4-app
The above command will create all files for the CI application under the “ci4-app” directory.
Step 3 – Configure Apache
Now you will need to configure the Apache webserver to point to your CodeIgniter installation. To do this, you will need to create a new virtual host file in the /etc/apache2/sites-available/ directory. You can do this by running the following command:
sudo vim /etc/apache2/sites-available/codeigniter.conf
In this file, you will need to add the following configuration:
1 2 3 4 5 6 7 8 9 10 11 12 13 | <VirtualHost *:80> ServerAdmin webmaster@localhost DocumentRoot /var/www/ci4-app/public ServerName example.local ServerAlias www.example.local <Directory /var/www/ci4-app> Options Indexes FollowSymLinks AllowOverride All Require all granted </Directory> ErrorLog ${APACHE_LOG_DIR}/error.log CustomLog ${APACHE_LOG_DIR}/access.log combined </VirtualHost> |
Save the Apache VirtualHost configuration file. Then use the a2ensite command to enable the newly created CodeIgniter VirtualHost. Also, restart the Apache service to apply changes.
sudo a2ensite codeigniter
You will also need to enable the mod_rewrite module by running the following command:
sudo a2enmod rewritesudo systemctl restart apache2
Step 4 – Configuring the dotenv file
Next, you will need to configure CodeIgniter. To do this, you will need to open the .env file and set the base URL to match your virtual host configuration. For this tutorial, I am using the domain name www.example.local for the application. You can choose localhost or any valid domain name of your choice.
CodeIgniter4 uses the .env file for easily managing the application environment. You can create a copy of “env” template file with the name “.env” in the project root directory.
cp env .env
Next, edit the .env file in a text editor:
sudo nano .env
In the environment file, uncomment the lines by removing the starting “#” symbol. Then adjust the values:
- CI_ENVIRONMENT: Set this value based on your deployment. Change this value for “production” or “development” based on the deployment.1CI_ENVIRONMENT = development
- app.baseURL: Set the base URL to match your virtual host configuration.1app.baseURL = 'http://www.example.local'
- DATABASE: If you are planning to use a database with the CI application, also update the following values under the DATABASE section.1234567database.default.hostname = localhostdatabase.default.database = ci4database.default.username = rootdatabase.default.password = rootdatabase.default.DBDriver = MySQLidatabase.default.DBPrefix =database.default.port = 3306
Save changes and close the file.
Step 5 – Set file permissions
Finally, you will need to set the proper permissions for the CodeIgniter files and folders. The web server user, typically www-data, will need to have read and execute permissions on the entire CodeIgniter installation. You can do this by running the following command:
sudo chown -R www-data:www-data /var/www/ci4-app
Step 6 – Access Application
Restart the Apache web server by running the following command:
sudo service apache2 restart
For the localhost machines, You will also need to add your server name to the host file:
sudo nano /etc/hosts
Append the following line:
1 | 127.0.0.1 example.local www.example.local |
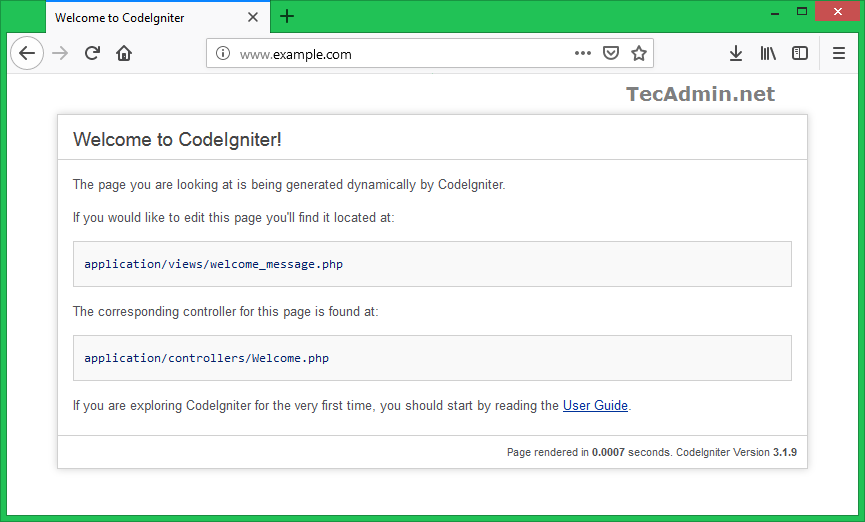
Your CodeIgniter installation is now complete. You can access the application by navigating to http://example.local in a web browser. The default welcome page should be displayed.
Conclusion
It’s worth noting that this guide is a basic setup for CodeIgniter on Ubuntu, and there are many more configurations you can do to optimize your setup, such as setting up HTTPS, creating a development environment, and many others. Also, this guide is based on the latest version of CodeIgniter and Ubuntu, and the process may change depending on the version of CodeIgniter and Ubuntu you are using. Therefore, it’s always a good idea to check the CodeIgniter documentation and the Ubuntu documentation for the most accurate and up-to-date information.

1 Comment
I am getting module doesn’t exist error. How to load codeigniter module ?