Password-based authentication is a fundamental security measure to protect your web resources from unauthorized access. Apache, one of the most widely-used web servers, supports various authentication methods to help you secure your web content. In this article, we will guide you through the process of implementing password-based authentication on your Apache web server step by step.
Prerequisites
- An Apache web server installed and running on your system
- Root or sudo access to the server
Step 1: Install the Required Apache Module
To enable password-based authentication, first of all, you need enable Apache auth_basic module on your server. This module is usually enabled by default on most Apache installations. To check whether the module is enabled, simply run the following command:
sudo a2enmod auth_basic
If the module is not already enabled, this command will enable it. Otherwise, you will see a message indicating that the module is already enabled.
Step 2: Create the Password File
To store user credentials for password-based authentication, you need to create a password file. The htpasswd utility, which comes with Apache, is used to create and manage the password file. First, create a directory to store the password file:
sudo mkdir /etc/apache2/auth
Next, use the htpasswd command to create the password file and add a user:
sudo htpasswd -c /etc/apache2/auth/.htpasswd username
Replace username with the desired username. You will be prompted to enter and confirm the password for the user. Once you have entered the password, the new user and the encrypted password will be added to the .htpasswd file.
Note: The -c flag is used to create a new password file. If you want to add additional users to an existing password file, omit the -c flag.
Step 3: Configure Apache for Password-Based Authentication
To configure Apache to use password-based authentication for a specific directory, you need to modify the configuration file for the website or virtual host. For the purpose of this tutorial, we will use the default Apache configuration file, located at /etc/apache2/sites-available/000-default.conf. Open the file using your preferred text editor:
sudo nano /etc/apache2/sites-available/000-default.conf
Locate the <Directory>> directive for the directory you want to protect, or create a new one if it doesn’t exist. Add the following configuration options within the <Directory> directive:
AuthType Basic
AuthName "Restricted Content"
AuthUserFile /etc/apache2/auth/.htpasswd
Require valid-user
- AuthType Basic: This line specifies that we are using basic password authentication.
- AuthName: This line sets a custom message to be displayed in the authentication prompt.
- AuthUserFile: This line specifies the location of the password file created in Step 2.
- Require valid-user: This line requires that any user attempting to access the protected directory must be a valid user listed in the password file.
Save and close the configuration file after making the changes.
The complete Apache virtual host configuration file looke like:
<VirtualHost *:80>
     ServerName example.com
     DirectoryRoot /var/www/html

     <Directory /var/www/html>
          AuthType Basic
          AuthName "Restricted Content"
          AuthUserFile /etc/apache2/auth/.htpasswd
          Require valid-user
     </Directory>

</VirtualHost>
Step 4: Restart Apache
To apply the changes, restart the Apache web server using the following command:
sudo systemctl restart apache2
Step 5: Test the Password-Based Authentication
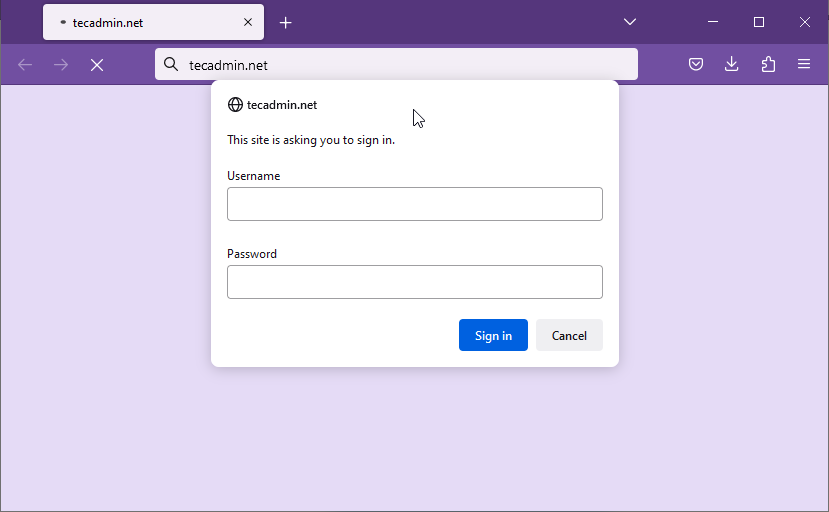
To test the password-based authentication, open your web browser and navigate to the protected directory on your website. You should be prompted to enter your username and password. Enter the credentials for the user you created in Step 2. Upon successful authentication, you will be granted access to the protected content.

If you enter incorrect credentials or try to access the protected directory without providing any credentials, you will be denied access.
Conclusion
Implementing password-based authentication is a crucial security measure to prevent unauthorized access to your web resources. This step-by-step guide has shown you how to enable password-based authentication on your Apache web server. By following these instructions, you have successfully installed the required Apache module, created a password file, configured Apache for password-based authentication, and tested the authentication process. With password-based authentication in place, you can ensure that only authorized users can access your sensitive web content, enhancing your website’s overall security.