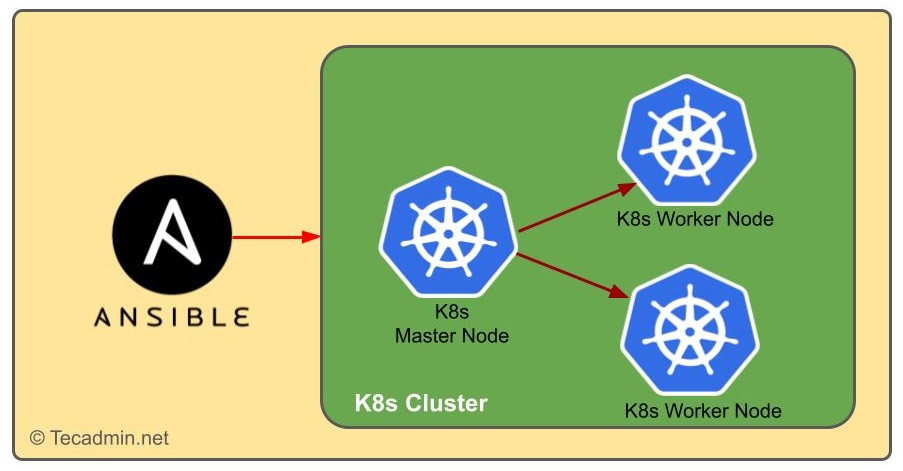
Kubernetes is great for managing containers, making it easy for developers to deploy and scale applications. For example, you can use Kubernetes to run a website that can handle lots of traffic, manage a big data processing system, or deploy microservices. But setting up a Kubernetes cluster can be tricky, with many steps and settings. This is where Ansible helps. Ansible is a tool that automates the setup process, making it much easier to create a Kubernetes cluster.
In this guide, we’ll show you how to build a Kubernetes cluster using Ansible. We assume that all nodes in the Kubernetes cluster are running Ubuntu Linux.
Prerequisites
Before we start the setup process, make sure you have the following:
- Ansible: Install Ansible on your control machine. This is where you’ll run the Ansible scripts. The control machine can be your local computer or a server.
- Target Nodes: These are the machines where Kubernetes will be installed. You need at least two nodes: one for the master node and one for a worker node. Make sure these nodes are running a compatible Linux distribution.
- SSH Access: Ansible uses SSH to communicate with the target nodes. Ensure you have SSH access set up for all target nodes from your control machine.
Step 1: Ansible Installation
First, set up Ansible on your control machine. The installation process depends on your operating system. For Ubuntu and other Debian-based systems, use these commands:
sudo apt-get updatesudo apt-get install ansible
Step 2: Setup Inventory File
After installing Ansible, configure the inventory file. Create a file named hosts.ini in your working directory. This file lists all target nodes with their IP addresses, organized into groups like masters and workers. Here’s an example:
[masters]
master ansible_host=192.168.1.100

[workers]
worker1 ansible_host=192.168.1.101
worker2 ansible_host=192.168.1.102
Step 3: Setup K8s Cluster Playbook
This playbook will help you set up a Kubernetes cluster using Ubuntu systems. It includes tasks for:
- Disabling the firewall
- Turning off swap
- Configuring network settings
- Adding the Docker repository
- Installing Docker and its components
- Adjusting container runtime settings
- Adding the Kubernetes repository
- Installing Kubernetes components (kubelet, kubeadm, kubectl)
Note that kubectl is only installed on nodes identified as masters. The playbook covers everything needed to prepare systems for Kubernetes, focusing on required services, security settings, and essential Kubernetes components.
Create a setup-playbook.yaml file and add the following content:
- name: Initialize master and worker nodes
  hosts: all
  tasks:

   - name: disable UFW firewall for labs
     service:
        name: ufw
        state: stopped
        enabled: false

   - name: Disable SWAP
     shell: |
       swapoff -a

   - name: Disable SWAP in fstab
     lineinfile:
       path: /etc/fstab
       regexp: '^.*swap.*$'
       line: '#\0'
       backrefs: yes

   - name: ensure net.bridge.bridge-nf-call-ip6tables is set to 1
     sysctl:
       name: net.bridge.bridge-nf-call-iptables
       value: '1'
       state: present
       reload: yes

   - name: Installation of apt-utils
     apt:
      name: apt-transport-https
      state: present
      update_cache: yes

   - name: Adding Docker GPG key
     ansible.builtin.apt_key:
       url: https://download.docker.com/linux/ubuntu/gpg
       state: present

   - name: Adding Docker Repository
     apt_repository:
       repo: deb [arch=amd64] https://download.docker.com/linux/ubuntu {{ ansible_distribution_release }} stable
       state: present

   - name: Installation of Docker
     apt:
      name: "{{ item }}"
      state: present
     loop:
       - docker-ce
       - docker-ce-cli
       - containerd.io
       - docker-compose

   - name: Setting value of SystemdCgroup
     shell: |
       containerd config default | sudo tee /etc/containerd/config.toml | grep SystemdCgroup
       sed -i 's/SystemdCgroup = false/SystemdCgroup = true/g' /etc/containerd/config.toml

   - name : Starting Service of Docker
     service:
       name: docker
       state: started
       enabled: yes

   - name: Add Kubernetes apt repository
     apt_repository:
       repo: deb https://apt.kubernetes.io/ kubernetes-xenial main
       state: present

   - name: Install kubelet and kubeadm
     apt:
        name: "{{ item }}"
        state: present
     loop:
       - kubeadm
       - kubelet

   - name: start kubelet
     service:
       name: kubelet
       enabled: yes
       state: started

   - name: install kubectl
     apt:
        name: kubectl
        state: present
     when: "'masters' in group_names"
Execute the playbook by running:
ansible-playbook -i hosts.ini setup-playbook.yml
Step 4: Setup Master Node
This Ansible playbook is for configuring the master node of a Kubernetes cluster. It initializes the Kubernetes cluster with specific network settings, creates a .kube directory, and copies the kube config file to the user’s home directory for cluster management. It also installs the Calico network plugin to handle pod networking, ensuring pods can communicate across nodes. This playbook automates the initial setup, making it easier to deploy a Kubernetes cluster.
Create a file named master-playbook.yml and add the following content:
- name: Configuration of master node
  hosts: masters
  tasks:
    - name: initialize K8S cluster
      shell: kubeadm init --pod-network-cidr=172.16.0.0/16 --apiserver-advertise-address=192.168.100.5 --ignore-preflight-errors=all

    - name: create .kube directoryi and copy kube config file
      shell: "{{ item }}"
      loop:
        -  mkdir -p $HOME/.kube
        -  cp -i /etc/kubernetes/admin.conf $HOME/.kube/config
        - chown $(id -u):$(id -g) $HOME/.kube/config

    - name: install Pod network
      become: yes
      shell: kubectl apply -f https://raw.githubusercontent.com/projectcalico/calico/v3.25.0/manifests/calico.yaml >> pod_network_setup.txt
      args:
        chdir: $HOME
        creates: pod_network_setup.txt
Execute the playbook with command:
ansible-playbook -i hosts.ini master-playbook.yml
Step 5: Setup Worker Nodes Playbook
This playbook automates the process of adding worker nodes to a Kubernetes cluster. It runs on all nodes, generates a join command on the master node, and sends it to the worker nodes. First, it fetches the join command using kubeadm token create and stores it. Then, it sets a fact with this command for the worker nodes to use. Finally, the worker nodes use this command to join the Kubernetes cluster, bypassing preflight checks. This playbook simplifies adding new nodes to the cluster.
Create a file named worker-playbook.yml and add below content:
- name: Generating token on master node and token deployment to worker node
  hosts: all
  gather_facts: false
  tasks:
    - name: get join command
      shell: kubeadm token create --print-join-command
      register: join_command_raw
      when: "'masters' in group_names"

    - name: set join command
      set_fact:
        join_command: "{{ join_command_raw.stdout_lines[0] }}"
      when: "'masters' in group_names"

    - name: join cluster
      shell: "{{ hostvars['master'].join_command }} --ignore-preflight-errors all  >> node_joined.txt"
      args:
        chdir: $HOME
        creates: node_joined.txt
      when: "'workers' in group_names"
Execute the playbook with command:
ansible-playbook -i hosts.ini worker-playbook.yml
Step 5: Verifying the Cluster
Once the playbooks have been executed, you can verify that the Kubernetes cluster is set up correctly.
On the master node, run:
kubectl get nodes
You should see all the nodes listed with their statuses as Ready.
Conclusion
By following these steps, you have successfully set up a Kubernetes cluster using Ansible. This method provides a scalable and repeatable process, making it easier to manage and automate the deployment of Kubernetes clusters. As you get more comfortable with Ansible and Kubernetes, you can customize your playbooks to fit your needs, like adding more worker nodes or setting up advanced features.

2 Comments
kubernetes apt repositry error how to solve the issue
i have same error , are you resolved it ?