Moodle is an Open Source Course Management System, It’s also known as a Learning Management System (LMS) or a Virtual Learning Environment (VLE). This tutorial will help you to install Moodle on CentOS/RHEL Systems
Installing Required Packages
Install order to setup Moodle we need a Web Server, Database Server and PHP with required modules. Use below link to install following packages.
Installing Apache, MySQL and PHP on CentOS/RedHat 6/5
Install required PHP modules using yum package manager.
# yum install git php-common php-mysql php-gd php-intl php-curl
# yum install php-ldap php-apc php-mbstring php-dom php-soap php-xmlrpc
To install git version 1.9 use article Install Git 1.9 on CentOS/RHEL
Download Moodle Latest Source
Moodle complete code is available under git repository. So we can directory make a clone of repository to our local system using following commands.
# mkdir /var/moodle
# cd /var/moodle
# git clone git://git.moodle.org/moodle.git www
After finishing Moodle git clone, checkout the latest branch of Moodle available in git. At the time of updating this article current Moodle version is 2.8.3 so we specified in below command.
# cd www
# git checkout origin/MOODLE_28_STABLE
Click here to find latest available version of Moodle.
Create Moodle Data directory using following command. Moodle use this directory for storing data of application. We recommend to keep this directory outside of Moodle application.
# mkdir /var/moodle/data
Create Moodle Database in MySQL
Moodle supports MySQL 5.1.33, Postgres 8.3, MSSQL 2005, Oracle 10.2 or its higher versions. For this tutorial we are using MySQL.
Use below commands to create Moodle database and user to access database.
# mysql -u root -p mysql> CREATE DATABASE moodle; mysql> GRANT ALL ON moodle.* TO 'moodle '@'localhost' IDENTIFIED BY 'secretpassword '; mysql> FLUSH PRIVILEGES; mysql> quit
Create Moodle Configuration File
Create Moodle configuration file by creating copy of config-dist.php with name config.php in www directory.
# cd /var/moodle/www
# cp config-dist.php config.php
Now edit config.php and make following changes as per you setup details.
$CFG->dbtype    = 'mysqli';
$CFG->dblibrary = 'native';
$CFG->dbhost    = 'localhost';
$CFG->dbname    = 'moodle';
$CFG->dbuser    = 'moodle';
$CFG->dbpass    = 'secretpassword';
$CFG->prefix    = 'mdl_';
$CFG->wwwroot   = 'http://moodle.tecadmin.net';
$CFG->dataroot  = '/var/moodle/data';
Configure Web Server VirtualHost
Add a virtual host in Apache configuration file /etc/httpd/conf/httpd.conf like below.
<VirtualHost *:80>
    ServerAdmin [email protected]
    DocumentRoot /var/moodle/www
    ServerName moodle.tecadmin.net
    CustomLog logs/moodle.tecadmin.net_log combined
</VirtualHost>
Updating Moodle web and data directory permissions so that web server can write in it.
# chown -R apache:apache /var/moodle
# chmod -R 755 /var/moodle
Restart Apache Server to reload newly changes made.
# service apache restart
Finally Start Moodle Web Installer
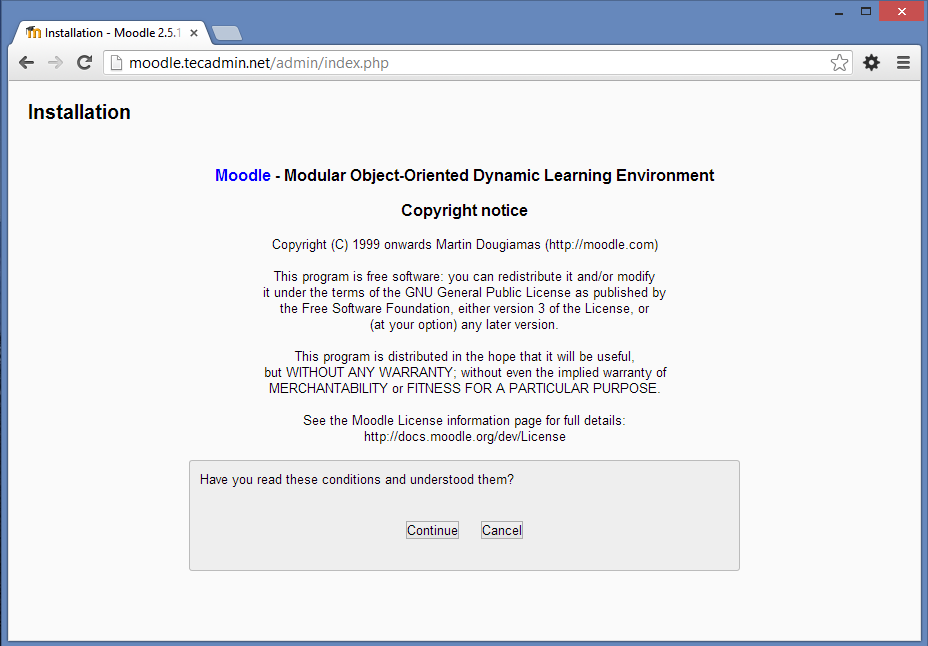
Open Moodle url in browser and follow the steps to complete setup.
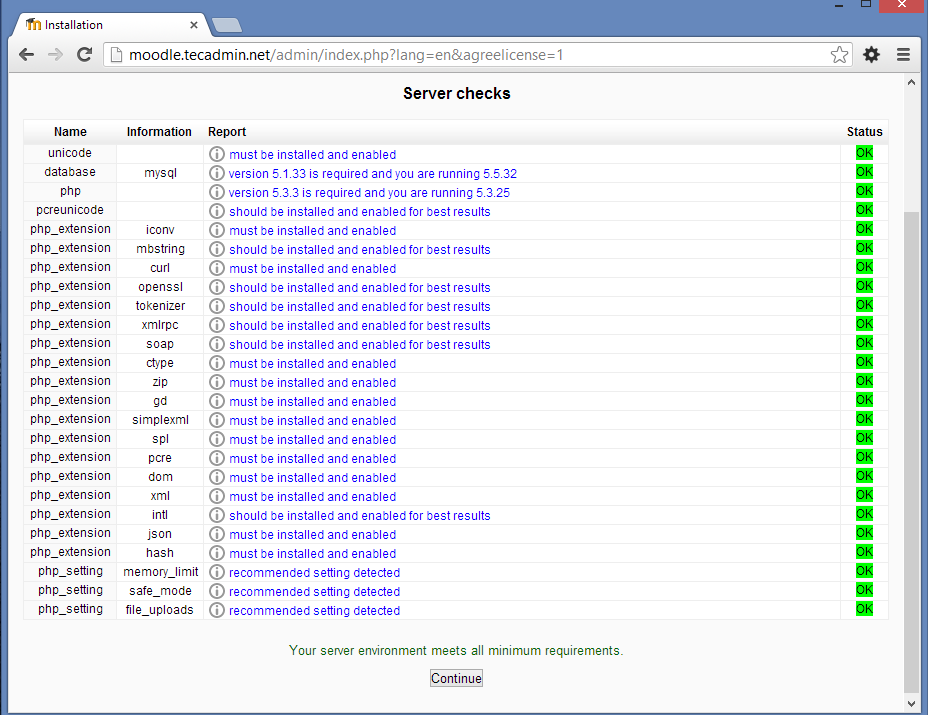
Checking required modules are installed.
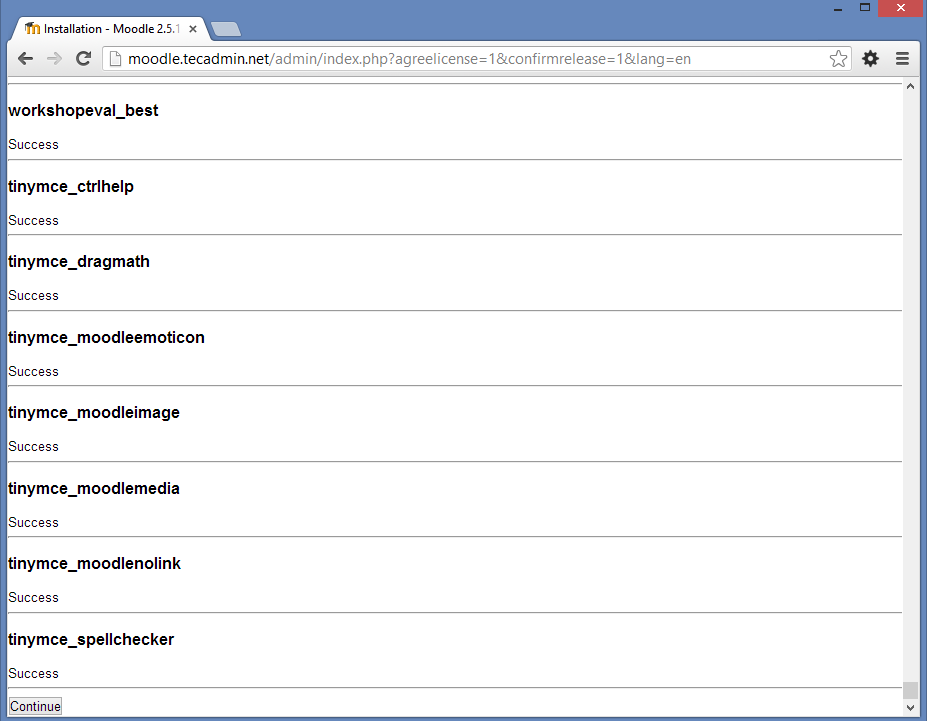
Installing all Moodle modules. Click continue when complete.
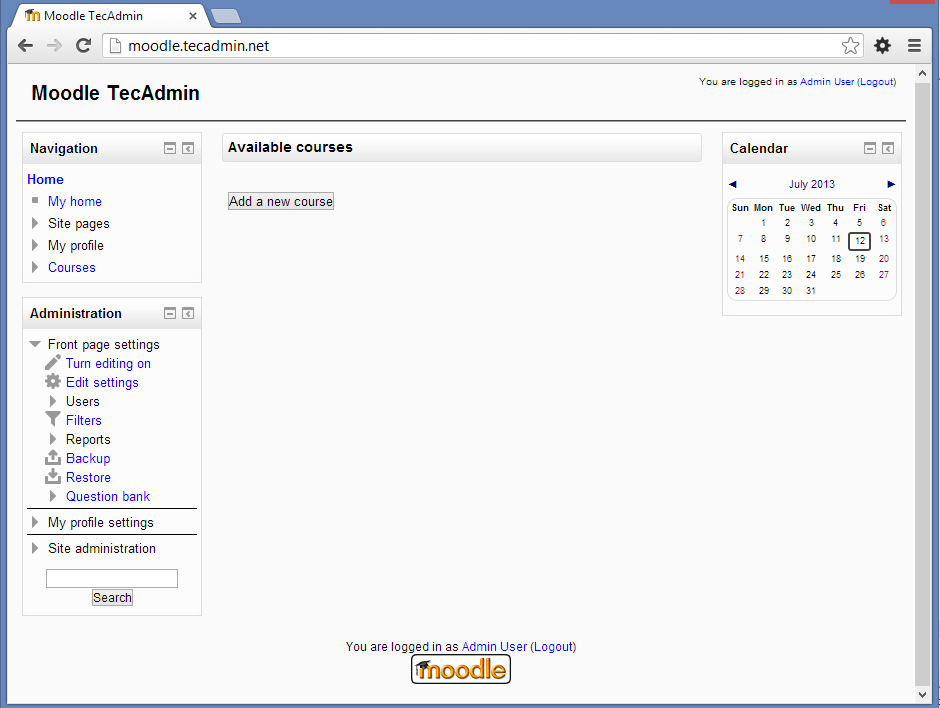
You will get few more steps while running web installer complete all the steps. Finally you will get Moodle running like below.


1 Comment
Nice notes. Quick update for those using these…
You’ll also need to include the base php app:
yum install php -y
The default startup for apache on centos is “httpd” not apache. (the account name is apache though)
You’ll also need to change the DocumentRoot to: (in httpd.conf)
DirectoryIndex index.php index.html index.html.var
Finally, author is right, you will need to either disable selinux (not recommended) or allow selinux pages.
Hope this helps everyone and thanks for the author for writing up what he has. It was a quick install from that.