Security is the first priority for any production applications. If your site is providing payment option, then we recommend to must have an SSL certificate on your site. This article is for Node.js users, in this article we are describing SSL configuration with a node.js application.

Step 1: Create Self Signed SSL
For the production applications, you would required to purchase a verified SSL from certificate authorities. In this tutorial we are using a self signed ssl certificate which is enough for development applications.
First create a CSR for you domain, Provide the desired values to asked questions.
# cd /opt/certs
# openssl req -new -newkey rsa:2048 -nodes -keyout example.com.key -out example.com.csr
Now you have a CSR which you can use to get SSL certificate from verified ssl authorities. Else you can create self signed ssl certificate for development sites using following command.
# openssl x509 -req -days 365 -in example.com.csr -signkey example.com.key -out example.com.crt
Step 2: Create Node.js HTTPS Server
For this tutorial we are creating a simple https server using node.js. Create an https_server.js file using the following values. you can create file with any name using .js extension.
# vim https_server.js
var https = require('https');
var fs = require('fs');
var options = {
key: fs.readFileSync('/opt/certs/example.com.key'),
cert: fs.readFileSync('/opt/certs/example.com.crt')
};
https.createServer(options, function (req, res) {
res.writeHead(200);
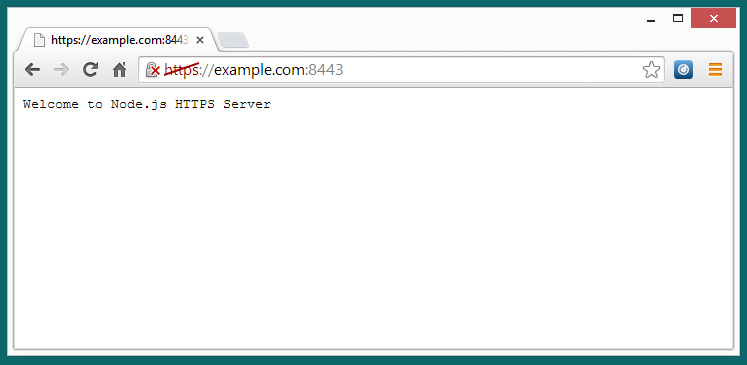
res.end("Welcome to Node.js HTTPS Servern");
}).listen(8443);
Step 3: Start & Access Node.js App
Now use the following command to start node.js application created in above step.
# node https_server.js
This application will be accessible with https url only. Connect your server on 8443 port with https protocol.
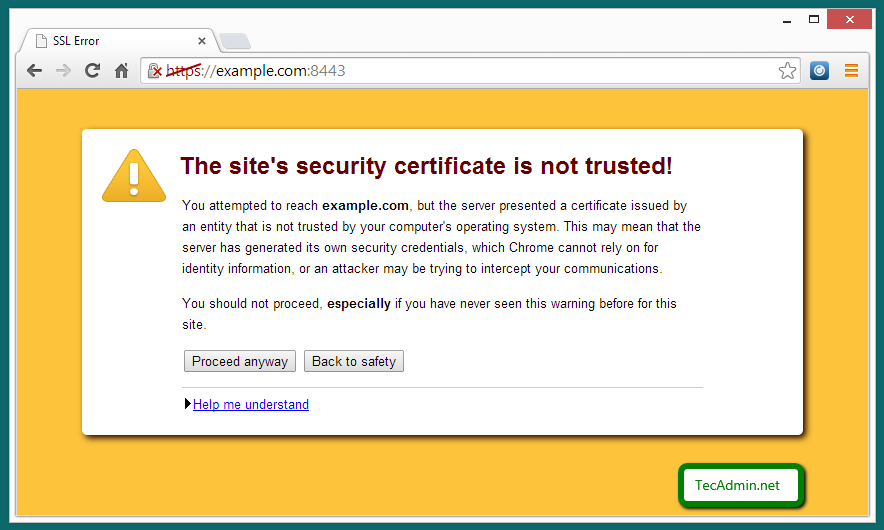
You will get above screen while using self signed ssl certificate. Just click on proceed any way.