Apache Solr is a robust, open-source search platform built upon the Java library, Apache Lucene. It’s widely acclaimed for its full-text search capabilities, scalability, and a rich set of features that enable powerful search and analytics. This guide is specifically tailored for users who wish to install Apache Solr on Ubuntu 22.04, a popular choice for server environments due to its stability and extensive community support.
We’ll walk you through a step-by-step process, covering everything from prerequisites to successful installation, ensuring even beginners can confidently set up Solr on their Ubuntu systems.
Step 1: Install Java
Apache Solr 9 required Java 11 or greater version to run. It is also tested with Java 17. Make sure that your system satisfied all requirements of Apache Solr. If in case, java is not installed on your system run the following command:
sudo apt update && sudo apt install default-jdk
After installation, check the active Java version:
java -version

openjdk version "11.0.15" 2022-04-19
OpenJDK Runtime Environment (build 11.0.15+10-Ubuntu-0ubuntu0.22.04.1)
OpenJDK 64-Bit Server VM (build 11.0.15+10-Ubuntu-0ubuntu0.22.04.1, mixed mode, sharing)
https://tecadmin.net/how-to-install-java-on-ubuntu-22-04/
Step 2: Installing Apache Solr on Ubuntu
At the time of writing this tutorial, Apache Solr 9.4 is the latest available version. That can be downloaded with the following command. In case the download failed, visit the Solr download page to get the latest version.
To download Apache Solr 9.4, type:
wget https://dlcdn.apache.org/solr/solr/9.4.1/solr-9.4.1.tgz
After downloading, extract the Apache Solr service installer shell script from the Solr archive file.
tar xzf solr-9.4.1.tgz solr-9.4.1/bin/install_solr_service.sh --strip-components=2
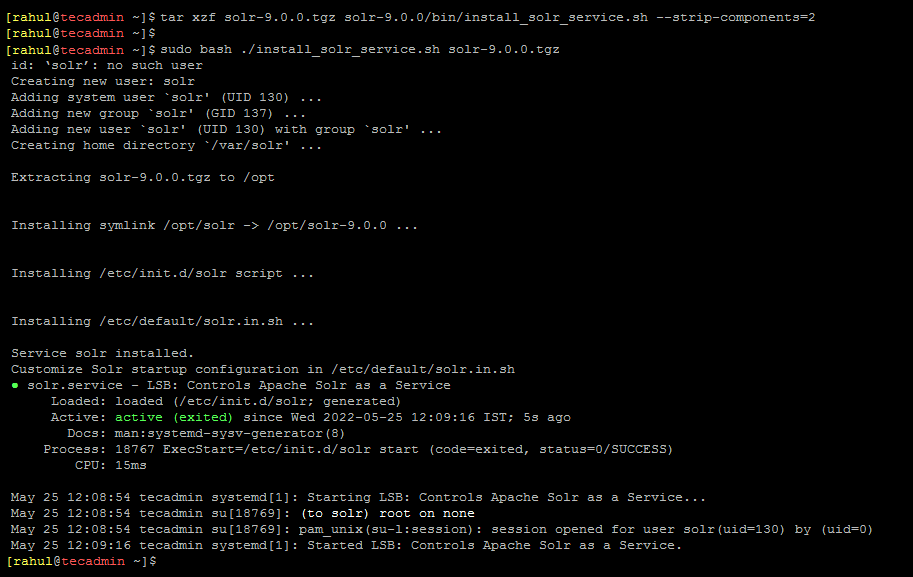
Then, start the Solar installation on Ubuntu by executing the following command. Make sure to run the command from the same directory of the downloaded archive file.
sudo bash ./install_solr_service.sh solr-9.4.1.tgz

This will complete the Apache Solr installation on your Ubuntu system.
Step 3: Manage Solr Service
Solr is configured as a service on your system. You can simply use the following commands to Start, Stop and check the status of the Solr service.
- Start Solr service:
sudo systemctl stop solr - Stop Solr service:
sudo systemctl start solr - Check the status of Solr service:
sudo systemctl status solr
Step 4: Create a New Solr Collection
After the successful installation of Solr on your system. Create the first collection in Apache Solr using the following command.
sudo su - solr -c "/opt/solr/bin/solr create -c mycol1 -n data_driven_schema_configs"
Ouput:Created new core 'mycol1'
Step 5: Allow Apache Solr Public Access
The default Apache Solr runs on localhost only. To allow the Solr server publicly accessible over networks, edit the /etc/default/solr.in.sh configuration file.
sudo vim /etc/default/solr.in.sh
Search for the SOLR_JETTY_HOST variable. Uncomment it by removing the starting hash (#) symbol. Set the value to “0.0.0.0”.

Save the file and close it. Restart the Solr service to apply changes.
sudo systemctl restart solr
Check the Apache Solr listening host address.
sudo ss -tupln | grep 8983

As per the above screenshot, the Solr is listening on all (“*“) interfaces.
Step 6: Access Solr Admin Panel
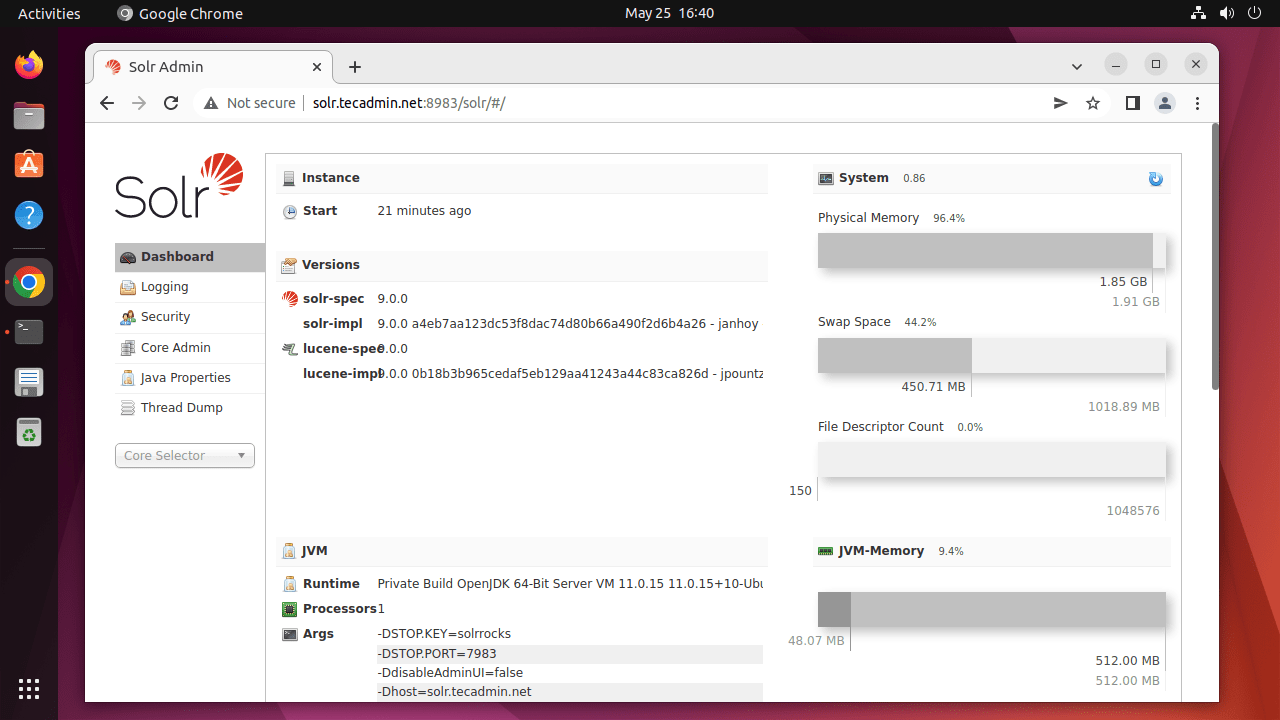
The default Apache Solr runs on port 8983. You can access the Solr port in your web browser using the server IP address or domain name pointed to that server.

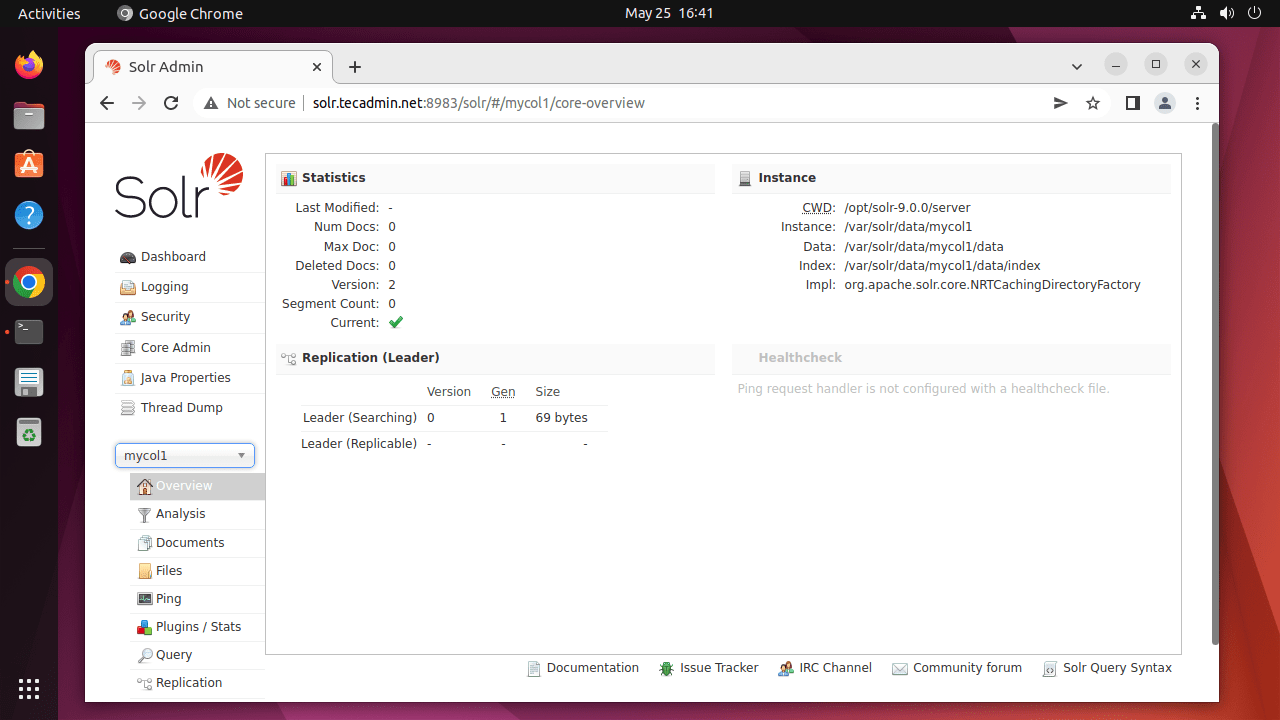
Now, select “mycol1” under core selector drop down in the left sidebar

Here you can view statics of created collection in previous steps named “mycol1”. Click on “Core Selector” on the left sidebar and select created collection.
Conclusion
Congratulations on successfully installing Apache Solr on Ubuntu 22.04! You’ve taken a significant step towards enhancing your system’s search capabilities. With Solr now installed, you can begin to explore its powerful features such as full-text search, faceted search, real-time indexing, and more. Remember, the journey doesn’t end here. It’s crucial to stay updated with Solr’s documentation for advanced configurations and updates. Also, consider integrating Solr with your applications for optimized search experiences. With these steps, you’re well-equipped to harness the full potential of Apache Solr in your Ubuntu environment.
