Laravel is a powerful PHP web framework that allows you to build robust and scalable web applications. It is built on top of Symfony, another PHP framework. Symfony provides the foundation, and Laravel adds its own magic to create a delightful developer experience. It follows the model-view-controller (MVC) design and is based on Symfony. Laravel has an elegant and simple syntax, making it easy to write and understand code.
This tutorial will help you create and configure a new Laravel application on a Ubuntu 24.04 system.
Prerequisites
Before we begin, make sure you have the following:
- An Ubuntu 24.04 system.
- A non-root user with sudo privileges.
Step 1: Setting Up LAMP Stack
A LAMP stack is a bundle of Apache web server, MySQL (or Mariadb) database and PHP programming language setup on Linux system. All packages are available under default Debian repositories.
sudo apt install apache2 mariadb-server git php php-cli php-mcrypt \
     php-mbstring php-xml php-mysql php-bcmath php-json php-zip php-curl
Step 2: Install PHP Composer
PHP composer is also available under the default repositories, but we still recommend to download latest composer script and configure on system manually. These instructions are officially recommended installation.
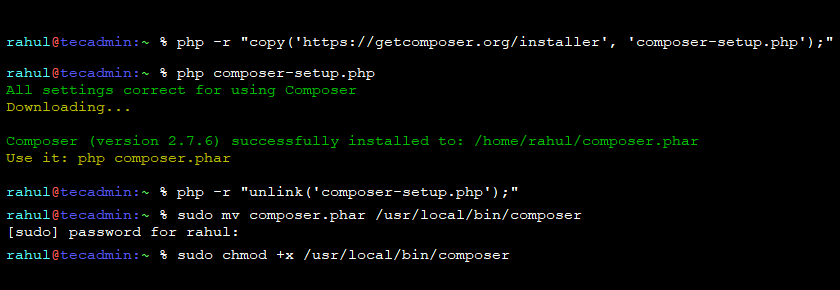
Once the PHP is installed on your system, execute the following commands to download latest composer script.
php -r "copy('https://getcomposer.org/installer', 'composer-setup.php');"
php composer-setup.php
php -r "unlink('composer-setup.php');"
This will create a composer.phar file in current directory. Move this script to available system wide and set execute permission.
sudo mv composer.phar /usr/local/bin/composer
sudo chmod +x /usr/local/bin/composer

Step 3: Setup Database
The next step is to create a database for your application. To create a database and user, first connect to the MySQL server running on your system at terminal or phpMyAdmin as per your preferred method.
Now execute the following SQL queries to create database, then create user and assign permissions.
CREATE DATABASE laravel;
CREATE USER 'laravel'@'localhost' IDENTIFIED BY 'KikSDIi99SKDyYDS';
GRANT ALL ON laravel.* TO 'laravel'@'localhost';
FLUSH PRIVILEGES
QUIT
Change the default password given above with a strong password.

Step 4: Install Laravel using Composer
You system is ready to create the Laravel application. Use the composer command line tool, to create laravel application.
Switch to your preferred directory and then use composer create-project command to create new application.
cd /var/www
composer create-project laravel/laravel laravel-app
Replace laravel-app with the name of your application. This command will create a directory with the application name and generate all required files.
Step 5: Configuring Laravel
Once the application is created, you need some basic configurations. You should start configuration by changing the database credentials.
Edit .env file in the application root directory and update the following changes

For detailed configuration details visit official documentation.
Step 6: Access Laravel Application
The Laravel application is ready to start on your Ubuntu 24.04 LTS systems. On development environment, you can simple use php artisan script to start the application.
php artisan serve
This will start application on port 8000 on localhost. If you are running application on some remote machine, use --host 0.0.0.0 with above command to listen application on all interfaces.
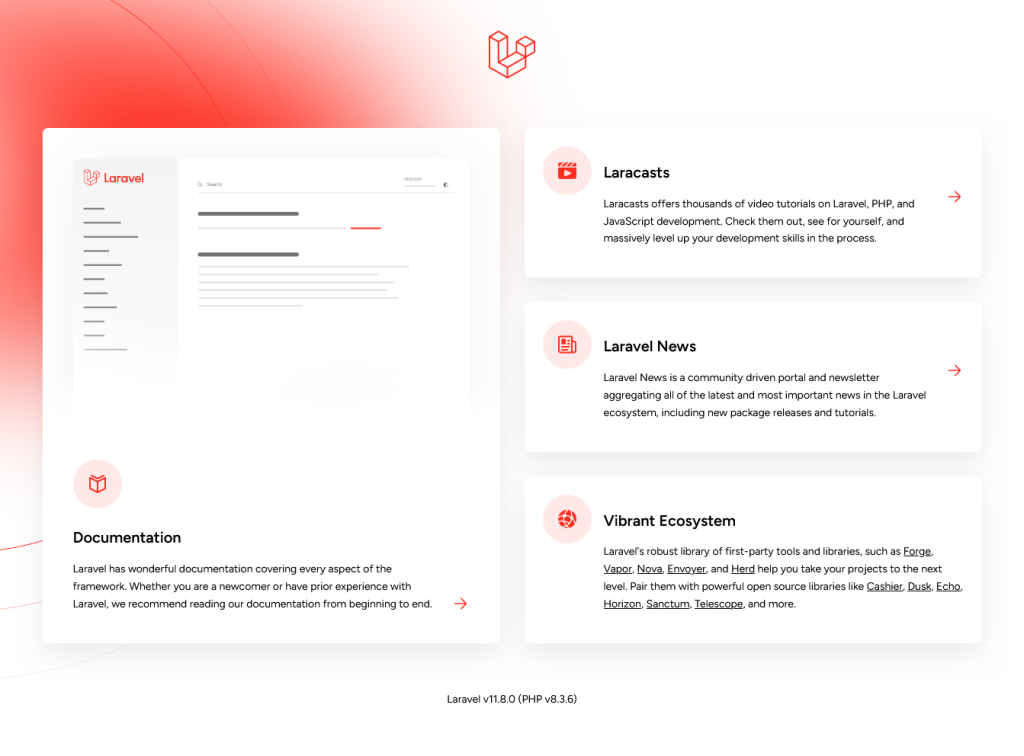
You can now access your application in web browser: http://localhost:8000

Step 7: Configure Apache for Laravel
On staging and production environment, its recommended to deploy application either using Apache or Nginx webservers. Also you can configure Apache for your Application on developer systems. Use the following setup instructions:
- Create Apache Configuration: Create a new configuration file for your Laravel project. You can name it anything, but it’s common to use the domain name. For example, if your project will be accessed via example.com, you might name the file example.com.conf.
sudo nano /etc/apache2/sites-available/example.com.conf - Add Virtualhost Settings:Add the following configuration to the file, adjusting paths and domain names as necessary:
<VirtualHost *:80> ServerName example.com ServerAlias www.example.com DocumentRoot /var/www/laravel-app/public <Directory /var/www/laravel-app> AllowOverride All Require all granted </Directory> ErrorLog ${APACHE_LOG_DIR}/example.com_error.log CustomLog ${APACHE_LOG_DIR}/example.com_access.log combined </VirtualHost> - Enable the new virtual host configuration file and disable the default site if necessary.
sudo a2ensite example.com.conf sudo systemctl reload apache2 - Set Directory Permissions: Ensure that the web server has the necessary permissions to access your Laravel project files.
sudo chown -R www-data:www-data /var/www/html/laravel sudo chmod -R 755 /var/www/html/laravel - Restart Apache to apply the changes.
sudo systemctl restart apache2
Your Laravel application should now be accessible via http://example.com. Make sure that DNS records for your domain point to the server’s IP address if you are doing this on a live server.
Conclusion
This article helps you to setup application environment on Ubuntu 24.04 and create a new Laravel application. Also provide you stpes to create MySQL database and configure with the application. For developer systems, you can directly run the application using artisan. The server systems, you can follow the instructions to configure application with Apache.


