Did you know that you can run virtual machines on your Linux computer? It’s true. Thanks to virtualization software like VirtualBox, you can set up a separate environment for any operating system — even something as unusual as Windows or OS X — without risk to your primary operating system. You’ll find many uses for virtual machines, from testing software before you release it to other users to safely trying out experimental new versions of Linux.
In this article, we show you how to install VirtualBox on Ubuntu 22.04 and other common versions of Linux.
Prerequisites
First of all, upgrade the current packages on your system. Login to your Ubuntu desktop system using sudo privileged user. Then run the following command to update the download package information from all configured sources.
sudo apt update && sudo apt upgrade
The above command will also, be available to upgrade all the packages installed on your system.
Step 1: Configure Apt Repository
Oracle VirtualBox team provides an official package repository for Ubuntu & Debian-based systems. Import the public key to your system signed the packages.
- Open a terminal by pressing
CTRL + ALT + Ton your system. Then the first task is to download the package signing GPG key with the following command.wget https://www.virtualbox.org/download/oracle_vbox_2016.asc - Now convert the download PGP key to GPG file format and store it under the keyrings directory.
cat oracle_vbox_2016.asc | gpg --dearmor | sudo tee /usr/share/keyrings/virtualbox.gpg > /dev/null 2>&1 - Then, you need to add Oracle VirtualBox PPA to the Ubuntu system. You can do this by running the below command on your system.
sudo nano /etc/apt/sources.list.d/virtualbox.listAdd the following repository configuration to the file
deb [arch=amd64 signed-by=/usr/share/keyrings/virtualbox.gpg] https://download.virtualbox.org/virtualbox/debian jammy contribSave the file and close it.
Step 2: Install VirtualBox on Ubuntu 22.04
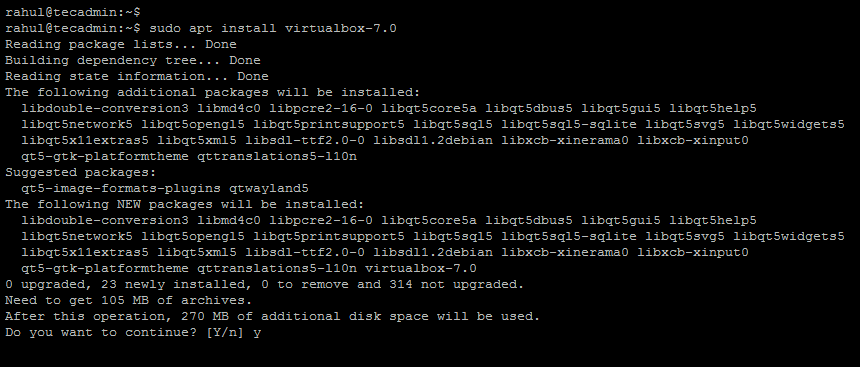
Now, your system is ready for the Virtualbox installation. Run the following commands to install VirtualBox. If you have already installed an older version of VirtualBox, the below command will update it automatically.
sudo apt updatesudo apt install virtualbox-7.0
Press ‘Y’ for any confirmation prompted to continue the installation. This may take a few minutes to complete the installation as per the network space and system performance.

Step 3: Launch VirtualBox
You have successfully installed VirtualBox software on your Ubuntu system. Now login to the Ubuntu desktop to start using VirtualBox. Where you can create virtual machines for different operating systems.
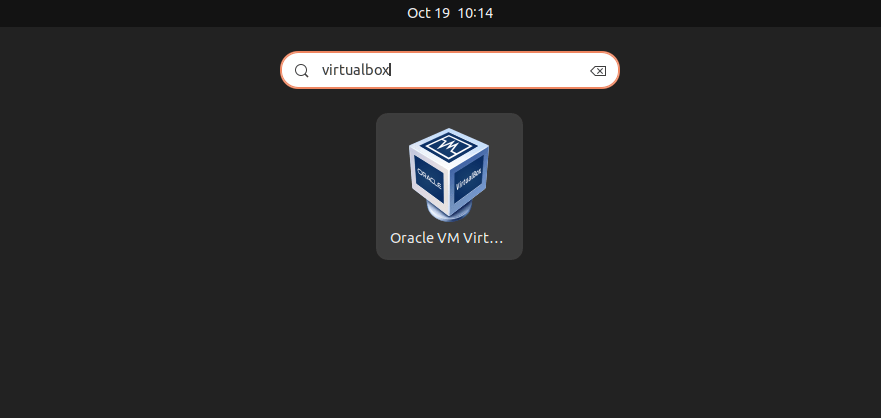
Search the term “VirtualBox” under the applications and you will see the launcher icon as shown below:

Click the launcher icon to start VirtualBox on your Ubuntu system.

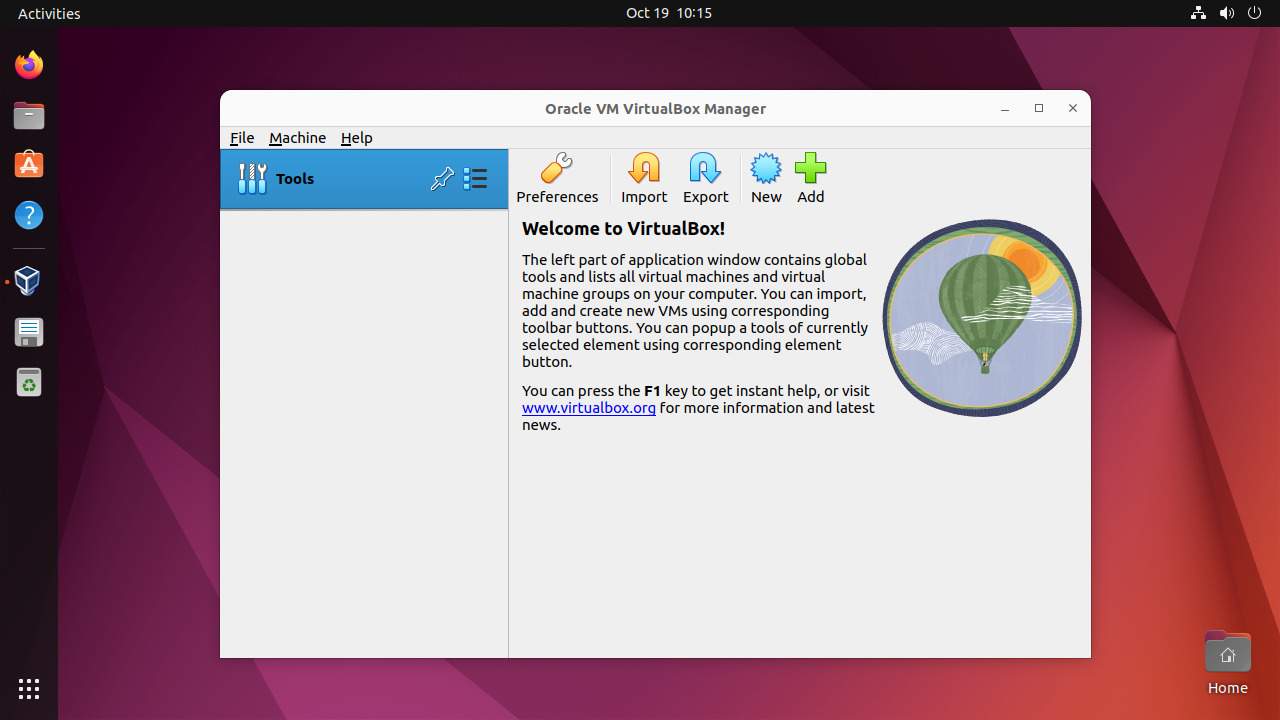
You can use the New button to start creating a new virtual machine. Under the preferences, you can customize the default options. Import and Export buttons are used to migrate existing virtual machines from one system to another systems.
If you have the virtual machine disk file. Use Add button to create the new virtual machine.
Conclusion
Ubuntu users can get some amazing software for free. Virtualization software is one of them. You can install virtualization software on your computer and use it to run other operating systems in a virtual environment. VirtualBox is a popular choice among Ubuntu users because it’s an open-source program that’s also free and easy to use. It’s perfect for testing new operating systems, such as Ubuntu derivatives like Linux Mint or Debian, without affecting your primary OS installation.
This tutorial helped you to install Virtualbox on Ubuntu 22.04 LTS Linux system.

3 Comments
Brilliant, i have been having trouble installing virtualbox: kept on installing V6 whatever I did.
Thank you very much
The folder “/usr/share/keyrings/” is intended for the packages maintainers. As far as I know, when keys are added manually, they should go to the “/etc/apt/keyrings” folder instead.
Thankyou for the post