Zabbix is a powerful open-source monitoring tool used to keep track of network services, servers, and other devices. This guide will walk you through the process of installing Zabbix Server on Ubuntu 24.04. We will cover each step in simple terms, making it easy for beginners to follow along. By the end of this guide, you will have a fully functional Zabbix Server running on your Ubuntu system, ready to monitor your infrastructure.
Step 1: Update Your System
Before starting, it’s important to update your system to ensure all packages are current. Open your terminal and run the following commands:
sudo apt updatesudo apt upgrade
Step 2: Install Apache, MySQL, and PHP
Zabbix requires a web server, a database server, and PHP to run. We’ll install Apache, MySQL, and PHP with these commands:
sudo apt install apache2 mysql-server php php-mysql libapache2-mod-php
Step 3: Configure MySQL Database
Next, we’ll set up a database for Zabbix. Log into MySQL with:
sudo mysql -u root
Once logged in, run these commands to create the database and user:
CREATE DATABASE zabbix CHARACTER SET utf8 COLLATE utf8_bin;
CREATE USER 'zabbix'@'localhost' IDENTIFIED BY 'Y0ur_Pa$$word';
GRANT ALL PRIVILEGES ON zabbix.* TO 'zabbix'@'localhost';
SET GLOBAL log_bin_trust_function_creators = 1;
FLUSH PRIVILEGES;
EXIT;
Make sure to change with a strong password. You can use online password generator tool to generate a random password.
Step 4: Install Zabbix Server
Now, we need to add the Zabbix repository and install the server. Use these commands:
wget https://repo.zabbix.com/zabbix/7.0/ubuntu/pool/main/z/zabbix-release/zabbix-release_7.0-2+ubuntu24.04_all.debsudo dpkg -i zabbix-release_7.0-2+ubuntu24.04_all.deb
The install the required packages for setting up Zabbix server.
sudo apt updatesudo apt install zabbix-server-mysql zabbix-frontend-php zabbix-apache-conf zabbix-sql-scripts zabbix-agent
Step 5: Import Zabbix Database Schema
Load the initial schema and data into the Zabbix database. Run the following commands:
sudo zcat /usr/share/zabbix-sql-scripts/mysql/server.sql.gz | mysql --default-character-set=utf8mb4 -uzabbix -p zabbix
Step 6: Configure Zabbix Server
Edit the Zabbix server configuration file to add your database details:
sudo nano /etc/zabbix/zabbix_server.conf
Find the following lines in configuration file and update them accornding to created MySQL database, username and password.
DBHost=localhost
DBName=zabbix
DBUser=zabbix
DBPassword=your_password
Step 7: Start and Enable Zabbix Server and Agent
Start the Zabbix server and agent, and enable them to start on boot:
sudo systemctl start zabbix-server zabbix-agent apache2sudo systemctl enable zabbix-server zabbix-agent apache2
Step 8: Configure PHP for Zabbix Frontend
Edit the Apache/PHP configuration file for the Zabbix server:
sudo nano /etc/zabbix/apache.conf
Set the correct time zone by finding this line or create a new line under correct mod_php section.
php_value date.timezone Europe/London
Replace Europe/London with your time zone. Save and exit the file.
Step 9: Restart Apache Server
Restart Apache to apply the changes:
sudo systemctl restart apache2
Step 10: Open Firewall Rules
Zabbix server listen on port 10051 and need to open for Zabbix remote hosts for active clients. You should open Apache and Zabbix server ports in firewall or security groups. For UFW, execute the following command:
sudo ufw allow 80/tcpsudo ufw allow 443/tcpsudo ufw allow 10051/tcp
Step 11: Set Up Zabbix Frontend
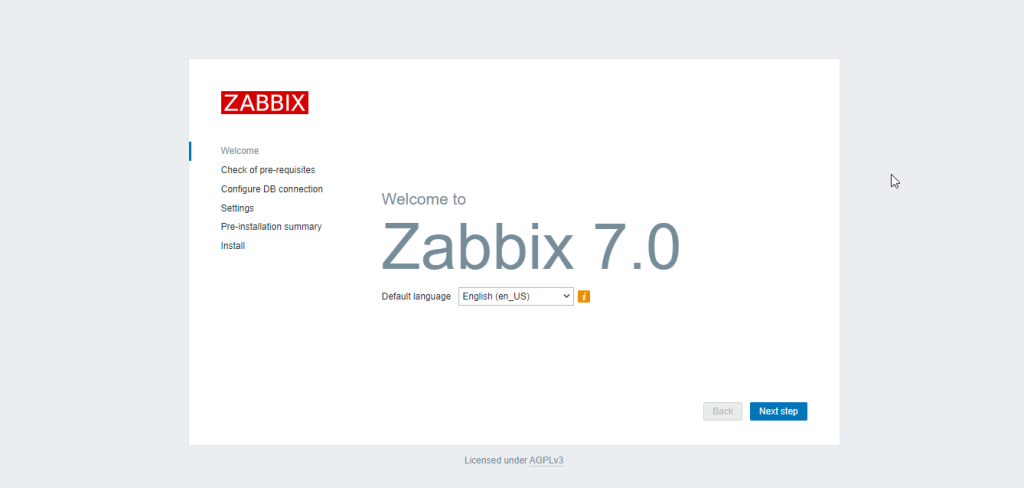
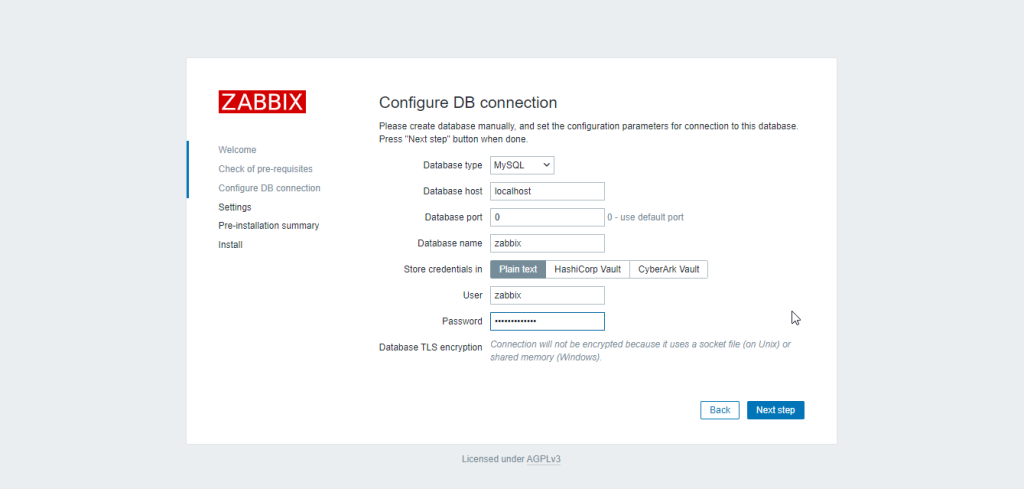
Open your web browser and go to http://your_server_ip/zabbix. Follow the on-screen instructions to complete the setup. You will need to enter the database details you configured earlier.


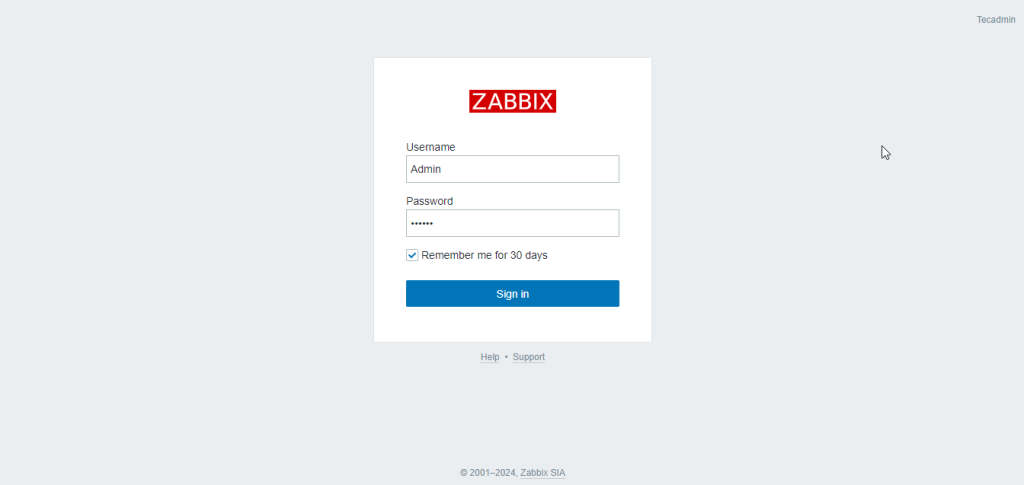
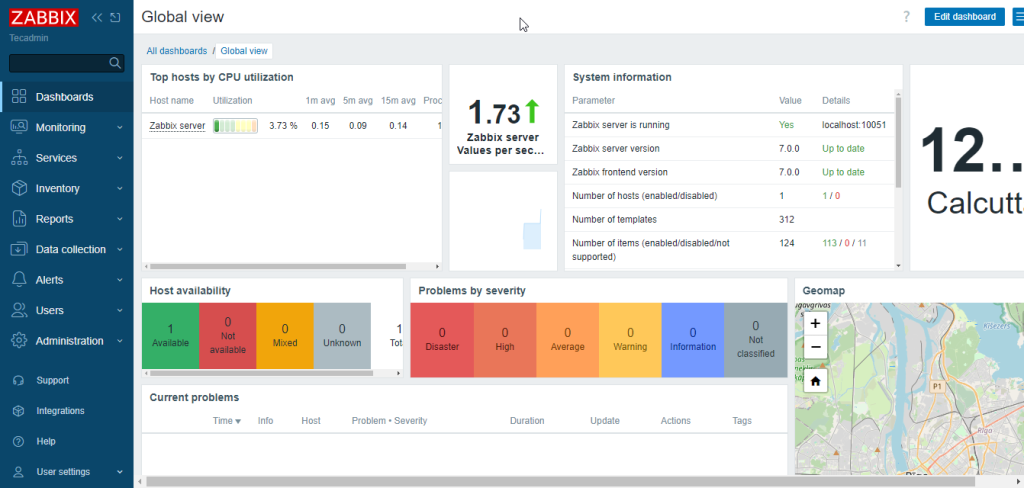
Use “Admin” as default username and “zabbix” as password to login to the dashboard.


What Next?
The next step is to add remote hosts to Zabbix server for monitoring. You should follow below article to install Zabbix agent and configure it with server.
How to Install and Configure Zabbix Agent on Ubuntu 24.04
How to Install Zabbix Agent on Windows System
Conclusion
Congratulations! You have successfully installed Zabbix Server on Ubuntu 24.04. You can now start monitoring your network and servers using Zabbix’s powerful features. Remember to secure your installation and configure Zabbix according to your specific needs.
