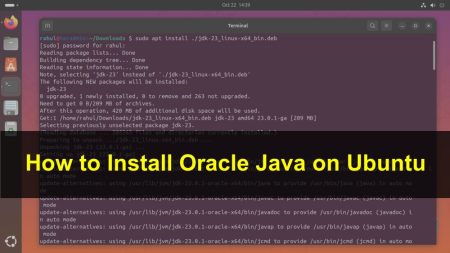
Java is a popular programming language for the system software development and web application. You need to install Java Development Kit (JDK) and Java Runtime Environment (JRE) for preparation of a Java development system. This tutorial will guide you to install Oracle Java 11 LTS version on Ubuntu 18.04 LTS Bionic system.
Prerequisites
Before beginning the installation run login shell as the sudo user and update the current packages installed.
sudo apt update
sudo apt upgrade
Step 2 – Install Java 11 on Ubuntu 18.04
You need to add the following PPA to your Ubuntu system. This PPA contains a package oracle-java11-installer having the Java installation script.
sudo add-apt-repository ppa:linuxuprising/java
Then install Java 11 using the script provided in this packages. This script downloads the Java archive from the official site and configures on your system
sudo apt update
sudo apt install oracle-java11-installer
Also, install the following package to configure Java 11 as default Java version on your Ubuntu 18 system.
sudo apt install oracle-java11-set-default
Step 3 – Verify Java Version
Check the installed Java version on your system using the following command.
java -version

java version "11.0.2" 2019-01-15 LTS
Java(TM) SE Runtime Environment 18.9 (build 11.0.2+9-LTS)
Java HotSpot(TM) 64-Bit Server VM 18.9 (build 11.0.2+9-LTS, mixed mode)
You have successfully installed Java 11 on Ubuntu 18.04 LTS system.
Happy coding!


6 Comments
i am getting E: Package ‘oracle-java11-installer’ has no installation candidate
can you please help!!!!
Oracle has changed their licenses, so, we should download Java 11 local version.
how can I download Java 11 local version?
(It is all so confusing)
Walter
Change the install to ‘apt install oracle-java11-installer-local’
Thanks for wonderful article. This is clearly and really helpful
Thanks for wonderful article. This is really really Helpful.