Zabbix is a free and open-source monitoring solution designed for real-time monitoring of servers, virtual machines, networks, and cloud services. It was developed by Alexei Vladishev and actively supported by Zabbix SIA. It is based on the client-server model and capable of monitoring millions of metrics, such as CPU load, network utilization and disk space consumption from tens of thousands of servers.
Features
- Supports MySQL, SQLite, PostgreSQL and IBM DB2.
- Monitor different system matrics including, Memory, CPU, Disk, Process.
- Monitor network devices, hardware, virtual machines, VMware hypervisor and VMware vCenter.
- Supports multiple authentication methods like, LDAP and Active Directory.
- Provide Notification through Email.
- Auto-discovery and automated metric collections.
- Distributed monitoring.
In this tutorial, we will explain how to install and configure the Zabbix monitoring server on CentOS 8 and RHEL 8.
Step 1 – Disable SELinux
By default, SELinux is enabled in CentOS 8. It is a good idea to disable the SELinux to work Zabbix properly.
You can disable the SELinux by editing /etc/selinux/config file:
nano /etc/selinux/config
Change the following line:
SELINUX=disabled
Save and close the file when you are finished then restart your system to reflect the changes.
Step 2 – Install LAMP Server
First, you will need to install the Apache webserver, MariaDB database server, PHP and other required PHP extension to your system.
Run the following command to install all the packages:
dnf install -y httpd mariadb-server php php-cli php-common php-mbstring php-mysqlnd php-xml php-bcmath php-devel php-pear php-gd
Once the installation is completed, open php.ini file and tweak some settings:
nano /etc/php.ini
Change the following values as per your requirements:
memory_limit 256M
upload_max_filesize 16M
post_max_size 16M
max_execution_time 300
max_input_time 300
max_input_vars 10000
date.timezone = Asia/Kolkata
Save and close the file then start the Apache and MariaDB service and enable them to start after system reboot with the following command:
systemctl start httpd
systemctl start mariadb
systemctl enable httpd
systemctl enable mariadb
Step 3 – Configure MariaDB Database
By default, the MariaDB server is not secured in the CentOS 8. Run the following command to secure the MariaDB:
mysql_secure_installation
This script will set the MariaDB root password, remove anonymous users, disallow root login remotely and remove test database as shown below:
Enter current password for root (enter for none): Press Enter
Set root password? [Y/n] Y
New password:
Re-enter new password:
Remove anonymous users? [Y/n] Y
Disallow root login remotely? [Y/n] Y
Remove test database and access to it? [Y/n] Y
Reload privilege tables now? [Y/n] Y
Once the MariaDB is secured, log in to MariaDB shell with the following command:
mysql -u root -p
After login, create a database and user for Zabbix with the following command:
1 2 | MariaDB [(none)]> CREATE DATABASE zabbix CHARACTER SET utf8 collate utf8_bin; MariaDB [(none)]> GRANT ALL PRIVILEGES ON zabbix.* TO zabbix@localhost IDENTIFIED BY 'zabbixpassword'; |
Next, flush the privileges and exit from the MariaDB shell with the following command:
1 2 | MariaDB [(none)]> FLUSH PRIVILEGES; MariaDB [(none)]> EXIT; |
Step 4 – Install Zabbix Server
Before installing Zabbix, you will need to install the libssh2 library required by Zabbix to your system. You can install it with the following command:
dnf install -y http://mirror.centos.org/centos/8.0.1905/AppStream/x86_64/os/Packages/libssh2-1.8.0-8.module_el8.0.0+189+f9babebb.1.x86_64.rpm
By default, Zabbix is not available in the CentOS 8 repository. So you will need to install the Zabbix repository in your system.
At the time of writing this tutorial, the latest version of Zabbix is Zabbix 4.4. You can install the Zabbix 4.4 repository package by running the following command:
dnf install -y https://repo.zabbix.com/zabbix/4.4/rhel/8/x86_64/zabbix-release-4.4-1.el8.noarch.rpm
Once the repository is created, run the following command to install the Zabbix server with other required packages:
dnf install -y zabbix-server-mysql zabbix-web-mysql zabbix-agent zabbix-apache-conf
Once the installation is completed, start the Zabbix server, Zabbix agent and PHP-FPM services, and enable them to start after system reboot with the following command:
systemctl start zabbix-server
systemctl start zabbix-agent
systemctl start php-fpm
systemctl enable zabbix-server
systemctl enable zabbix-agent
systemctl enable php-fpm
Zabbix server and agent is now started and listening on ports 10050 and 10051. You can check them using the following command:
netstat -ant | grep LISTEN
You should get the following output:
tcp        0      0 0.0.0.0:22              0.0.0.0:*               LISTEN
tcp        0      0 0.0.0.0:10050           0.0.0.0:*               LISTEN
tcp        0      0 0.0.0.0:10051           0.0.0.0:*               LISTEN
tcp6       0      0 :::22                   :::*                    LISTEN
tcp6       0      0 :::10050                :::*                    LISTEN
tcp6       0      0 :::10051                :::*                    LISTEN
tcp6       0      0 :::3306                 :::*                    LISTEN
tcp6       0      0 :::80                   :::*                    LISTEN
Step 5 – Configure Zabbix
First, you will need to import the database schema to the Zabbix database. You can import it with the following command:
cd /usr/share/doc/zabbix-server-mysql
zcat create.sql.gz | mysql -u zabbix -p zabbix
Next, edit the zabbix_server.conf file and define your Zabbix database credentials:
nano /etc/zabbix/zabbix_server.conf
Change the following lines:
DBHost=localhost
DBName=zabbix
DBUser=zabbix
DBPassword=zabbixpassword
Save and close the file.
Next, configure PHP for Zabbix frontend by editing the following file:
nano /etc/php-fpm.d/zabbix.conf
Change the timezone value with your desired value as shown below:
php_value[date.timezone] = Asia/Kolkata
Save and close the file when you are finished. Next, restart all the services to apply the changes:
systemctl restart zabbix-server
systemctl restart zabbix-agent
systemctl restart php-fpm
systemctl restart httpd
systemctl restart mariadb
Step 6 – Configure Firewall for Zabbix
Next, you will need to allow the Zabbix ports 10050 and 10051. and HTTP service through firewalld. You can allow them with the following command:
firewall-cmd --permanent --add-service=http
firewall-cmd --permanent --add-port=10050/tcp
firewall-cmd --permanent --add-port=10051/tcp
Now, reload the firewalld service to implement the changes:
firewall-cmd --reload
Step 7 – Access Zabbix Web Interface
Now, open your favorite web browser and type the URL http://your-server-ip/zabbix. You will be redirected to the Zabbix web installation wizard in the following screen:
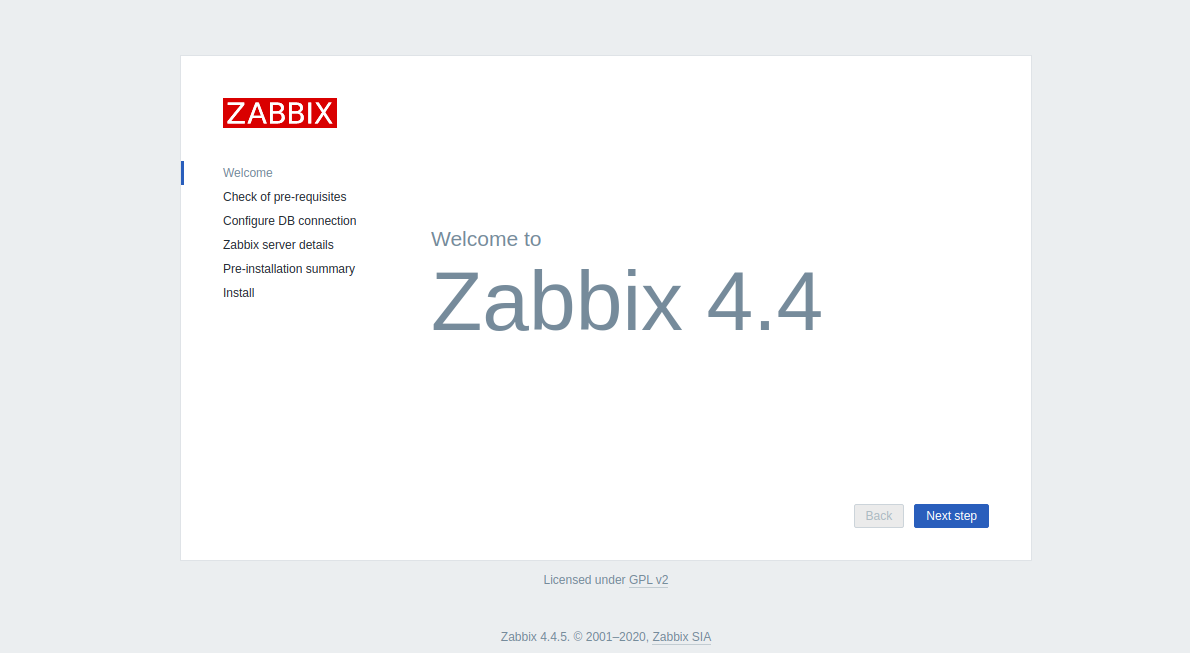
Click on the Next step button. You should see the following page:
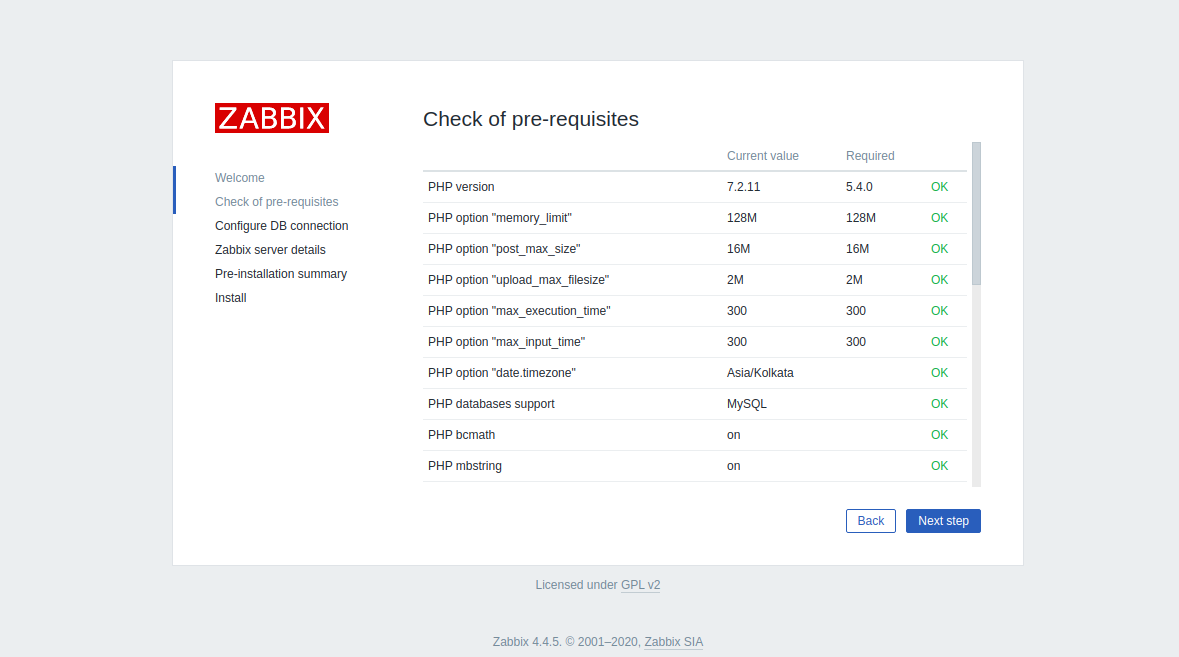
Make sure all the required dependencies are installed then click on the Next step button. You should see the following page:
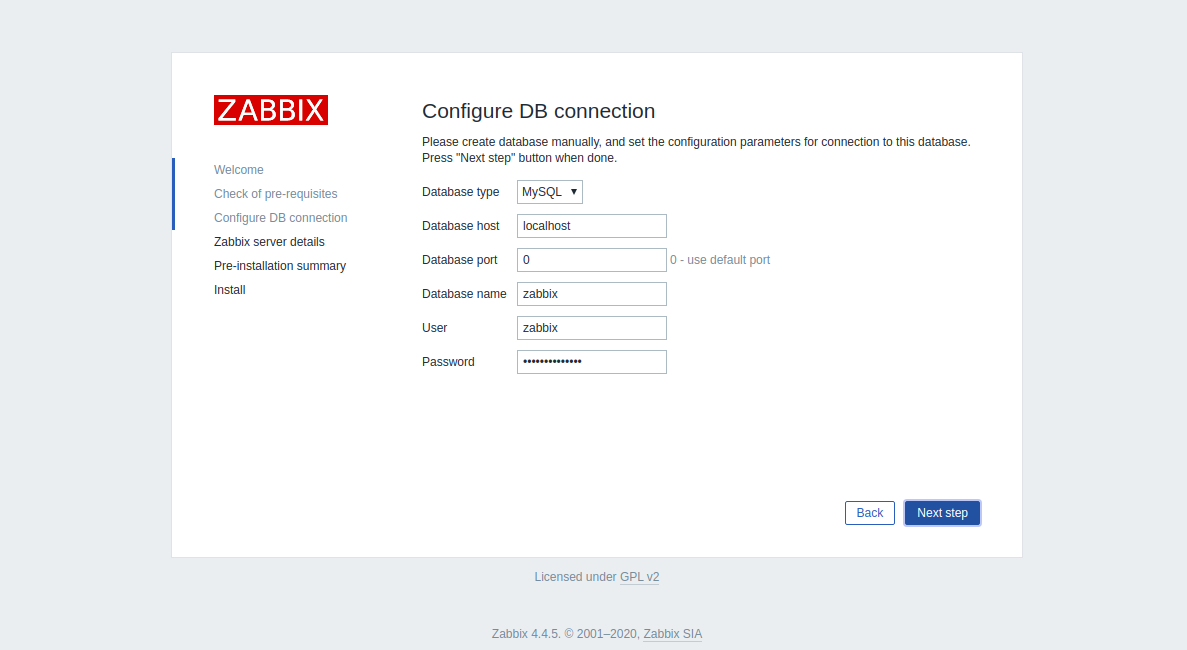
Provide your database credentials and click on the Next step button. You should see the following page:
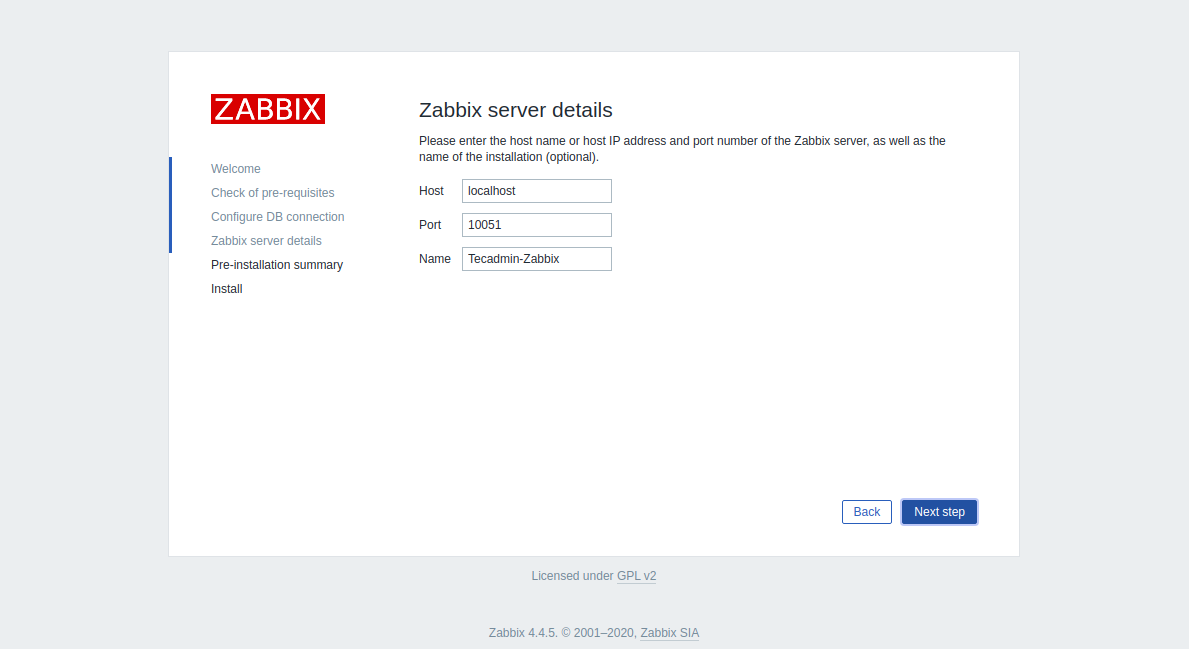
Provide your Zabbix server details and click on the Next step button. You should see the following page:
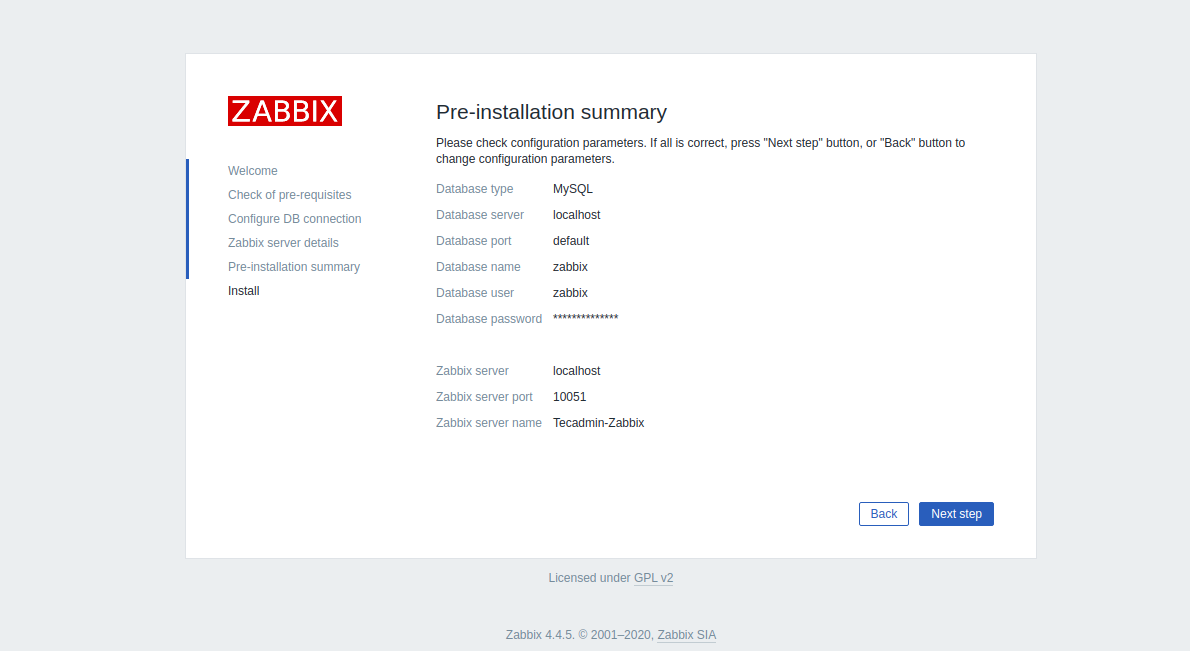
Make sure all the configuration parameters are correct then click on the Next step button. Once the installation has been completed successfully, you should see the following page:
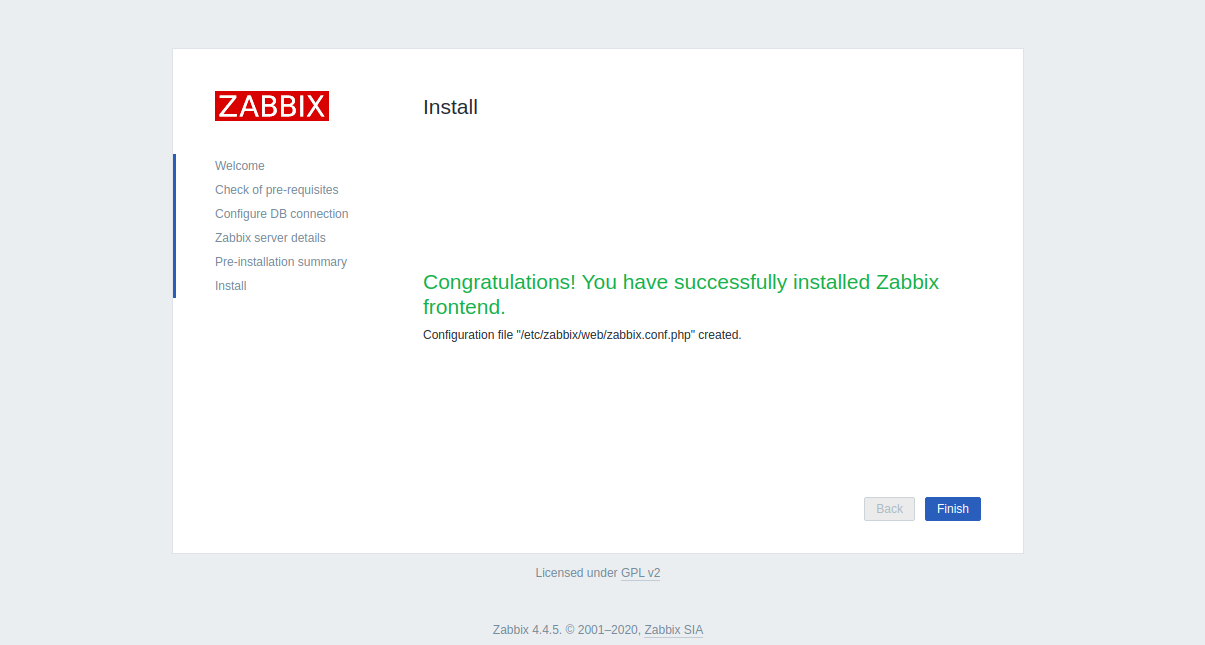
Click on the Finish button. You will be redirected to the Zabbix login page as shown below:
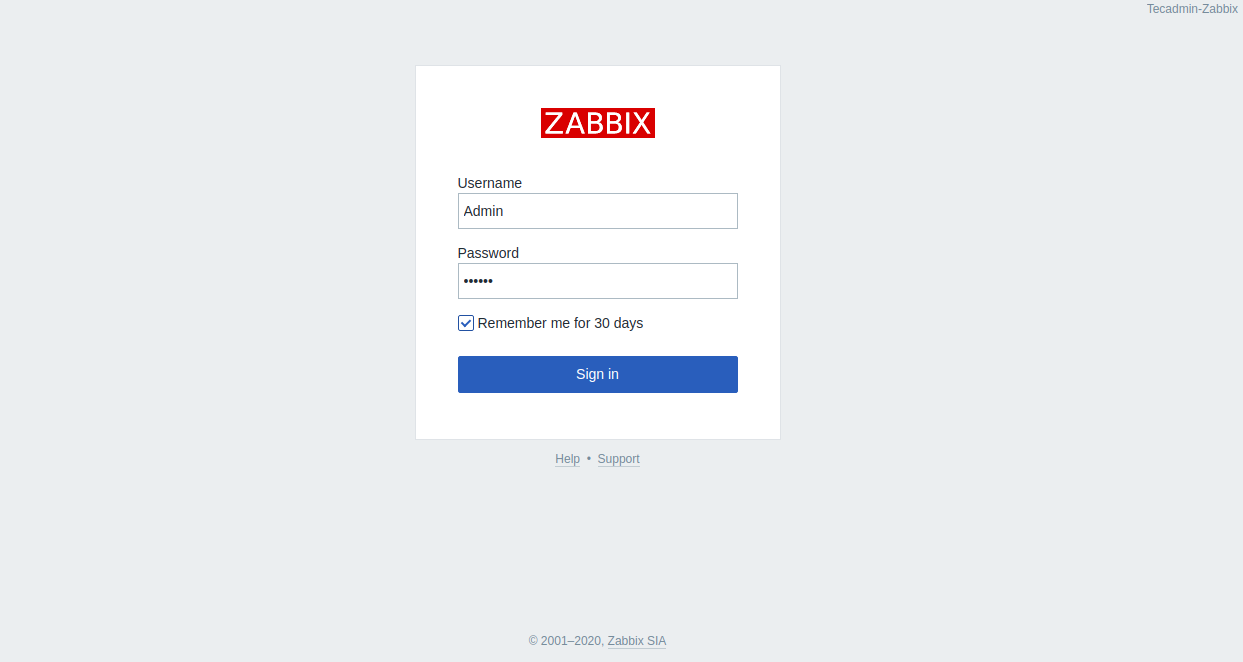
Provide the Zabbix default username and password as Admin / zabbix and click on the Sign-in button. You should see the Zabbix dashboard in the following screen:

Conclusion
Congratulations! you have successfully installed the Zabbix server on CentOS 8 server. You can now start exploring the Zabbix dashboard for more details and add the client for monitoring. Next, Add a remote host for monitoring to your Zabbix server.
1 Comment
Dear Hitesh,
thank you for this guide, it was the first one I have found that worked ;-).
For me I only had to do a reboot after:
dnf install -y zabbix-server-mysql zabbix-web-mysql zabbix-agent zabbix-apache-conf
Again thanks for your tutorial, worked like a charm :-).
Kind Regards,
Sebastian